7 Visual Tips for Cleaning Professional Garden Tools
Damp earth and decaying organic matter carry a distinct metallic scent when tool steel oxidizes against the soil. A healthy leaf maintains high turgor pressure; it stays rigid because the plant's internal water pressure pushes against the cell walls. When you ignore the necessity of using a cleaning manual for garden tools, you introduce pathogens directly into the vascular tissue of your collection. Pathogenic fungi and bacteria hitchhike on encrusted sap and soil particles. A single cut with a fouled blade can bypass the plant's natural dermal defenses, leading to systemic infection or localized necrosis. Professional maintenance is not an aesthetic choice. It is a phytosanitary requirement for any high-performance landscape. By adhering to a rigorous cleaning protocol, you ensure that every mechanical intervention in the garden promotes rapid healing rather than cellular decline.
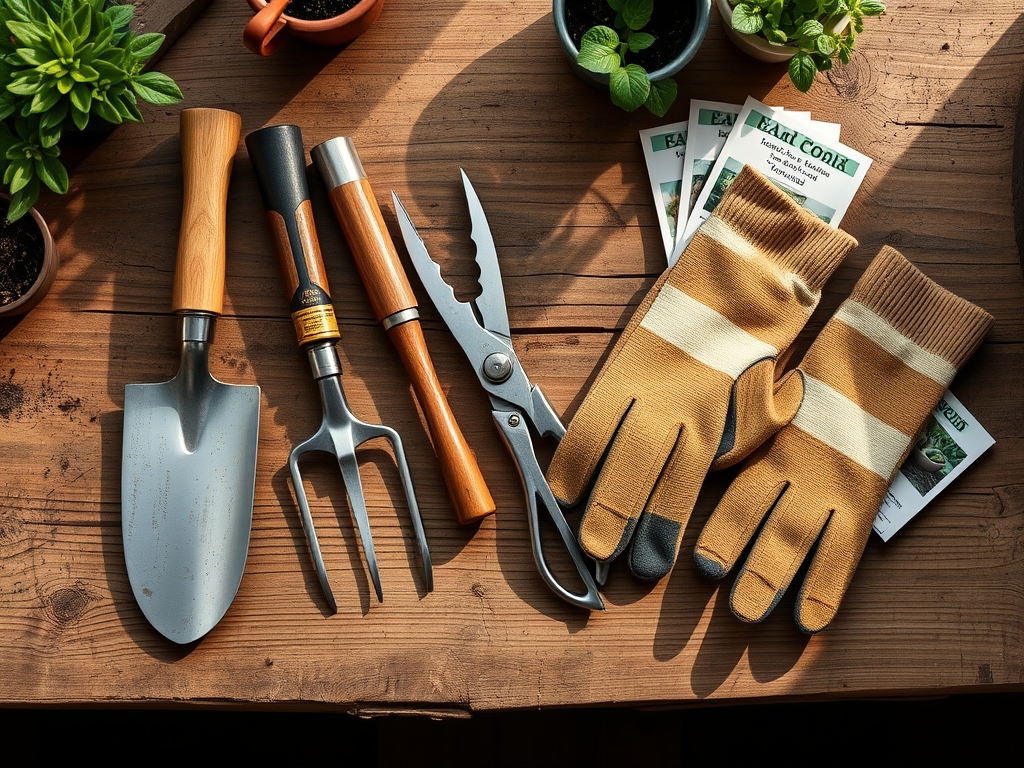
Materials:
While tool maintenance focuses on steel and wood, the context of their use is defined by the soil substrate. A **friable loam** with a high **Cation Exchange Capacity (CEC)** of **20 to 30 meq/100g** provides the ideal environment for plant growth, but its organic acids accelerate tool corrosion. For containers or beds where these tools operate, maintain a **soil pH between 6.2 and 6.8** to optimize nutrient availability. If you are amending the soil while cleaning your beds, target an **NPK ratio of 10-10-10** for general maintenance or a high-nitrogen **20-10-10** for heavy vegetative growth in early spring. The abrasive nature of sand-heavy soils (low CEC) requires more frequent sharpening of blades, while clay-heavy soils necessitate immediate removal of moisture to prevent rust.
Timing:
Tool maintenance must align with the biological clock of the garden and specific Hardiness Zones. In Zones 5 through 7, the primary deep-clean window occurs during the dormant season, typically between the first hard frost in November and the late winter thaw in March. This period coincides with plant senescence, where metabolic activity drops and the risk of spreading active pathogens is lowest. During the transition from the vegetative stage to the reproductive stage in mid-summer, tools must be sanitized between every use. This prevents the transfer of viruses when the plant is diverting its energy toward flowering and fruit production rather than immune response. Always check your local frost-date windows; cleaning and sharpening must be completed before the first buds break dormancy to ensure clean, surgical cuts that heal before the spring rain increases fungal pressure.
Phases:
Observe the tool surface integrity in the step-by-step photos below. The cleaning process follows a strict hierarchy of mechanical and chemical removal.
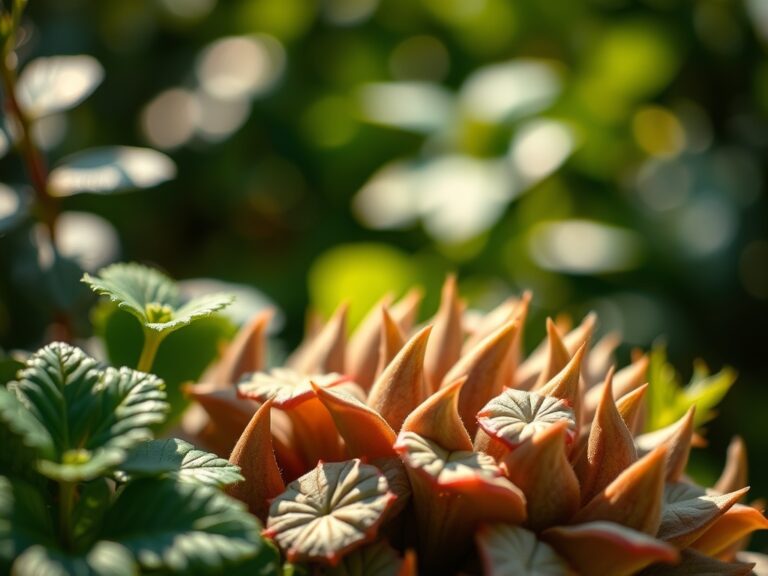
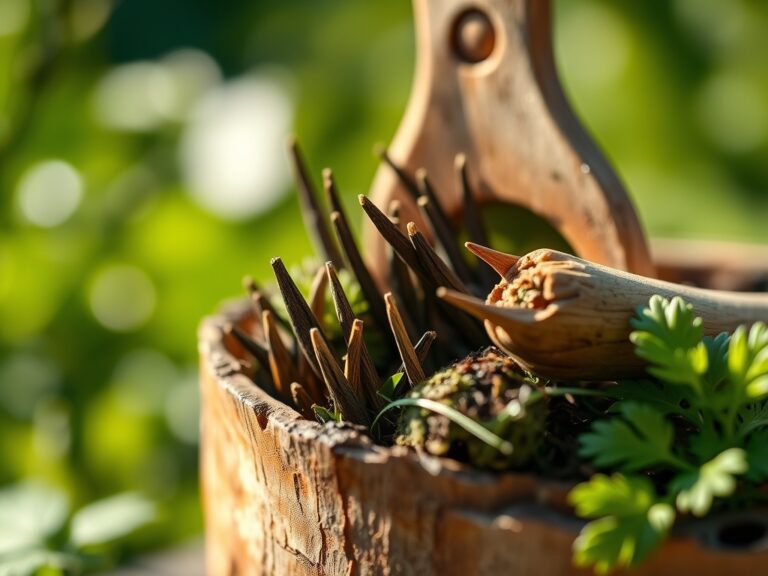
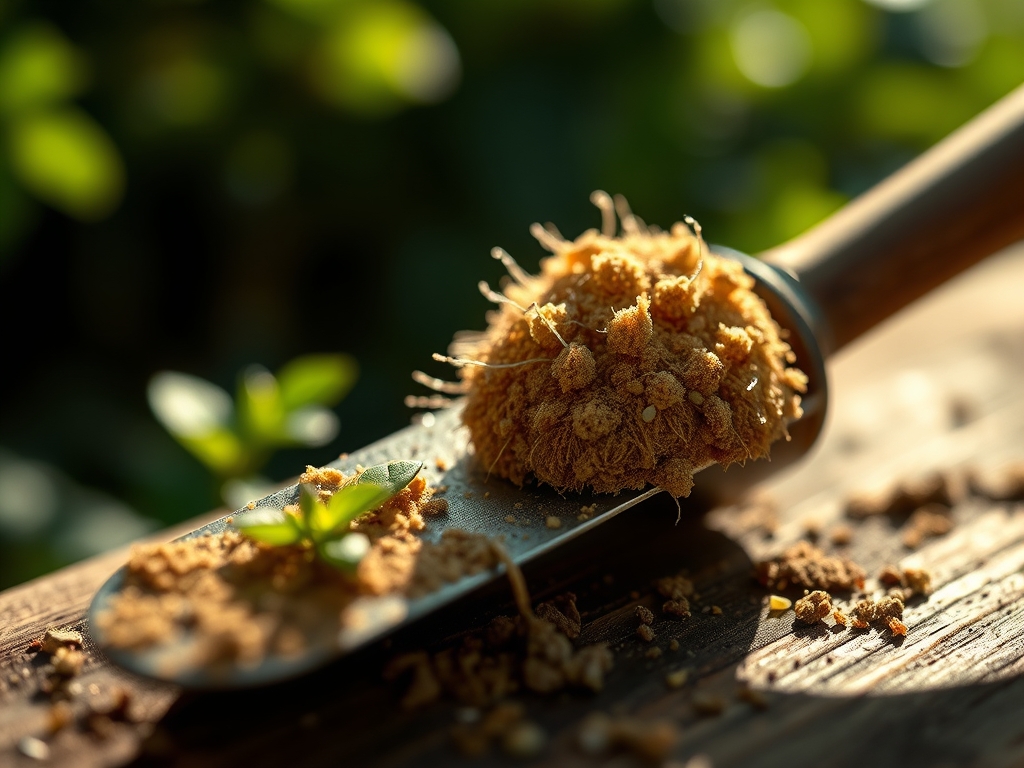
Sowing
Before the first seed hits the tray, all hand tools must be free of residual pathogens. Use a 10 percent bleach solution or 70 percent isopropyl alcohol to sterilize the surface of your hori-hori knife and dibbers. This prevents the introduction of "damping off" fungi like Pythium into the pristine seedling environment.
Pro-Tip: Sterilizing tools at the sowing stage protects the delicate rhizosphere of the seedling. Mycorrhizal symbiosis, the beneficial relationship between fungi and roots, cannot establish if pathogenic water molds are introduced via contaminated tools.
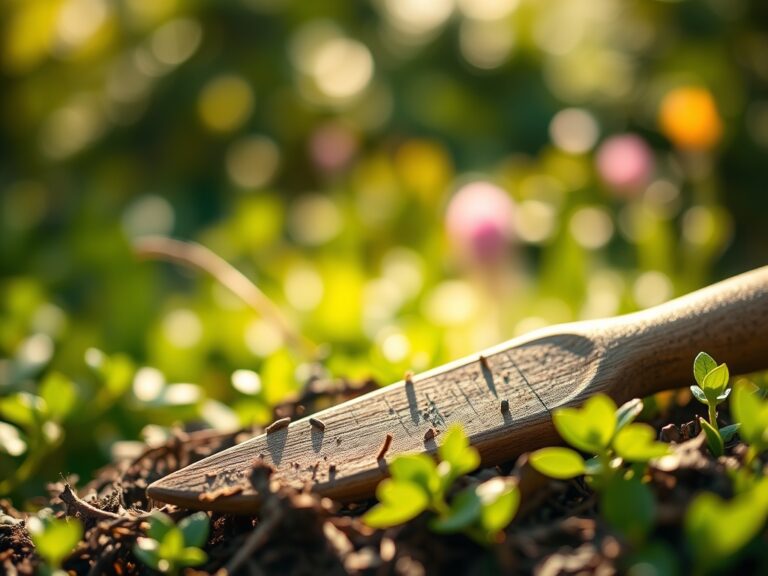
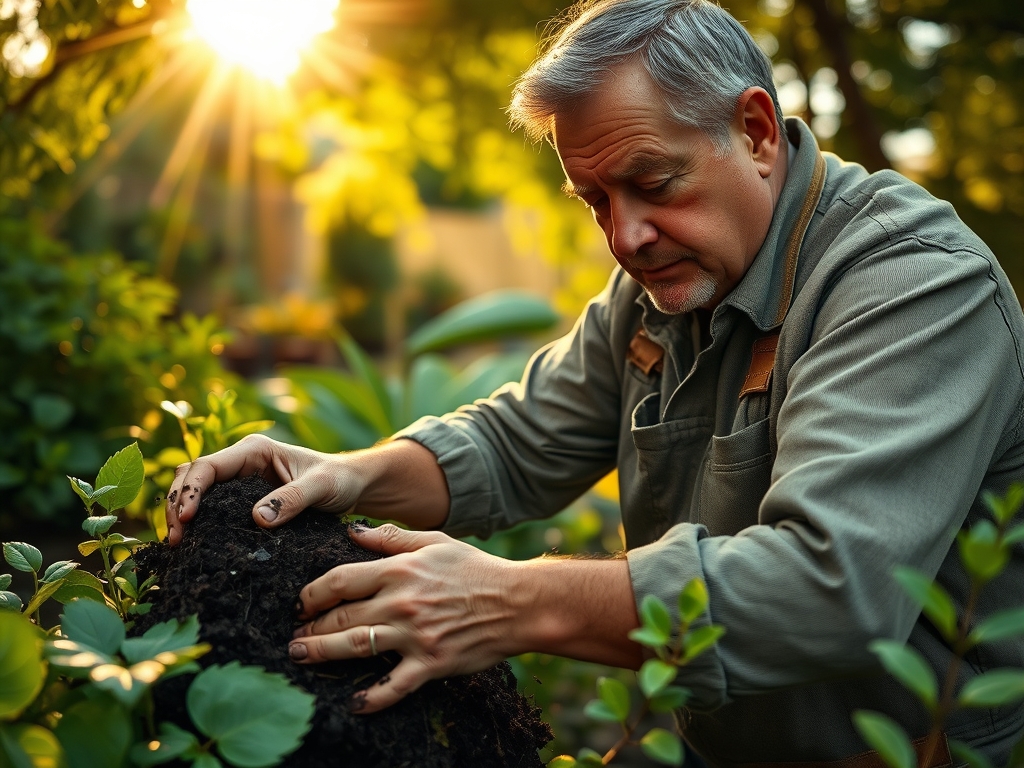
Transplanting
When moving plants into the field, tools like spades and trowels must be free of soil from other garden sections. Cross-contamination of soil-borne nematodes or Fusarium wilt is a primary cause of transplant failure. Scrub tools with a stiff wire brush to remove all dried earth, then rinse with high-pressure water.
Pro-Tip: Clean tools prevent the disruption of auxin suppression. When a plant is transplanted, it undergoes stress; clean cuts on any bruised roots allow the plant to maintain apical dominance and redirect growth hormones to root re-establishment rather than fighting infection.
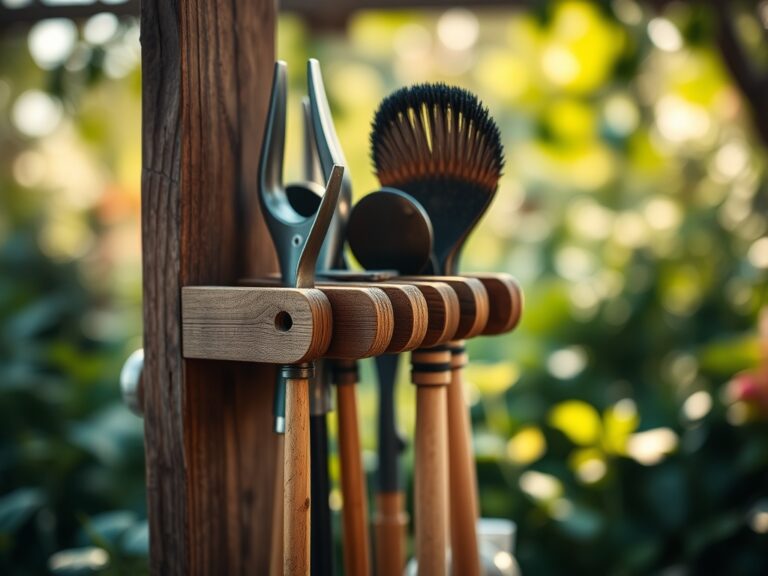
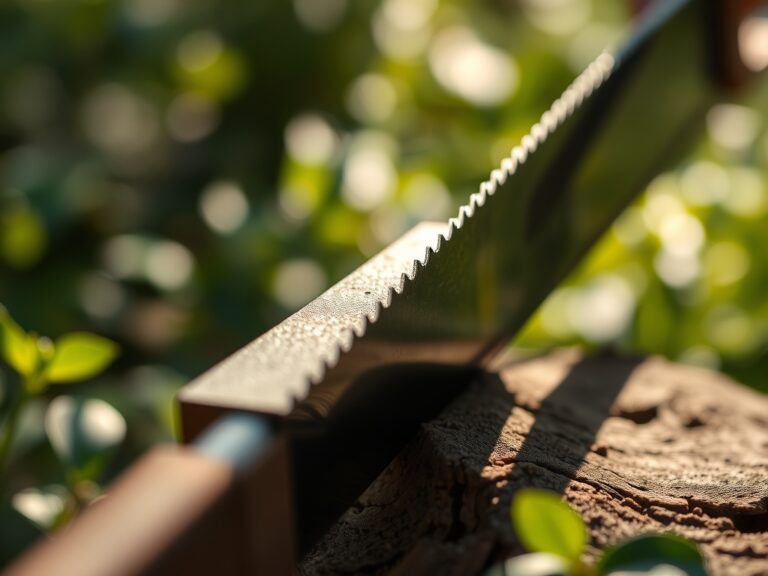
Establishing
As the plant enters its rapid growth phase, the bypass pruners become the most used tool. Sap buildup on the blades creates a sticky medium for bacteria. Use a fine-grade steel wool to remove sap and apply a light coating of mineral oil to the pivot point.
Pro-Tip: Keeping blades sharp and clean ensures a clean cut that doesn't crush the xylem and phloem. This maintains the plant's ability to transport water and nutrients through phototropism, as the plant can quickly seal the wound and continue growing toward the light source.
The Clinic:
Physiological disorders in the garden often stem from poor tool hygiene or improper soil chemistry.
- Symptom: Interveinal chlorosis on young leaves.
- Solution: This indicates Iron deficiency, often caused by high soil pH (above 7.0). Use a soil moisture meter to ensure the ground isn't waterlogged, which limits iron uptake.
- Symptom: Bacterial Canker or oozing lesions on stems.
- Solution: This is often spread by unsterilized pruning shears. Prune only in dry weather and dip tools in disinfectant between every single cut.
- Symptom: Stunted growth and purple-tinted foliage.
- Solution: This is a classic Phosphorus deficiency. Check the soil temperature; if it is below 55 degrees Fahrenheit, phosphorus becomes chemically unavailable to the roots.
- Fix-It: For Nitrogen chlorosis (yellowing of older leaves), apply a water-soluble fertilizer with a high first number (N) at a rate of 1 pound of actual nitrogen per 1,000 square feet.
Maintenance:
Consistent maintenance extends the life of the tool and the health of the plant. Provide exactly 1.5 inches of water per week at the drip line for established perennials; use a soil moisture meter to verify that the water is penetrating 6 to 8 inches deep. After every use, wipe down your bypass pruners with a dry cloth. If the tool has touched diseased tissue, it must be soaked in a disinfectant for 30 seconds. Lubricate all moving parts with a non-toxic, vegetable-based oil to prevent chemical leaching into the soil. Store tools in a bucket of dry sand mixed with a small amount of motor oil to provide a moisture barrier and a light abrasive cleaning every time the tool is inserted or removed.
The Yield:
Harvesting is the culmination of the plant's life cycle. For leafy greens, harvest in the early morning when turgor pressure is at its peak. Use a sharp, sterilized knife to make a clean incision, leaving at least one inch of stem to prevent the crown from rotting. For fruiting crops, wait until the fruit reaches its specific "harvest maturity" color. Handle the produce with clean hands or gloves to avoid introducing bacteria that cause post-harvest decay. To maintain "day-one" freshness, immediately lower the temperature of the produce to 40 degrees Fahrenheit to slow down the rate of respiration and moisture loss.
FAQ:
How often should I sharpen my garden tools?
Sharpen blades every 10 to 15 hours of active use. Dull blades crush plant tissue, leading to slow healing and increased disease susceptibility. Use a whetstone or diamond file, maintaining the original factory bevel angle for maximum cutting efficiency.
Is it safe to use linseed oil on wooden handles?
Yes, use boiled linseed oil to prevent wooden handles from cracking or splintering. Apply a thin coat, let it sit for 20 minutes, and wipe away the excess. This prevents moisture from rotting the wood and improves grip during use.
What is the best way to remove heavy rust?
Soak the metal parts in white vinegar for 12 to 24 hours. Use a wire brush or steel wool to scrub away the loosened rust. Neutralize the acid by rinsing with a baking soda and water solution before drying and oiling.
Can I use soap and water to clean tools?
Standard dish soap is effective for removing dirt and organic debris. However, it does not provide high-level sterilization against plant viruses. Always follow a soap wash with a 70 percent isopropyl alcohol wipe to ensure the tools are phytosanitarily clean.