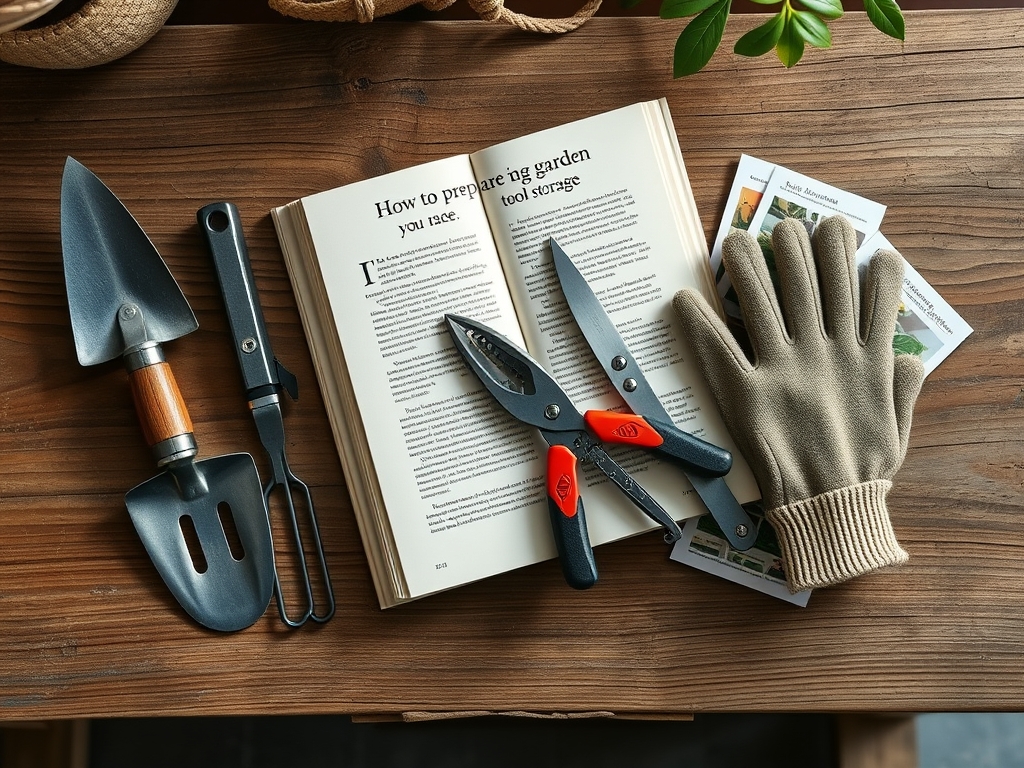
6 Thorough Steps to Prepare a Tool Storage Reference
The scent of damp, anaerobic decomposition signals a garden in transition, where the high turgor pressure of mid-summer growth yields to the structural demands of autumn. Proper documentation requires a controlled environment. Understanding how to prepare a garden for a tool storage book involves stabilizing the soil biology and cataloging every implement used to manipulate the rhizosphere. This process ensures that the intersection of mechanical maintenance and botanical health is recorded with scientific precision.
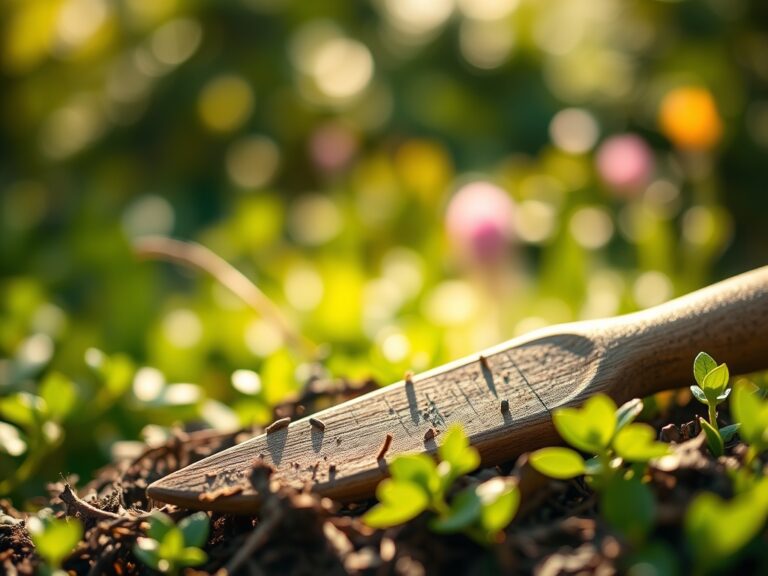
Effective tool management begins with the soil. When soil reaches a Cation Exchange Capacity (CEC) of 15 to 25, it indicates a high ability to hold nutrients, which correlates to the intensity of tool use required for cultivation. A well-prepared garden serves as the living laboratory for your reference book. You must document the specific resistance of the earth against a spade or the clean shear of a blade through lignified tissue. This data provides the baseline for evaluating tool performance across varying seasonal densities and plant maturity levels.
Materials:
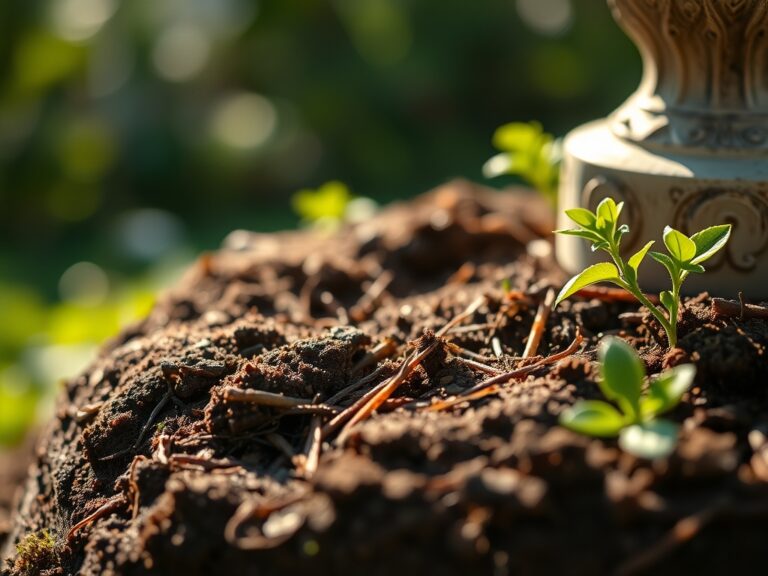
The substrate must be a **friable loam** consisting of roughly **40% sand, 40% silt, and 20% clay**. This texture allows for consistent testing of digging tools without excessive friction or clumping. Maintain a **soil pH between 6.2 and 6.8** to prevent the rapid oxidation of metal tool components that come into contact with highly acidic or alkaline earth.
For the vegetative health required for photographic clarity in your book, maintain an NPK ratio of 10-10-10 during the early season. Transition to a 5-10-15 ratio as plants enter the reproductive phase to strengthen cellular walls. High potassium levels increase the thickness of the epidermal layer, providing a more substantial medium for testing the sharpness of bypass pruners and hori-hori knives. Ensure the organic matter content remains at a steady 5% to 8% to support the microbial activity that keeps the soil structure porous and workable.
Timing:
The biological clock of the garden dictates the schedule for tool documentation. In Hardiness Zones 5 through 7, the primary window for preparation begins 45 days before the first projected frost. This period marks the onset of senescence, where deciduous plants begin to withdraw nutrients from their leaves into their root systems.
During the vegetative stage, high nitrogen levels drive rapid cell division, resulting in soft, succulent growth. This is the ideal time to document tools used for precision thinning. As the photoperiod shortens, plants transition to the reproductive stage, increasing the lignin content in stems. You must time your storage book entries to capture this shift in resistance. Tools must be cleaned, oiled, and cataloged when the soil temperature drops below 50 degrees Fahrenheit, as microbial activity slows and the risk of transferring soil-borne pathogens decreases.
Phases:

Sowing
Begin by preparing the seedbed to a depth of 8 inches using a stainless steel garden fork. Ensure the soil is moist but not saturated; squeezing a handful should result in a ball that crumbles easily. This physical state allows for the accurate recording of seed-starting tools and dibbers.
Pro-Tip: Proper seed-to-soil contact is essential because of capillary action. Water must move from the soil particles into the seed coat to trigger germination. Documenting the specific tools that achieve this compression without over-compacting the soil is a critical metric for your reference book.
Transplanting
When moving seedlings, use a soil moisture meter to ensure the root ball is at 80% field capacity. Use a sharp trowel to create a hole twice the width of the root system. This minimizes mechanical damage to the delicate root hairs responsible for nutrient uptake.
Pro-Tip: Minimize light exposure to the roots to prevent auxin suppression. Auxins are hormones that drive root elongation; exposing them to UV light during transplanting can stall growth for several days, a phenomenon known as transplant shock.
Establishing
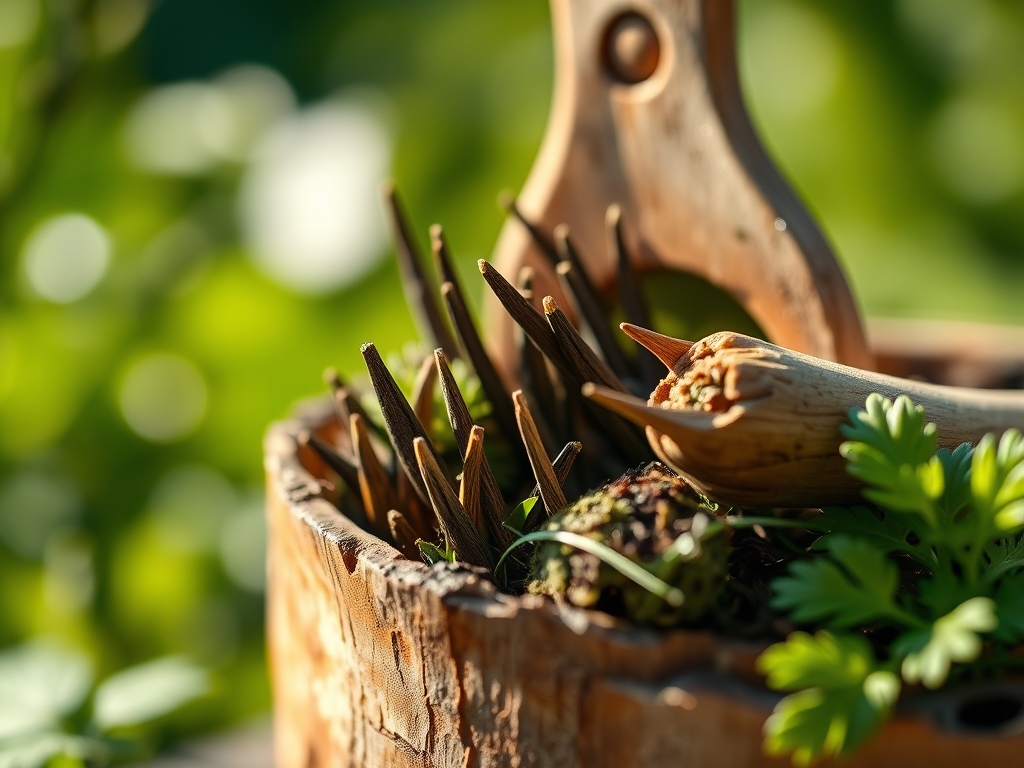
As plants mature, use a hori-hori knife to manage invasive species within the rhizosphere. This tool allows for deep vertical cuts that sever taproots without disrupting the lateral roots of the primary crop. Monitor the growth daily to ensure the plants are reaching their full structural potential for the storage book photos.
Pro-Tip: Encourage mycorrhizal symbiosis by avoiding deep tilling once plants are established. These fungi form a network that extends the reach of the root system, improving phosphorus uptake and overall plant resilience against the mechanical stress of pruning.
The Clinic:
Physiological disorders often manifest as visual cues that can ruin the aesthetic of a reference book.
-
Symptom: Interveinal chlorosis on young leaves.
-
Solution: This indicates an Iron deficiency, often caused by a pH above 7.0.
-
Fix-It: Apply chelated iron and adjust the soil pH to 6.5.
-
Symptom: Blossom end rot in fruit.
-
Solution: This is a Calcium transport issue, usually linked to inconsistent watering.
-
Fix-It: Maintain 1.5 inches of water per week and ensure the soil has adequate calcium levels.
-
Symptom: Purpling of older foliage.
-
Solution: Phosphorus deficiency, common in cold, wet soils.
-
Fix-It: Apply a high-phosphate fertilizer (0-20-0) and improve drainage to raise soil temperature.
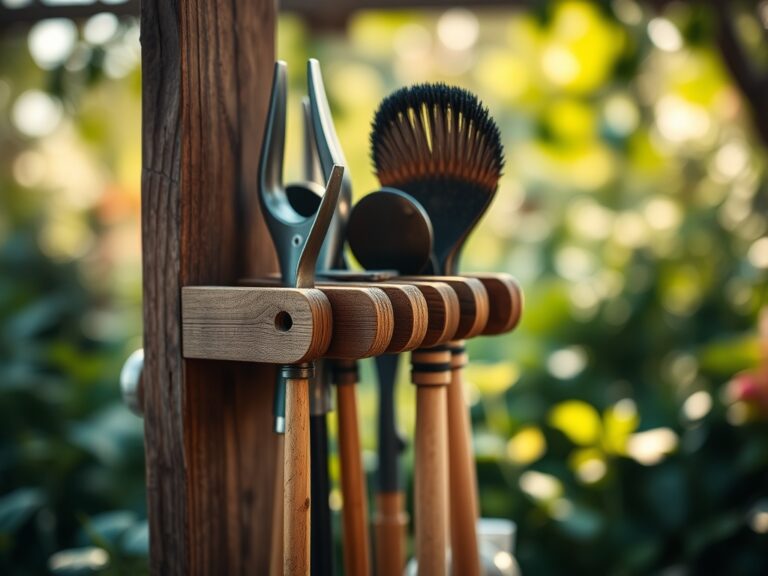
Maintenance:
Precision maintenance is the hallmark of a professional garden. Use a soil moisture meter twice weekly to ensure moisture levels remain between 60% and 70% of field capacity. Apply exactly 1.5 inches of water per week at the drip line, rather than the base of the stem, to encourage outward root expansion.
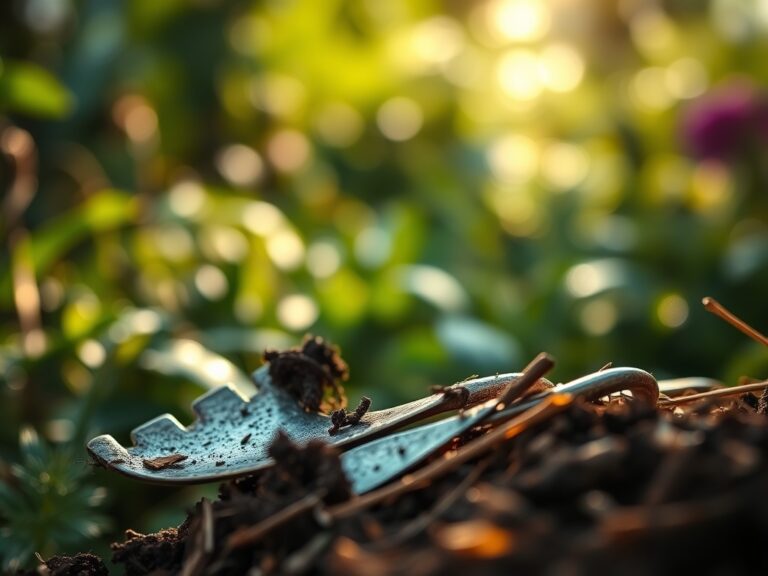
Tools require a rigorous maintenance protocol. After every use, scrub blades with a stiff brush to remove sap and soil. Sanitize with a 10% bleach solution or 70% isopropyl alcohol to prevent the spread of viral pathogens like Tobacco Mosaic Virus. Sharpen blades to a 20-degree angle using a whetstone, and coat all metal surfaces with a thin layer of mineral oil before placing them in the storage area for documentation.
The Yield:
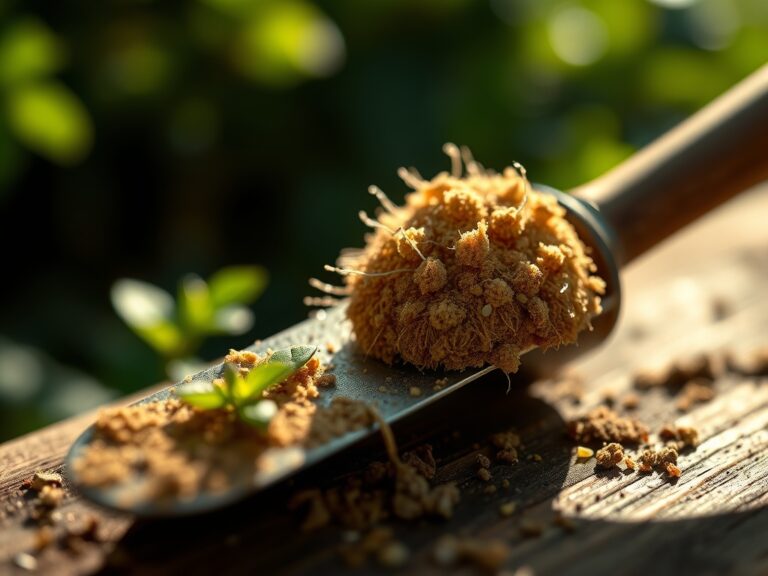
Harvesting for a reference book requires capturing the plant at its peak physiological state. For woody perennials, harvest cuttings when the stems are in a semi-hardwood state, typically mid-summer. Use bypass pruners to make a clean, 45-degree cut just above a node. This angle prevents water from pooling on the wound, which reduces the risk of fungal infection.
Post-harvest handling is critical for "day-one" freshness. Immediately submerge the cut ends in 40-degree Fahrenheit water to maintain turgor pressure. This rapid cooling slows the rate of respiration and prevents the plant material from wilting before it can be photographed for the tool storage book.
FAQ:
How do I prevent rust on stored tools?
Clean all soil from metal surfaces and dry them completely. Apply a light coating of mineral oil or silicone spray. Store tools in a low-humidity environment, ideally below 50% relative humidity, to prevent oxidation.
What is the best soil for testing garden tools?
A friable loam with a balanced mix of sand, silt, and clay provides the most consistent resistance. Ensure the soil is free of large rocks and has an organic matter content of at least 5%.
When should I sharpen my pruning tools?
Sharpen blades after every 10 hours of use or whenever you notice the tool crushing rather than slicing the plant tissue. A clean cut is essential for maintaining plant health and preventing disease entry.
How deep should I dig for soil preparation?
For most garden applications, prepare the soil to a depth of 8 to 12 inches. This provides an adequate volume for root development and allows tools like spades and forks to be tested at their full working depth.