8 Strategic Steps to Build a Tool Maintenance Site
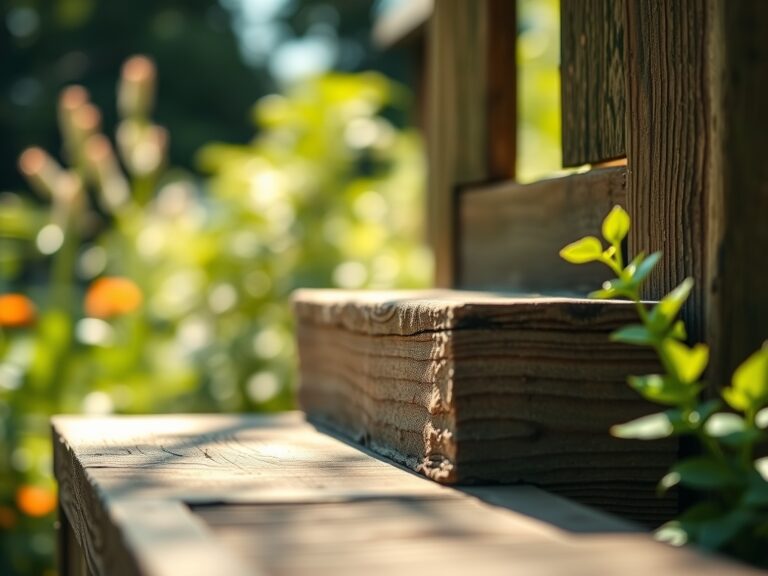
The scent of damp, anaerobic clay indicates a lack of pore space, while the crisp turgor of a well-hydrated leaf confirms a functioning vascular system. Establishing a dedicated workspace within your landscape requires more than just clearing a patch of dirt. To understand how to prepare a garden for a tool maintenance site, you must first assess the structural integrity of the soil and its drainage capacity. A maintenance site must be level, dry, and strategically positioned to prevent the migration of metal filings or petroleum-based lubricants into the surrounding rhizosphere. High-traffic areas around a workbench lead to soil compaction, which collapses the macropores necessary for oxygen exchange. By stabilizing the substrate with high-carbon mulch or permeable pavers, you protect the biological health of nearby perennials while creating a functional zone for sharpening and cleaning. This process integrates structural engineering with horticultural preservation. You are not just building a shed; you are managing a micro-ecosystem to ensure your mechanical interventions do not compromise the physiological health of your botanical collection.
Materials:
The ideal substrate for the perimeter of a maintenance site is a **friable loam** with a **pH range of 6.2 to 6.8**. This acidity level ensures that any peripheral plantings can maximize nutrient uptake. For stabilizing the soil around the site, use a base of crushed limestone or coarse basalt to provide high Cation Exchange Capacity (CEC).
If you plan to grow screening plants around the site, incorporate organic matter with specific NPK ratios. For vegetative growth and structural strength, a 10-5-5 NPK ratio is preferred. Nitrogen (N) drives the chlorophyll production in the leaf canopy, while Phosphorus (P) and Potassium (K) support root development and cellular wall integrity. Ensure the soil has a bulk density of less than 1.6 g/cm3 to prevent root restriction.
Timing:
Hardiness Zones 4 through 8 should initiate site preparation during the shoulder seasons. The ideal window is 30 days before the first frost or 15 days after the last spring frost. This timing aligns with the plant's biological clock, specifically the transition from the vegetative stage to dormancy or active growth.
During the fall, plants undergo senescence, where nutrients are translocated from the leaves to the root system. Preparing the site during this phase minimizes the risk of disrupting the photoperiod-sensitive growth cycles. In colder zones, wait until the soil temperature reaches a consistent 55 degrees Fahrenheit at a depth of four inches before excavating for a permanent foundation.
Phases:

Sowing
If using a living ground cover like clover or creeping thyme around the maintenance bench, sow seeds at a depth of 1/8 inch. Maintain a consistent moisture level to ensure the radical can penetrate the soil surface.
Pro-Tip: Utilize mycorrhizal symbiosis by inoculating seeds with fungal spores. This biological partnership extends the root's reach, allowing the plant to scavenge phosphorus and water more efficiently from the surrounding soil.
Transplanting
When moving established shrubs to clear space for the maintenance site, preserve the root ball's diameter, which should be at least 12 inches for every inch of trunk caliper. Replant at the same depth to avoid stem rot.
Pro-Tip: Avoid heavy fertilization immediately after transplanting to prevent auxin suppression. High nitrogen levels can trick the plant into focusing on foliage growth when it should be prioritizing root re-establishment.
Establishing
The establishment phase requires monitoring turgor pressure. New plantings around the site need deep, infrequent watering to encourage downward root migration.
Pro-Tip: Observe phototropism in your screening plants. If they lean aggressively toward the light, prune back overhanging limbs to ensure the maintenance site receives adequate ventilation and the plants receive balanced solar radiation.
The Clinic:
Physiological disorders often manifest when the garden environment is altered by construction.
- Nitrogen Chlorosis: Leaves turn pale yellow while veins remain green. This occurs if high-carbon mulch (like fresh wood chips) is tilled into the soil, causing microbes to "lock up" nitrogen. Fix-It: Apply a blood meal or urea-based fertilizer to restore N levels.
- Iron Deficiency: New growth appears bleached. This is common in high pH soils (above 7.5). Fix-It: Lower the pH with elemental sulfur or apply chelated iron foliar spray.
- Blossom End Rot: Though usually associated with fruit, this calcium deficiency indicates irregular transpiration. Fix-It: Maintain consistent soil moisture and apply calcium nitrate if soil tests show low CEC.
- Leaf Scorch: Brown, necrotic edges on leaves near the maintenance site. This is often caused by wind desiccation or salt buildup. Fix-It: Install a windbreak or flush the soil with two inches of water to leach salts.
Maintenance:
Precision is the hallmark of a professional horticulturist. Use a soil moisture meter to ensure the root zone remains between 20% and 40% volumetric water content. Apply exactly 1.5 inches of water per week at the drip line of any surrounding trees.
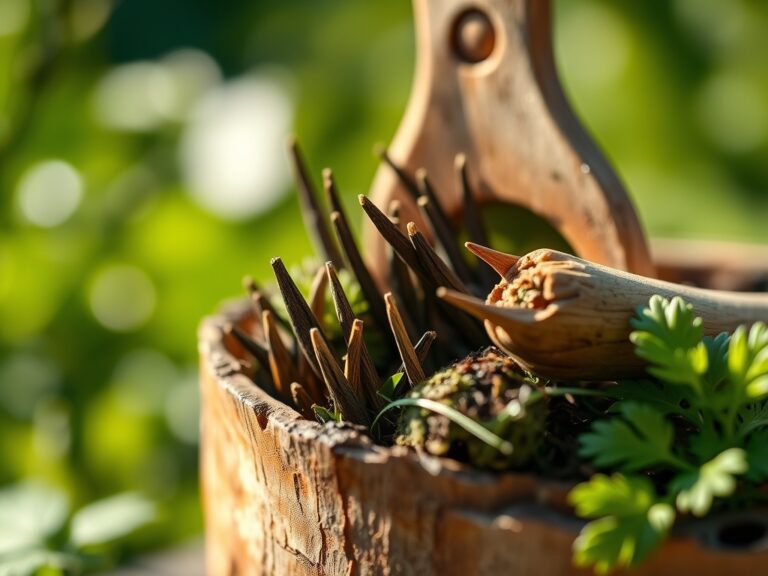
Keep your bypass pruners sharp to ensure clean cuts that heal quickly through the formation of callus tissue. When removing weeds near the maintenance site, use a hori-hori knife to extract the entire taproot, preventing regrowth from adventitious buds. Disinfect all blades with 70% isopropyl alcohol after each use to prevent the spread of soil-borne pathogens like Verticillium dahliae.
The Yield:
If your maintenance site is bordered by medicinal herbs or cut flowers, harvest during the pre-dawn hours when plant turgidity is at its peak. Use a sharp blade to minimize vascular crushing.
For post-harvest longevity, immediately submerge stems in 40-degree Fahrenheit water. This rapid cooling slows the metabolic rate and delays the onset of senescence. For woody stems, a 45-degree angled cut increases the surface area for water uptake, ensuring "day-one" freshness for up to ten days.
FAQ:
How do I prevent soil compaction near my tool bench?
Install a permeable gravel base or wooden decking. This distributes weight across the surface, protecting the soil macropores from collapsing and ensuring oxygen continues to reach the rhizosphere of nearby plants.
What is the best pH for garden soil?
Most garden plants thrive in a pH of 6.2 to 6.8. This range optimizes the solubility of essential macronutrients like nitrogen, phosphorus, and potassium, ensuring they are chemically available for root uptake.
How much water do new plants need?
Target 1.5 inches of water per week, delivered in two deep sessions. Use a soil moisture meter to verify the water reaches a depth of six inches, which encourages deep, drought-resistant root systems.
Can I use cedar mulch near my maintenance site?
Yes. Cedar mulch has allelopathic properties that naturally repel certain insects. It also has a high carbon-to-nitrogen ratio, meaning it decomposes slowly and provides long-term soil temperature stabilization and moisture retention.
How do I fix yellow leaves on my shrubs?
Yellowing, or chlorosis, usually indicates a nitrogen deficiency or high soil pH. Conduct a soil test to check NPK levels. If nitrogen is low, apply a high-nitrogen organic amendment like feather meal.