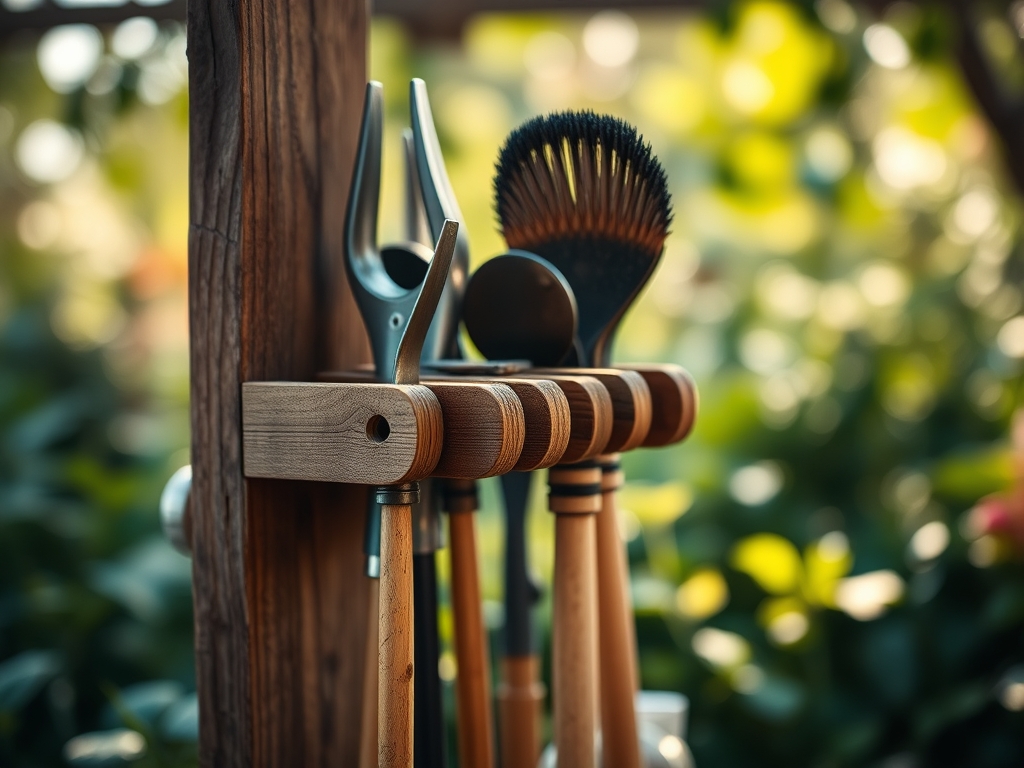
8 Best Wall-Mounted Tool Racks for Garden Storage
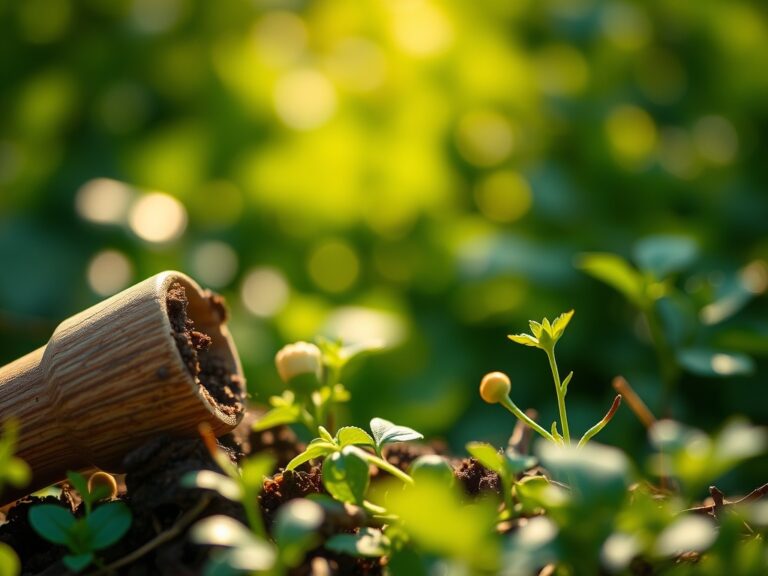
The scent of damp humus and the turgor pressure of a hydrated cell wall define the professional workspace. A gardener's efficiency is dictated by the organization of their workspace; chaos in the shed leads to neglect in the field. To maintain high-performance standards, selecting the best tool racks for garden storage is a foundational requirement for any serious horticultural operation. Proper vertical storage prevents metal oxidation and maintains the structural integrity of wooden handles by keeping them off damp concrete floors. When tools are organized, the transition from the potting bench to the bed is seamless. This systematic approach ensures that every bypass pruner and long-handled spade is accessible when the soil temperature hits the critical 55 degree Fahrenheit mark for spring planting. A wall-mounted system is not merely about aesthetics; it is a technical necessity for maintaining a sterile and functional environment where tools are cleaned, dried, and stored to prevent the spread of soil-borne pathogens across the rhizosphere.
Materials:
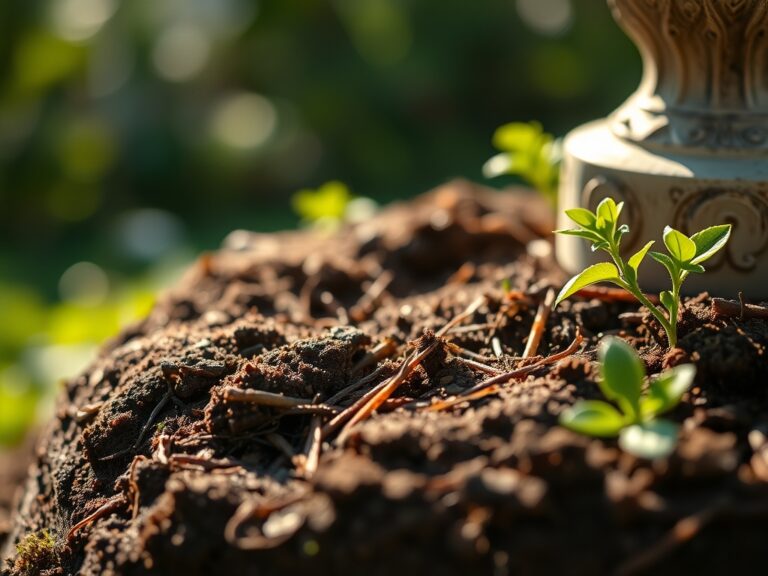
Successful cultivation begins with the substrate. For most temperate garden species, a friable loam with a Cation Exchange Capacity (CEC) above 15 is the gold standard. This texture allows for optimal gas exchange and water retention without compaction. When preparing your beds, aim for a soil pH between 6.2 and 6.8 to ensure maximum bioavailability of micronutrients.
Specific NPK ratios must be tailored to the plant's life cycle. During the initial establishment phase, a 10-10-10 balanced fertilizer provides the necessary phosphorus for root elongation. As the plant moves into high-growth periods, shifting to a higher Nitrogen (N) ratio, such as 20-10-10, supports the development of chlorophyll and leaf biomass. If your soil test reveals high sand content, incorporate organic matter to increase the CEC; this prevents the leaching of mobile nutrients like nitrate and potassium during heavy irrigation cycles or rain events.
Timing:
Precision in timing is the difference between a successful harvest and crop failure. Gardeners in Hardiness Zones 5 through 8 must monitor the last frost date with clinical accuracy. The biological clock of a plant is triggered by the photoperiod and soil temperature. Most warm-season crops require a consistent soil temperature of 65 degrees Fahrenheit for germination.
The transition from the vegetative stage to the reproductive stage is often dictated by the accumulation of Growing Degree Days (GDD). For example, determinate tomato varieties may require 1,200 GDD to reach maturity. Monitoring these heat units allows a horticulturist to predict harvest windows within a 48 hour margin. Failure to respect these windows leads to senescence before the fruit has reached peak sugar concentration or structural maturity.
Phases:
Sowing
Seeds must be placed at a depth exactly 2 to 3 times their diameter to ensure adequate moisture contact while allowing the hypocotyl to reach the surface before energy reserves are exhausted. Maintain a consistent 70 percent humidity in the propagation tray.
Pro-Tip: Utilize bottom heat to stimulate auxin production in the root apical meristem. This hormonal surge accelerates cellular division; it ensures the seedling establishes a robust vascular system before the first true leaves appear.
Transplanting
When moving starts to the field, minimize transplant shock by hardening off the plants over a 7 day period. Reduce water frequency and expose them to ambient UV levels gradually. Ensure the root ball is saturated before placement to maintain turgor pressure during the move.
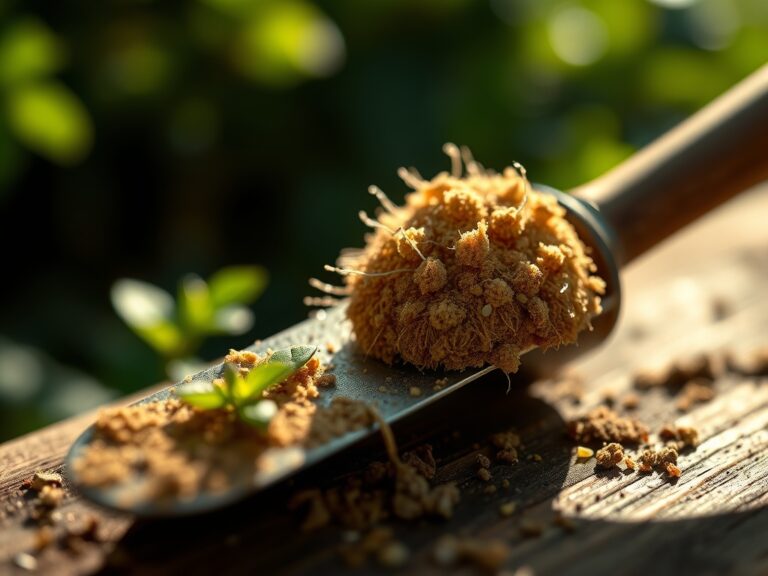
Pro-Tip: Inoculate the planting hole with mycorrhizal fungi. This symbiotic relationship expands the surface area of the root system by up to 100 times; it significantly enhances the plant's ability to uptake phosphorus and water in competitive environments.
Establishing
During the first 21 days in the ground, the plant focuses on downward root expansion. Limit high-nitrogen fertilizers during this window to prevent excessive top-growth that the immature root system cannot support. Monitor the drip line for moisture consistency.
Pro-Tip: Practice apical bud pinching on specific herbs and ornamentals to suppress auxin dominance. This redirecting of hormones encourages lateral branching; it results in a bushier, more structurally sound plant capable of supporting a heavier fruit load.
The Clinic:
Physiological disorders often mimic infectious diseases but are rooted in environmental stress or nutrient imbalances.
- Symptom: Interveinal chlorosis on young leaves.
- Solution: This indicates an Iron (Fe) deficiency, often caused by a pH above 7.0. Lower the pH using elemental sulfur to make iron bioavailable.
- Symptom: Blossom end rot in Solanaceae.
- Solution: This is a Calcium (Ca) transport issue. Ensure consistent irrigation to allow the plant to move calcium through the xylem; avoid high-nitrogen fertilizers that cause rapid, succulent growth.
- Symptom: Purple tinting on the underside of older leaves.
- Solution: This is Phosphorus (P) deficiency. Check soil temperatures; if the soil is below 55 degrees Fahrenheit, phosphorus uptake is biologically inhibited regardless of soil concentration.
Fix-It: For general Nitrogen chlorosis (yellowing of older leaves), apply a foliar spray of fish emulsion or urea for immediate uptake while amending the soil with blood meal for long-term release.
Maintenance:
A rigorous maintenance schedule prevents the degradation of both plant health and equipment. Deliver exactly 1.5 inches of water per week at the drip line; use a soil moisture meter to verify that the water is penetrating to a depth of 6 inches. Avoid overhead irrigation to minimize the risk of fungal spores germinating on the leaf surface.
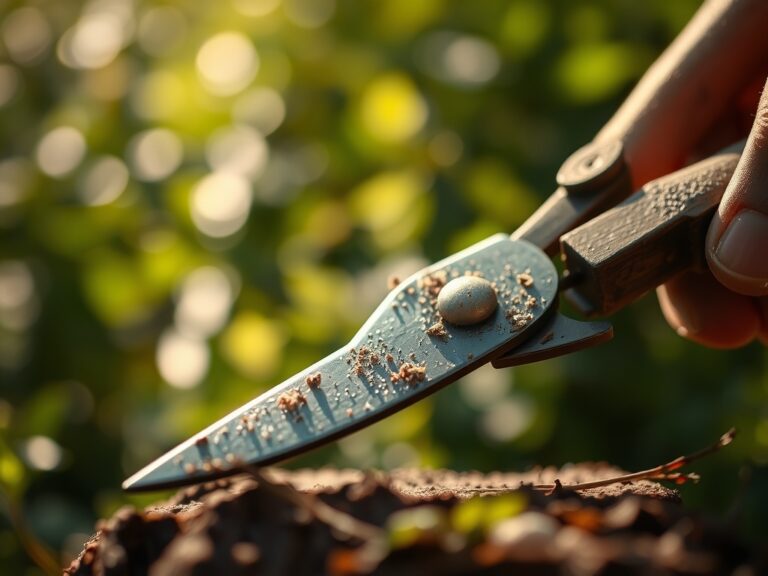
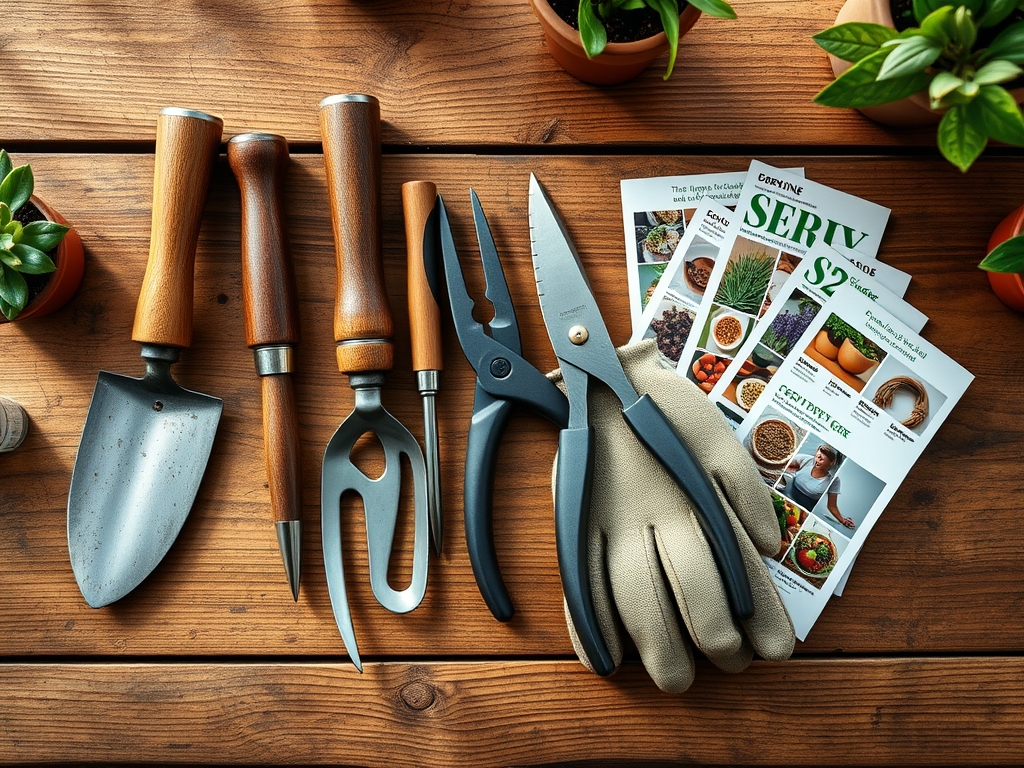
Keep your hori-hori knife and bypass pruners sharp and disinfected with a 70 percent isopropyl alcohol solution between every cut. Dull blades crush the vascular tissue rather than slicing it; this creates a ragged wound that is slow to callus and prone to infection. Use a soil moisture meter daily during the peak of summer to monitor the evapotranspiration rate.
The Yield:
Harvesting is a surgical process. For leafy greens, harvest in the early morning when turgor pressure is at its peak; this ensures the leaves remain crisp. For fruiting bodies, use a sharp blade to sever the pedicel rather than pulling, which can damage the main stem's vascular system.
Post-harvest handling is critical for "day-one" freshness. Immediately reduce the field heat by placing produce in a shaded, cool environment. For high-respiration crops, a quick hydro-cooling dip in 40 degree Fahrenheit water slows the metabolic rate and prevents the rapid breakdown of sugars and vitamins.
FAQ:
What is the best height for a tool rack?
Install the primary rail at 72 inches from the floor. This allows long-handled tools like hoes and rakes to hang vertically without touching the ground; it prevents moisture wicking and handle rot in wooden implements.
How do I prevent rust on stored tools?
Clean tools with a wire brush to remove all soil. Wipe metal surfaces with a thin layer of mineral oil before hanging them on the rack. This creates a hydrophobic barrier that prevents oxidation during high-humidity months.
Can I store power tools on the same rack?
Yes, provided the rack is rated for the weight. Ensure the lithium-ion batteries are removed and stored in a climate-controlled environment between 50 and 70 degrees Fahrenheit to prevent cell degradation and capacity loss.
Why should tools be hung instead of leaned?
Leaning tools puts constant lateral pressure on the handles; this can lead to warping or bowing over time. Vertical hanging uses gravity to maintain straightness and ensures air circulation around the tool head to prevent fungal growth.