7 Classic Steps to Sharpen a Saw with a Bench Stone
Freshly turned earth emits a pungent scent of geosmin while the high turgor pressure of a healthy oak limb resists the blade. A dull saw tears through the vascular cambium; it creates ragged wounds that invite fungal pathogens like Verticillium dahliae. Precise maintenance is the only way to ensure clean cuts that allow the plant to compartmentalize decay. Mastering the steps for sharpening a garden saw with a stone ensures your tools match the biological needs of your orchard. Proper sharpening requires a steady hand and an understanding of metallurgy to maintain the integrity of the steel teeth.
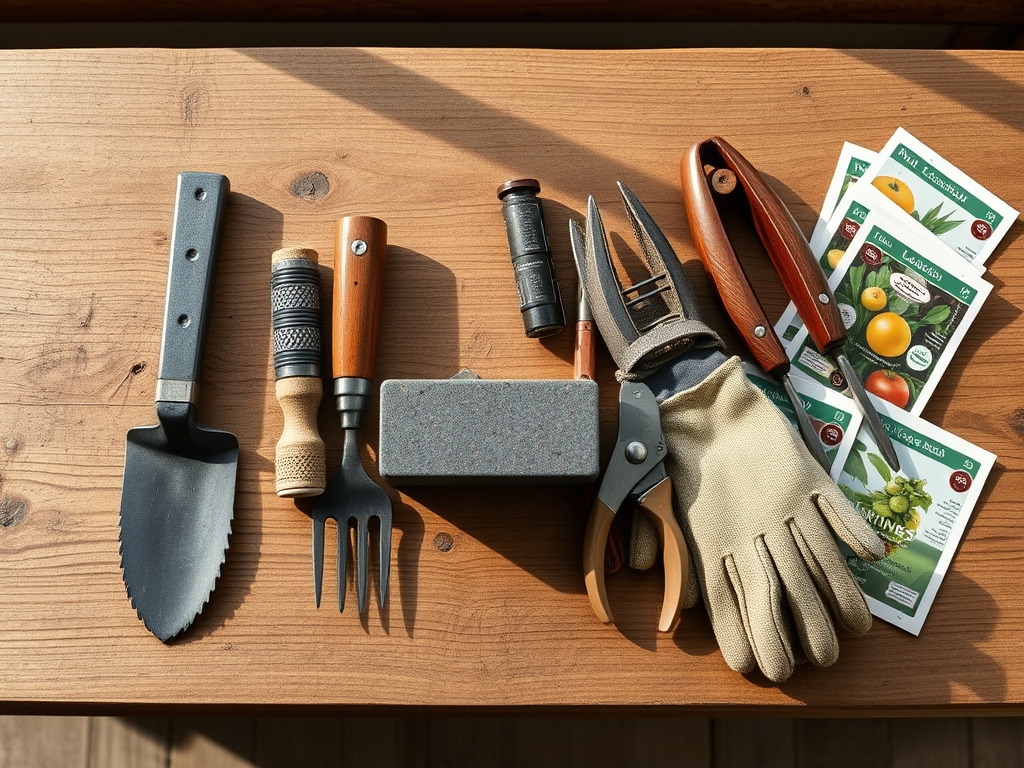
Materials:
While tool maintenance occurs in the workshop, the health of the plants you prune depends on the soil substrate they inhabit. For woody perennials, an ideal substrate is a **friable loam** with a **pH between 6.0 and 6.8**. This acidity level optimizes the availability of phosphorus, which is essential for root recovery after heavy pruning. Ensure the soil has a high **Cation Exchange Capacity (CEC)** of at least **15 to 25 meq/100g** to hold onto essential nutrients. During the recovery phase, apply a fertilizer with an **NPK ratio of 10-10-10** to provide balanced support for both new vegetative growth and root stability.
Timing:
The window for sharpening and subsequent pruning is dictated by the USDA Hardiness Zones. In Zones 5 through 7, the primary sharpening window occurs in late winter, typically between January and early March. This timing aligns with the "Biological Clock" of the plant as it transitions from a dormant state to the early stages of the vegetative cycle. You must complete your tool preparation before the photoperiod increases enough to trigger sap flow. Pruning with a stone-sharpened blade during this dormant phase minimizes the loss of vital carbohydrates stored in the root system and prevents the disruption of the plant's internal hydraulic pressure.
Phases:

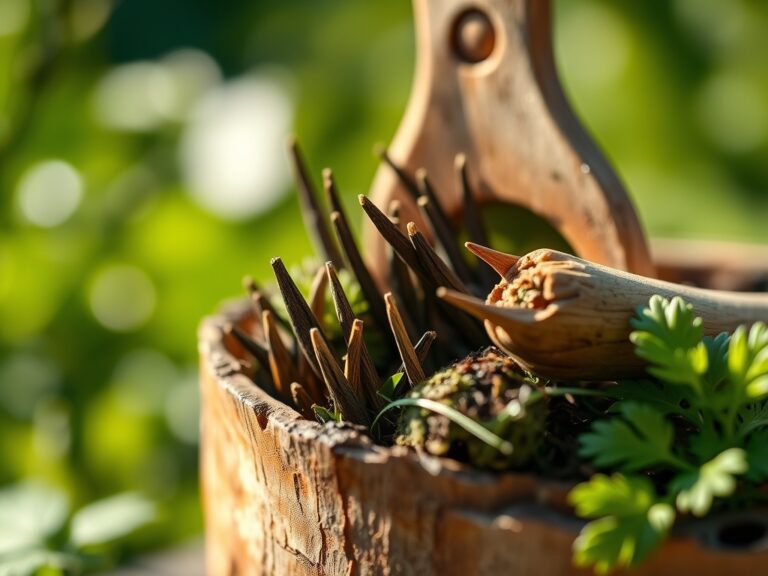
Sowing the Edge
Begin by securing the saw in a vise with the teeth pointing upward. Use a medium-grit whetstone (1000 grit) to level the tops of the teeth if they have become uneven. This process, known as jointing, ensures that every tooth engages the wood fibers simultaneously. Move the stone horizontally across the length of the blade until a small flat spot appears on the tip of every tooth.
Pro-Tip: Maintaining a uniform tooth height prevents "chatter" during the cut. This stability reduces mechanical stress on the plant's xylem vessels, preventing microscopic fractures that can lead to localized senescence.
Transplanting the Angle
Align your bench stone at a 60-degree angle to the blade. This angle is standard for crosscut saws used in arboriculture. Stroke the stone away from the gullet toward the point of the tooth. Work on every second tooth along one side of the blade before flipping the saw to complete the alternating teeth. Consistency in the angle is paramount for a clean shear.
Pro-Tip: A precise angle ensures the blade slices through the cellulose and lignin of the cell walls rather than crushing them. This promotes faster healing through the production of callus tissue at the wound site.
Establishing the Set
The "set" refers to the outward bend of the teeth which creates a kerf wider than the blade itself. Use a saw set tool to bend the teeth approximately 0.005 to 0.010 inches outward. If the set is too narrow, the blade will bind; if it is too wide, the cut will be inefficient and rough. After setting, run a fine-grit stone (4000 grit) lightly along the sides of the teeth to remove any burrs.
Pro-Tip: Proper kerf width reduces friction and heat. Excessive heat during pruning can cause thermal necrosis in the surrounding cambium layer, hindering the plant's ability to transport water via transpiration.
The Clinic:
Physiological disorders in plants often mirror the damage caused by poor tool maintenance.
- Symptom: Ragged, "chewed" bark edges at the pruning site.
- Solution: Sharpen the saw using the steps above; a dull blade creates entry points for canker-causing bacteria.
- Symptom: Yellowing of older leaves (Nitrogen chlorosis).
- Fix-It: Apply a high-nitrogen supplement. If the soil pH is above 7.5, nitrogen becomes locked; lower the pH using elemental sulfur.
- Symptom: Dieback of branch tips after pruning.
- Solution: Ensure the saw was sterilized with 70 percent isopropyl alcohol. Pathogens often hitchhike on uncleaned, dull blades.
Maintenance:
A sharp saw is only as effective as the gardener's care for the plant's rhizosphere. After pruning, monitor the soil with a soil moisture meter to ensure it maintains a consistent hydration level. Provide 1.5 inches of water per week at the drip line to support the metabolic costs of healing. Use a hori-hori knife to remove any competing weeds within a three-foot radius of the trunk. For smaller corrective cuts, utilize bypass pruners that have been honed with the same precision as your garden saw.
The Yield:
When harvesting fruit or collecting scion wood, timing is critical. Harvest pome fruits when the base color shifts from green to yellow. For scion wood, cut during deep dormancy when the auxin levels are lowest at the tips. Use your sharpened saw to make a single, swift 45-degree cut. To maintain "day-one" freshness for scions, wrap the cut ends in damp sphagnum moss and store at 34 to 40 degrees Fahrenheit to suppress metabolic activity until grafting.
FAQ:
How often should I use a stone on my garden saw?
Sharpen the blade after every 10 to 15 hours of heavy use or whenever you notice increased resistance. Dull teeth tear the vascular cambium, which increases the risk of infection and slows the plant's natural recovery.
What grit stone is best for garden saws?
Use a 1000-grit stone for removing nicks and a 4000-grit stone for final honing. This combination creates a "surgical" edge that slices through lignified tissues without causing unnecessary cellular trauma to the tree or shrub.
Can I use oil on my sharpening stone?
Use water for whetsones and honing oil for Arkansas stones. Lubrication carries away metal filings (swarf) that would otherwise clog the stone's pores. A clean stone ensures a consistent bevel and prevents rounding the tooth's cutting edge.
Why does my saw bind even after sharpening?
Binding usually indicates an improper "set." If the teeth are not bent outward to at least 0.005 inches, the kerf will be too narrow for the blade. This creates friction, generates heat, and damages the plant's xylem.