9 Basic Steps to Clean Garden Shears After Use
The smell of damp earth and the crisp snap of high turgor pressure in a healthy stem define a successful day in the field. However; every cut introduces a vector for pathogens to bypass the plant epidermis. Neglecting the essential steps for cleaning a garden shears after use invites fungal spores and bacterial blights to colonize your tool steel. Proper hygiene ensures that the vascular tissue of your next specimen remains uncompromised by cross-contamination or dull, crushing edges.
Materials:
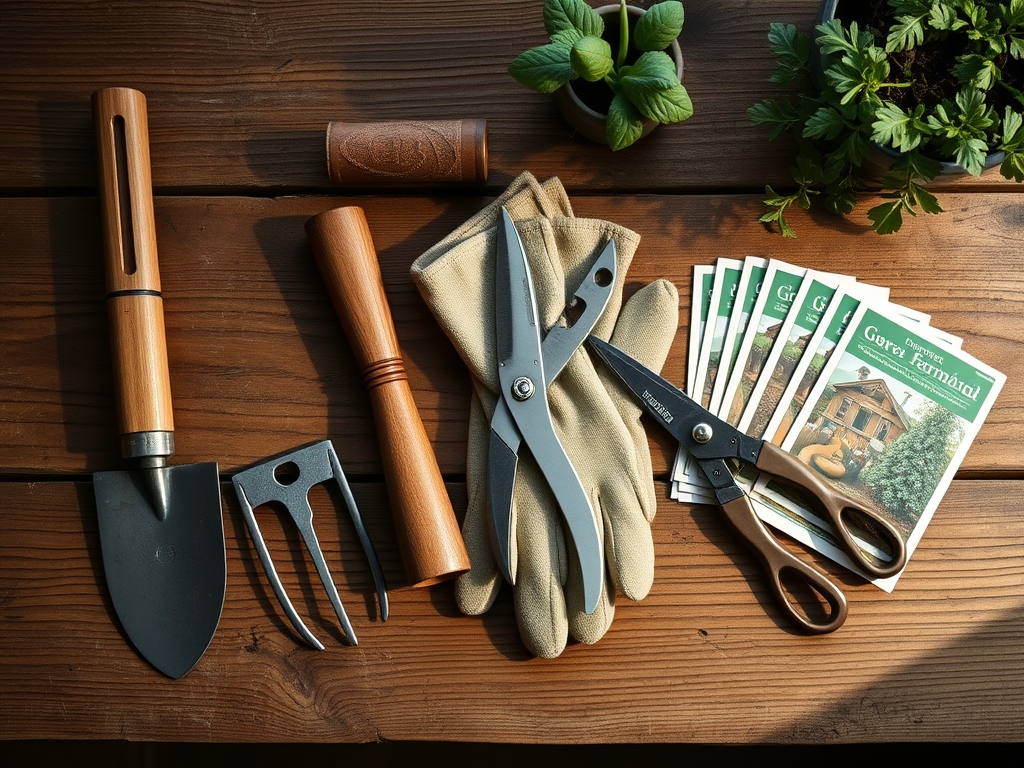
To maintain the integrity of your tools, you must understand the environment they inhabit. Most garden soils thrive at a **pH of 6.0 to 7.0**, where the **Cation Exchange Capacity (CEC)** allows for optimal nutrient uptake. A **friable loam** substrate, rich in organic matter, often leaves behind a residue of nitrogen, phosphorus, and potassium. Specifically; residues of **10-10-10 NPK** fertilizers can be corrosive to carbon steel if left to oxidize. You will need a stiff nylon brush, 70 percent isopropyl alcohol, a fine-grit diamond file, and a clean microfiber cloth.
Timing:
Maintenance schedules must align with your local Hardiness Zone and the biological clock of your collection. In Zones 5 through 7, the transition from vegetative growth to reproductive stages typically occurs as the photoperiod shifts in mid-summer. Pruning during this window requires sterilized tools to prevent the introduction of Botrytis or Fusarium during the plant's high-energy expenditure phase. Always clean your shears before the first frost-date window to prevent sap from hardening into a lacquered crust during winter dormancy.
Phases:

Sowing and Preparation
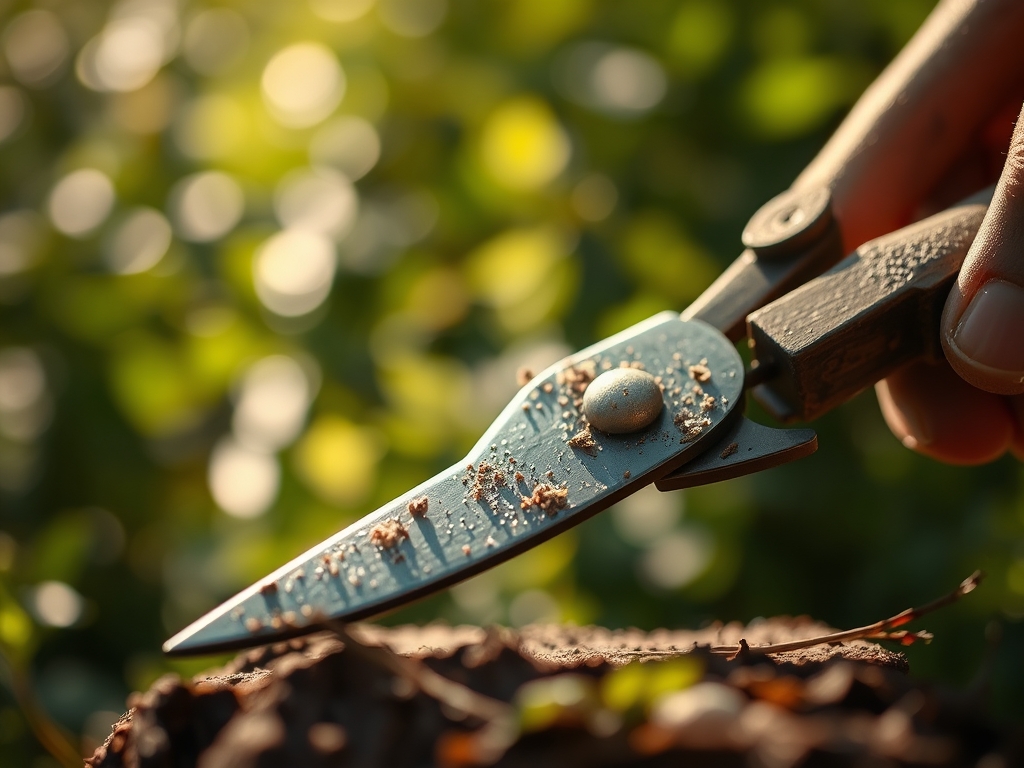
Before the first seed hits the medium, your shears must be stripped of last season's pathogens. Start by scrubbing the blades with warm, soapy water to remove macroscopic debris. This physical removal is the first of the steps for cleaning a garden shears after use. It clears the path for chemical disinfectants to reach the metal surface.
Pro-Tip: Removing organic matter prevents the formation of biofilms. Biofilms can shield bacteria from sanitizers; ensuring your cuts do not interrupt the auxin suppression necessary for apical dominance.
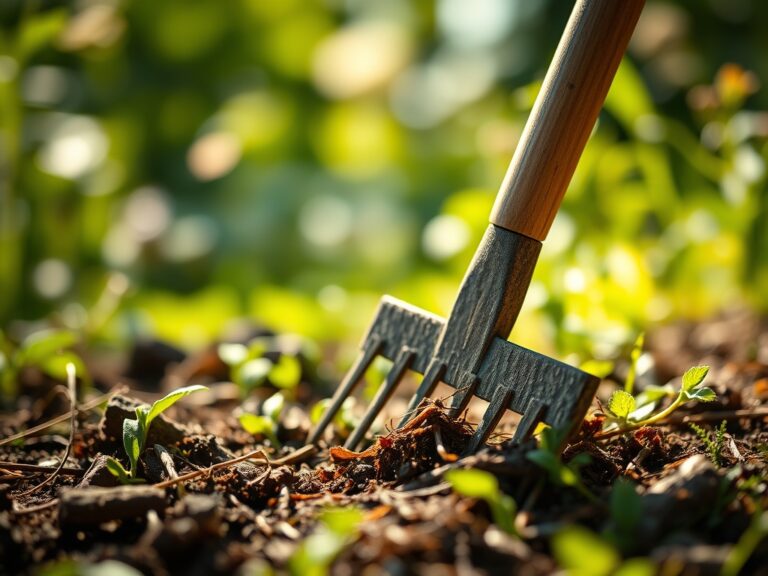
Transplanting and Tool Integration
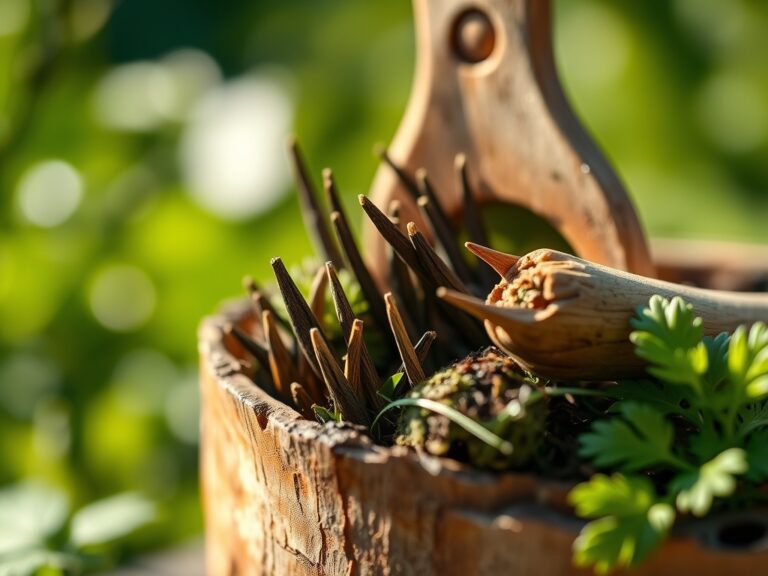
When moving starts into a rhizosphere rich with mycorrhizal symbiosis, your tools often touch the soil directly. Use a hori-hori knife for the heavy lifting; but use your shears for fine root pruning. After each plant, wipe the blades with an alcohol-soaked pad. This prevents the spread of soil-borne nematodes between different planting sites.
Pro-Tip: Maintaining a sharp, sterile edge promotes rapid callus formation. This allows the plant to restore turgor pressure quickly; minimizing transplant shock and preventing wilting.
Establishing and Mid-Season Care
As the plant enters its peak vegetative state, sap flow is at its highest. This sticky resin acts as a glue for dust and fungal spores. Use a steel wool pad (0000 grade) to remove stubborn sap deposits. Follow this with a dry lubricant to ensure the pivot bolt operates without friction.
Pro-Tip: Friction in the pivot point causes jagged cuts. Smooth cuts allow for faster lignification of the wound site; which is the plant's primary defense against senescence induced by injury.
The Clinic:
Plant health is often a reflection of tool hygiene and soil chemistry.
Symptom: Interveinal chlorosis on new growth.
Solution: This indicates a micronutrient deficiency or a pH imbalance. Test the soil; if pH is above 7.5, iron becomes unavailable.
Fix-It: Apply chelated iron and ensure shears are clean to avoid stressing the weakened plant.
Symptom: Necrotic lesions at the site of previous cuts.
Solution: This is a sign of bacterial canker introduced by contaminated blades.
Fix-It: Prune back to healthy wood using shears soaked in a 10 percent bleach solution for 30 seconds between every single cut.
Symptom: Nitrogen chlorosis (yellowing of lower leaves).
Solution: The plant is scavenging nitrogen from old growth to support new foliage.
Fix-It: Amend with a high-nitrogen organic meal (NPK 12-0-0) and ensure your bypass pruners are sharp to avoid tearing the vascular bundles during removal of dead tissue.
Maintenance:
Precision gardening requires consistent data. Use a soil moisture meter to ensure your plants receive exactly 1.5 inches of water per week at the drip line. For your tools; the maintenance routine is equally rigid. After the 9 steps for cleaning a garden shears after use are complete; apply a thin layer of camellia oil to the blades. Store them in a dry environment to prevent the formation of ferric oxide. Inspect the tension of the pivot nut monthly; it should be tight enough to cut a single sheet of paper but loose enough to open with minimal thumb pressure.
The Yield:
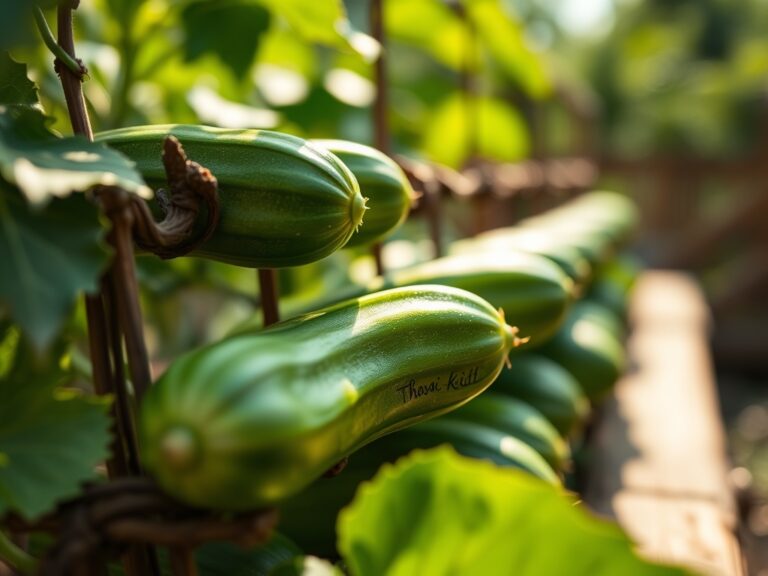
When harvesting, timing is everything. For most fruiting crops; harvest in the early morning when turgor pressure is at its peak. Use your cleaned shears to snip the pedicel rather than pulling the fruit. This preserves the shelf life and prevents tearing the main stem. For flowers; immediately plunge the stems into 100-degree Fahrenheit water to break air locks in the xylem. This "hardening off" process ensures day-one freshness for the maximum duration.
FAQ:
What is the best disinfectant for garden shears?
70 percent isopropyl alcohol is the professional standard. It evaporates quickly; kills most plant pathogens on contact; and does not require rinsing. Unlike bleach; it will not pit or corrode high-carbon steel blades over time.
How often should I sharpen my pruning blades?
Sharpen every 500 to 1,000 cuts or whenever you notice the blade crushing the stem rather than slicing it. Use a diamond file at a 20-degree angle to maintain the factory bevel for optimal performance.
Can I use WD-40 to lubricate my garden tools?
WD-40 is a solvent; not a long-term lubricant. Use mineral oil or camellia oil instead. These are non-toxic to plants and provide a lasting protective barrier against moisture and oxidation without contaminating the vascular system of the plant.
Why are my shears tearing the bark of my trees?
This usually indicates a loose pivot bolt or a dull blade. When the blades have a gap; they fold the tissue instead of shearing it. Tighten the nut and hone the edge to ensure a clean; surgical incision.