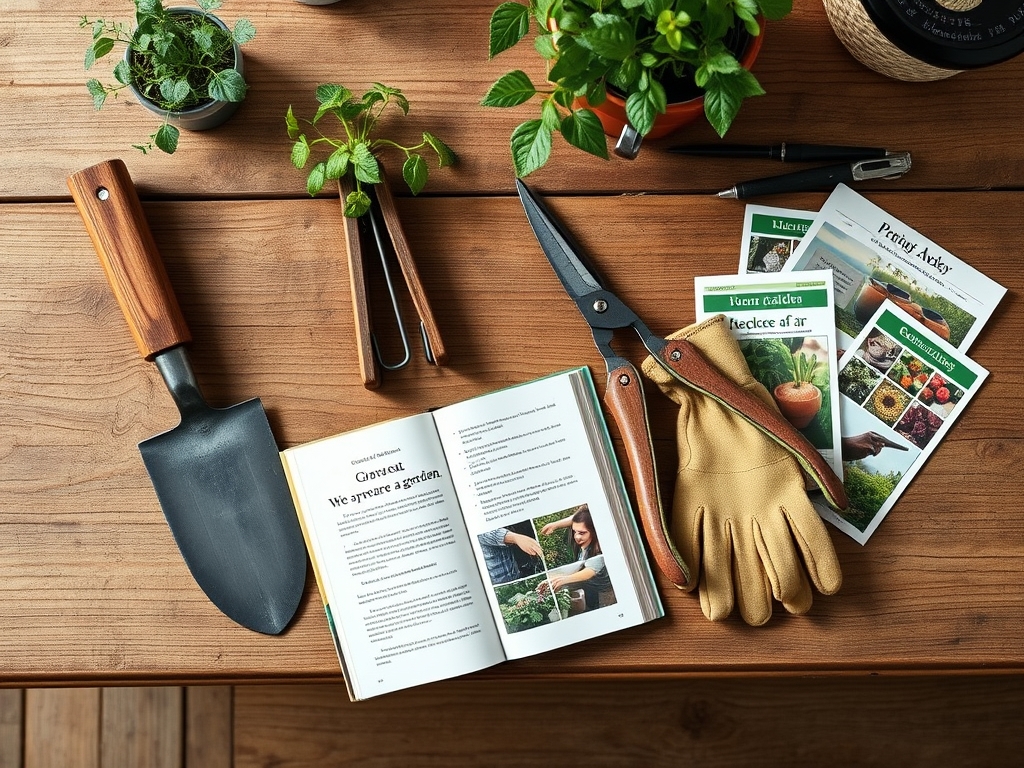
9 Visual Steps to Prepare a Workshop Tool Care Book
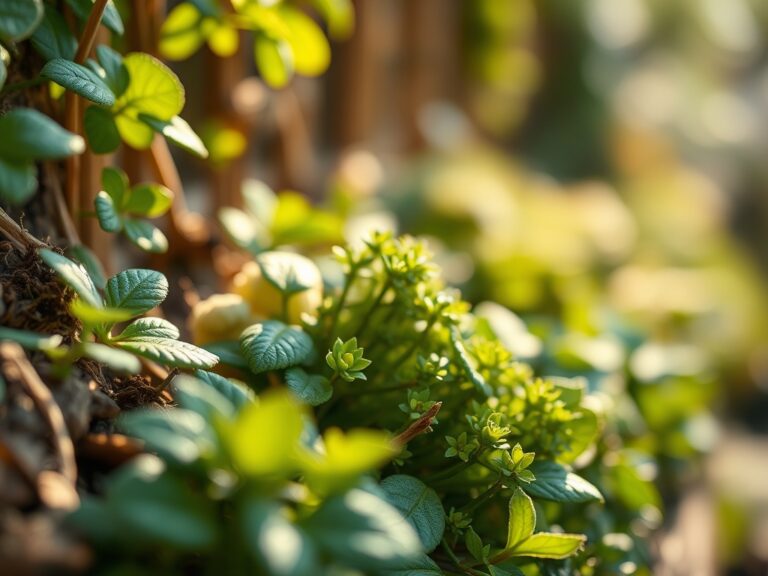
The smell of damp earth after a cold rain signifies a shift in the microbial activity of the rhizosphere. When the turgor pressure in a plant's vascular system is optimal, the leaves stand rigid; this is the ideal environment to document the intersection of botany and mechanics. Learning how to prepare a garden for a tool care book requires more than just a clean plot. It demands a controlled environment where soil health and plant physiology provide a consistent backdrop for technical photography. You must manage the site to ensure that every bypass pruner or hori-hori knife is shown against a landscape of high biological integrity. This guide focuses on the scientific rigor needed to stabilize a garden for professional documentation.
Materials:
The foundation of a photogenic and healthy garden is a friable loam with a high Cation Exchange Capacity (CEC). This substrate should consist of 40 percent sand, 40 percent silt, and 20 percent clay. Maintain a soil pH between 6.2 and 6.8 to ensure maximum nutrient bioavailability. For the vegetative stage, utilize a fertilizer with an NPK ratio of 10-5-5 to encourage dense, chlorophyll-rich foliage. As plants transition to the reproductive phase, shift to a 5-10-10 ratio to support structural rigidity and bloom development. The physical texture must be loose enough to allow for root penetration but firm enough to support the weight of heavy garden implements during staging.
Timing:
Timing is dictated by the USDA Hardiness Zones and the specific photoperiod requirements of your selected species. In Zones 5 through 7, the primary window for garden preparation begins 14 days after the last predicted frost date. You must synchronize your planting with the biological clock of the species; most woody perennials require a chilling period (vernalization) to trigger spring growth. Monitor the transition from the vegetative stage to the reproductive stage. For a tool care book, you want plants at peak turgor pressure before senescence begins. This ensures the background foliage remains a deep, consistent green, providing the necessary contrast for metallic tools.
Phases:

Sowing and Soil Inoculation
Direct sow seeds at a depth exactly three times the diameter of the seed. Inoculate the soil with mycorrhizal fungi to extend the reach of the root system.
Pro-Tip: Mycorrhizal symbiosis increases the surface area of the roots, allowing for better phosphorus uptake and drought resistance. This biological partnership ensures the plants remain resilient during long photo shoots.
Transplanting and Root Management
When moving seedlings, ensure the root ball remains intact to prevent transplant shock. Dig a hole twice as wide as the root mass and set the plant so the crown is level with the soil surface.
Pro-Tip: Proper crown placement prevents stem rot and ensures the auxin suppression remains balanced. If a plant is buried too deep, gas exchange is inhibited, leading to cellular hypoxia.
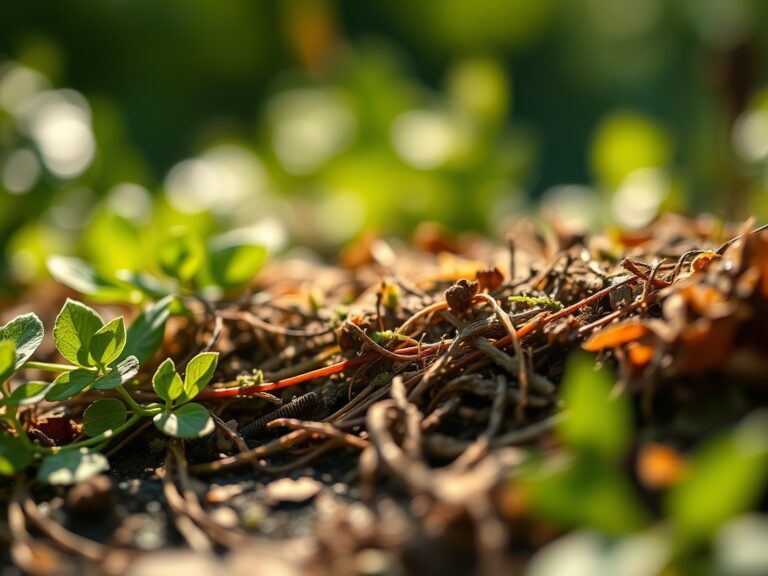
Establishing and Structural Pruning
Use bypass pruners to remove any crossing branches or necrotic tissue. This directs the plant's energy toward terminal buds and strengthens the primary scaffold.
Pro-Tip: Pruning triggers apical dominance by removing the source of auxins at the tips. This encourages lateral branching, creating a fuller, more dense backdrop for your workshop photography.
The Clinic:
Physiological disorders can ruin the visual consistency of a garden. Use the following diagnostic criteria to maintain a pristine environment.
Symptom: Interveinal chlorosis on young leaves.
Solution: This indicates an Iron (Fe) deficiency, often caused by a pH above 7.0. Apply chelated iron to the soil or as a foliar spray to restore chlorophyll production.
Symptom: Leaf margins appearing scorched or brown.
Solution: This is typically Potassium (K) deficiency. Increase the application of potash to improve water regulation within the plant's stomata.
Symptom: Stunted growth with purple tinting on the underside of leaves.
Solution: Phosphorus (P) deficiency is the culprit. Apply bone meal or a high-phosphate fertilizer to support ATP production and energy transfer.
Fix-It for Nitrogen Chlorosis: If older leaves turn a uniform pale yellow, apply a high-nitrogen liquid fertilizer (such as fish emulsion) to provide an immediate boost to the rhizosphere.
Maintenance:
Precision maintenance is the difference between a wild plot and a professional set. Provide exactly 1.5 inches of water per week at the drip line. Use a soil moisture meter to ensure the substrate stays between 60 and 80 percent field capacity. Overwatering leads to root rot, while underwatering causes the plant to lose turgor and wilt.
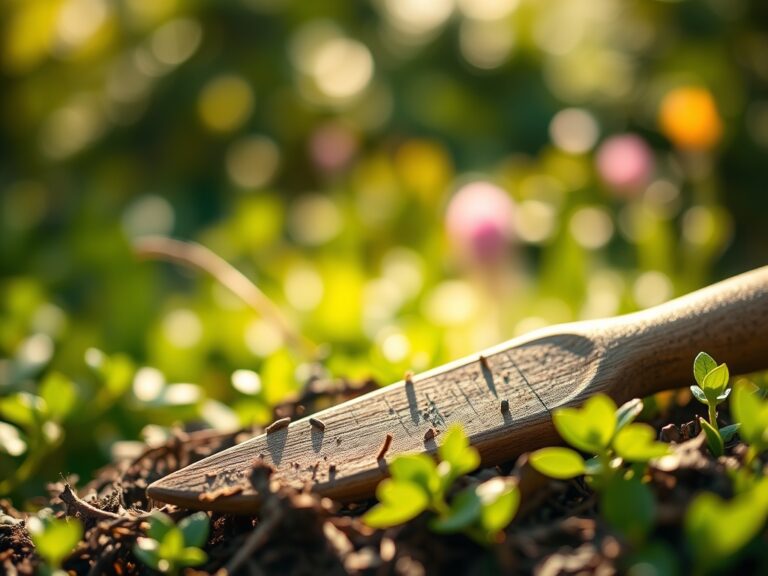
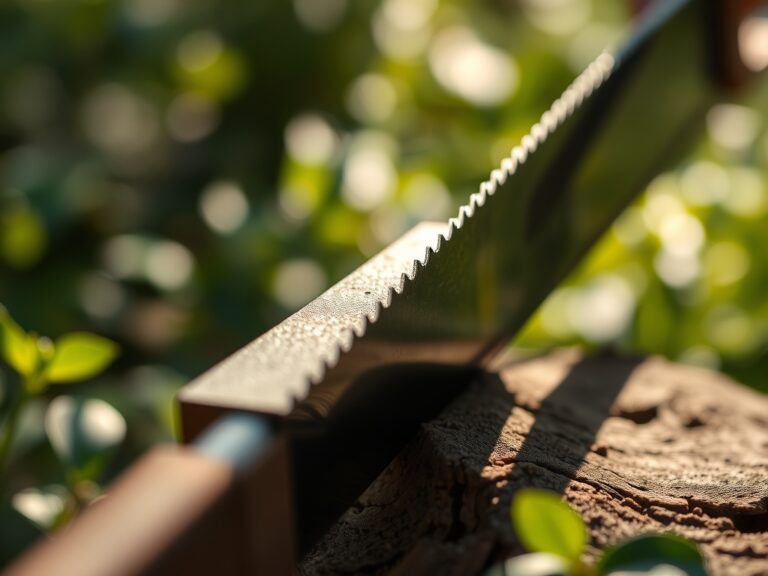
Keep your hori-hori knife sharpened to a 20-degree angle for clean weeding that does not disturb the primary root systems of your backdrop plants. Regularly calibrate your bypass pruners to ensure every cut is a clean shear rather than a crush; crushed tissue is an entry point for pathogens. Monitor the soil temperature; most temperate garden plants perform best when the root zone remains between 65 and 75 degrees Fahrenheit.
The Yield:
If your tool care book includes edible or flowering plants, harvest timing is critical for "day-one" freshness. Harvest flowers in the early morning when turgor pressure is at its highest and temperatures are lowest. Use a sharp, sterilized blade to make a 45-degree cut, which maximizes the surface area for water uptake.
Immediately plunge the stems into 100-degree Fahrenheit water to remove air bubbles from the xylem. For woody stems, a vertical slit at the base of the stem can further improve hydration. Store the harvested material in a cool, dark location at 40 degrees Fahrenheit to slow down the metabolic rate and delay senescence.
FAQ:
How do I fix yellow leaves before a shoot?
Identify if the yellowing is localized or systemic. For nitrogen-based chlorosis, apply a water-soluble 20-20-20 fertilizer. This provides an immediate nutrient spike to the foliage, restoring the dark green color within 48 to 72 hours.
What is the best soil for photography?
A dark, organic-rich loam with 5 percent organic matter provides the best visual contrast. Ensure the soil is moist but not saturated; wet soil reflects light harshly, while dry soil appears grey and lifeless on camera.
How often should I calibrate my soil meter?
Calibrate your soil moisture meter every 30 days using a distilled water standard. Accurate readings are essential to maintain the field capacity required for consistent plant growth and structural integrity during the book preparation process.
Can I use mulch in a tool care garden?
Yes, use a fine-textured hardwood mulch applied to a depth of 2 inches. This suppresses weeds and maintains soil moisture levels. Avoid dyed mulches, as they can leach chemicals that alter the soil pH and Cation Exchange Capacity.