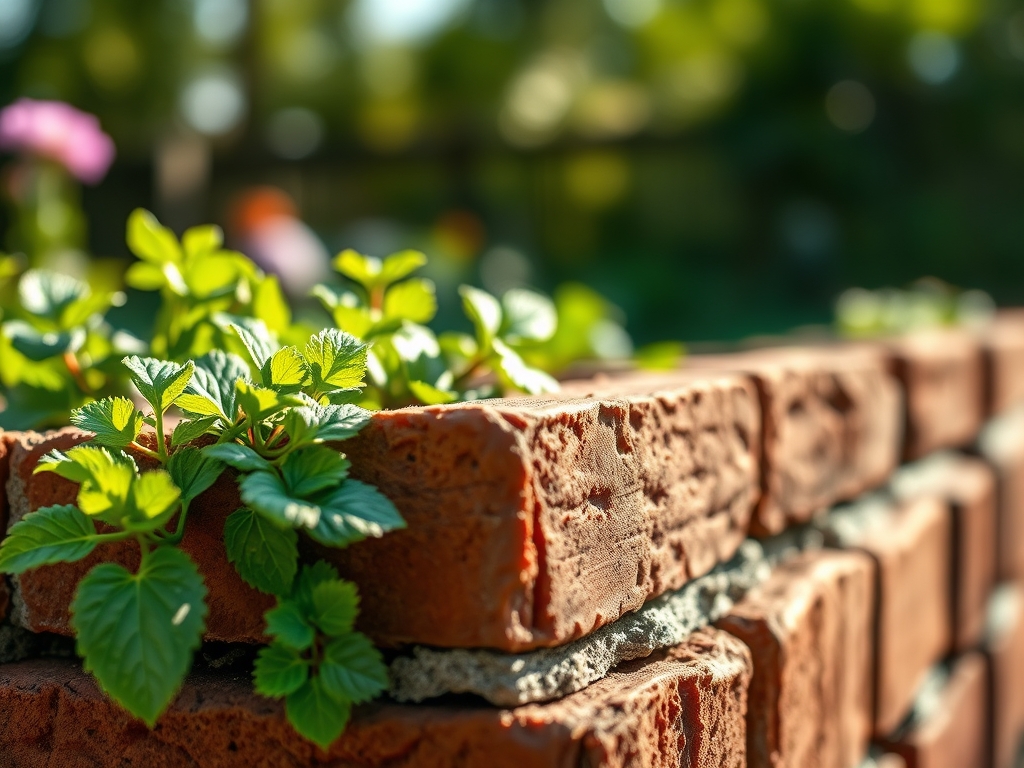
8 Solid Ways How to Build a Raised Brick Bed
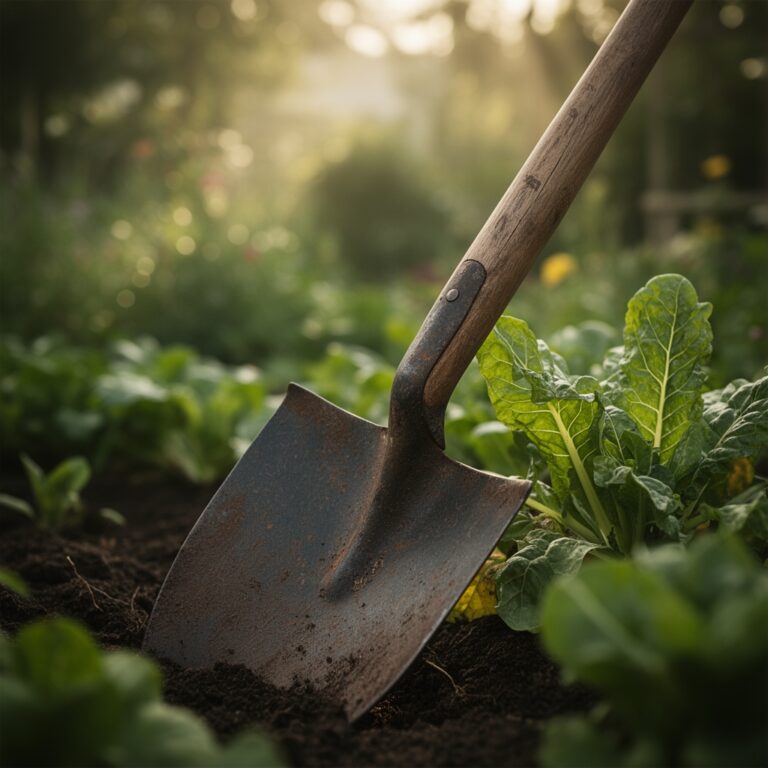
Crushing a handful of damp, friable loam reveals the distinct scent of geosmin; it is the olfactory signature of a healthy rhizosphere. When you learn how to build a raised brick bed, you are not merely stacking masonry. You are engineering a controlled environment to maximize turgor pressure and nutrient uptake. Bricks provide superior thermal mass compared to timber. They stabilize soil temperatures, protecting sensitive root systems from the volatile fluctuations of early spring and late autumn.
Materials:
The success of a raised bed depends on the chemical composition of the substrate. For a standard vegetable or perennial bed, target a **pH level between 6.2 and 6.8**. This range ensures maximum bioavailability of macronutrients. Your initial soil mix should follow a specific **NPK ratio of 10-10-10** for general establishment, or **5-10-10** if you are prioritizing root development and flowering over vegetative biomass.
The physical texture must be a friable loam. This consists of roughly 40% sand, 40% silt, and 20% clay. This ratio facilitates a high Cation Exchange Capacity (CEC), allowing the soil to hold onto essential nutrients like calcium and magnesium rather than letting them leach through the profile. You will need approximately 1.5 tons of soil for a 4×8 foot bed that is 12 inches deep. Ensure you use weather-grade clay bricks; interior bricks will succumb to spalling during freeze-thaw cycles.
Timing:
Timing your construction is critical for biological integration. In Hardiness Zones 5 through 7, construction should conclude at least 21 days before the average last frost date. This window allows the soil microbiology to stabilize before the first transplanting phase. The "Biological Clock" of your plants dictates that vegetative growth requires consistent nitrogen levels, while the transition to the reproductive stage (flowering and fruiting) requires a shift toward phosphorus and potassium.
Monitor the soil temperature with a probe. Most temperate crops require a minimum soil temperature of 55 degrees Fahrenheit for active root respiration. Building in late winter ensures the thermal mass of the bricks can absorb solar radiation, warming the soil faster than traditional in-ground plots.
Phases:

Sowing
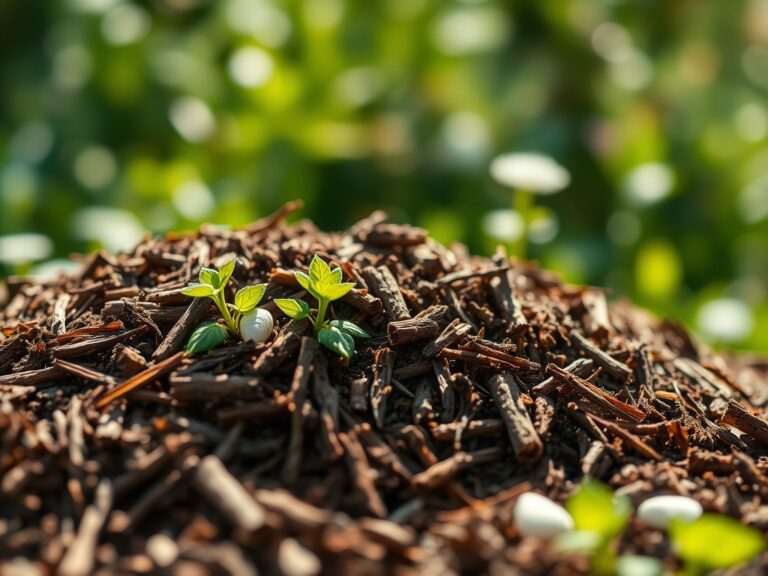
Direct sow seeds at a depth exactly three times the diameter of the seed. For small seeds like carrots, this may only be 0.125 inches. Maintain consistent moisture to ensure the seed coat softens and the radicle emerges.
Pro-Tip: Maintain a consistent moisture film on the seed coat to prevent desiccation. The Biological Why: This triggers the activation of gibberellins, the hormones responsible for breaking seed dormancy and initiating the elongation of the hypocotyl.
Transplanting
When moving seedlings from a greenhouse environment to the brick bed, you must account for transplant shock. Dig a hole twice the width of the root ball. Ensure the crown of the plant sits exactly at the soil line to prevent stem rot.
Pro-Tip: Inoculate the planting hole with mycorrhizal fungi. The Biological Why: This establishes a symbiotic relationship where the fungi extend the root system's reach, increasing the surface area for water and phosphorus absorption via hyphae.
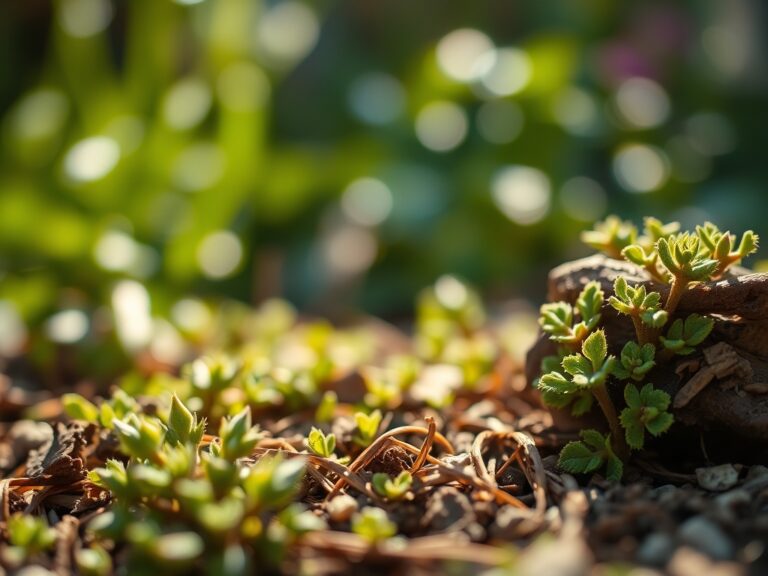
Establishing
During the first 14 to 21 days, the plant focuses on root architecture rather than leaf production. Avoid high-nitrogen fertilizers during this phase to prevent "leggy" growth.
Pro-Tip: Pinch off early flower buds on young transplants. The Biological Why: This redirects the plant's energy from reproductive efforts (seed production) back into vegetative growth and root establishment by suppressing auxin dominance in the apical meristem.
The Clinic:
Physiological disorders often mimic infectious diseases. Accurate diagnosis is essential for crop health.
- Blossom End Rot: Observed as a necrotic, sunken area on the base of fruit. This is a calcium deficiency often caused by inconsistent moisture levels. Fix-It: Maintain a consistent irrigation schedule to ensure calcium ions can move through the xylem.
- Nitrogen Chlorosis: Characterized by the yellowing of older, lower leaves while the veins remain green. Fix-It: Apply a liquid kelp or fish emulsion with a high N-rating (e.g., 5-1-1) for rapid uptake.
- Interveinal Chlorosis (Magnesium Deficiency): Yellowing between the veins of older leaves, often appearing as a marbled pattern. Fix-It: Apply Epsom salts (magnesium sulfate) at a rate of 1 tablespoon per gallon of water.
- Leaf Curl (Heat Stress): The margins of the leaves roll inward to reduce surface area. Fix-It: Increase irrigation frequency and consider a 30% shade cloth if temperatures exceed 90 degrees Fahrenheit.
Maintenance:
Precision maintenance prevents systemic failure. Use a soil moisture meter daily; do not rely on visual inspection of the surface. Most crops require 1.5 inches of water per week delivered at the drip line to avoid wetting the foliage, which can invite fungal pathogens.
Utilize a hori-hori knife for deep weeding to ensure the entire taproot is removed without disturbing the surrounding soil structure. For woody perennials within the bed, use bypass pruners to make clean, slanted cuts at a 45-degree angle just above a lateral bud. This encourages rapid compartmentalization of the wound. Every six months, top-dress the bed with 2 inches of organic compost to replenish the Cation Exchange Capacity and maintain soil volume.
The Yield:
Harvesting is the final stage of the plant's life cycle or its seasonal production. For leafy greens, harvest in the early morning (before 8:00 AM) when turgor pressure is at its peak. This ensures the cells are fully hydrated, providing the crispest texture.
For fruiting crops like tomatoes or peppers, harvest when the fruit has reached 90% color saturation. Use bypass pruners to snip the pedicel; pulling the fruit can damage the main stem and create an entry point for pathogens. Post-harvest, immediately move the produce to a cool, dark environment to slow the rate of respiration and senescence. This preserves the sugars and vitamins within the plant tissues.
FAQ:
What is the best mortar for a brick garden bed?
Use a Type N mortar, which is composed of 1 part Portland cement, 1 part lime, and 6 parts sand. It offers the flexibility needed for outdoor temperature shifts while providing sufficient structural integrity for soil pressure.
Do I need a foundation for a brick raised bed?
For beds over 18 inches tall, a 4-inch deep gravel trench or a concrete footer is necessary. This prevents the bricks from heaving or cracking due to soil settling and hydrostatic pressure from within the bed.
How do I prevent the bricks from leaching lime?
New bricks and mortar can slightly raise soil pH. Monitor the soil annually. If the pH climbs above 7.2, incorporate elemental sulfur or acidic organic matter like peat moss to neutralize the alkalinity and maintain nutrient availability.
Can I build a brick bed without mortar?
Dry-stacking is possible for beds under 12 inches high. However, you must use wide bricks or a double-row thickness. Without mortar, the bed will eventually shift due to the lateral pressure of wet soil and root expansion.