6 Simple Steps to Install Metal Edging
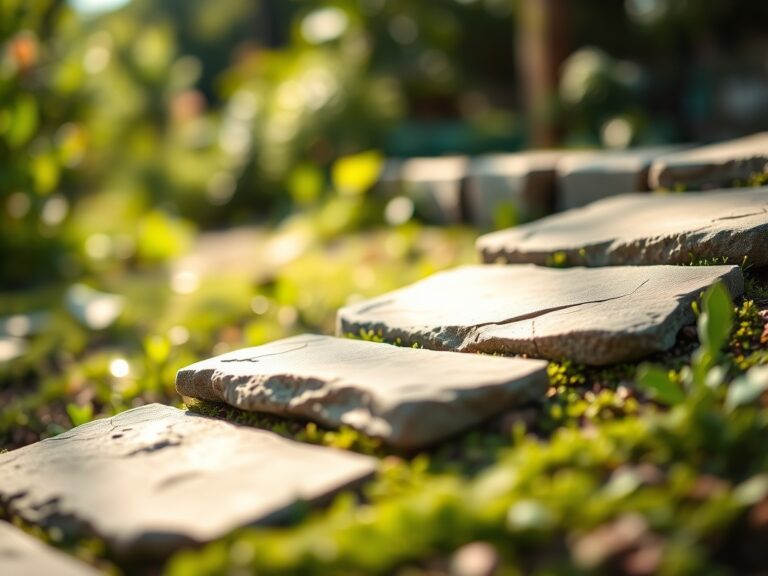
Damp earth releases a sharp, geosmin-heavy scent as the spade cuts through the root zone, exposing the intricate network of the rhizosphere. Maintaining structural integrity in the landscape requires more than aesthetic preference; it demands the containment of aggressive rhizomes and the preservation of soil horizons. To achieve a permanent boundary between turfgrass and ornamental beds, follow these specific steps to install metal edging with precision. This process ensures high turgor pressure in border plants by preventing moisture competition from encroaching grass species.
Materials:
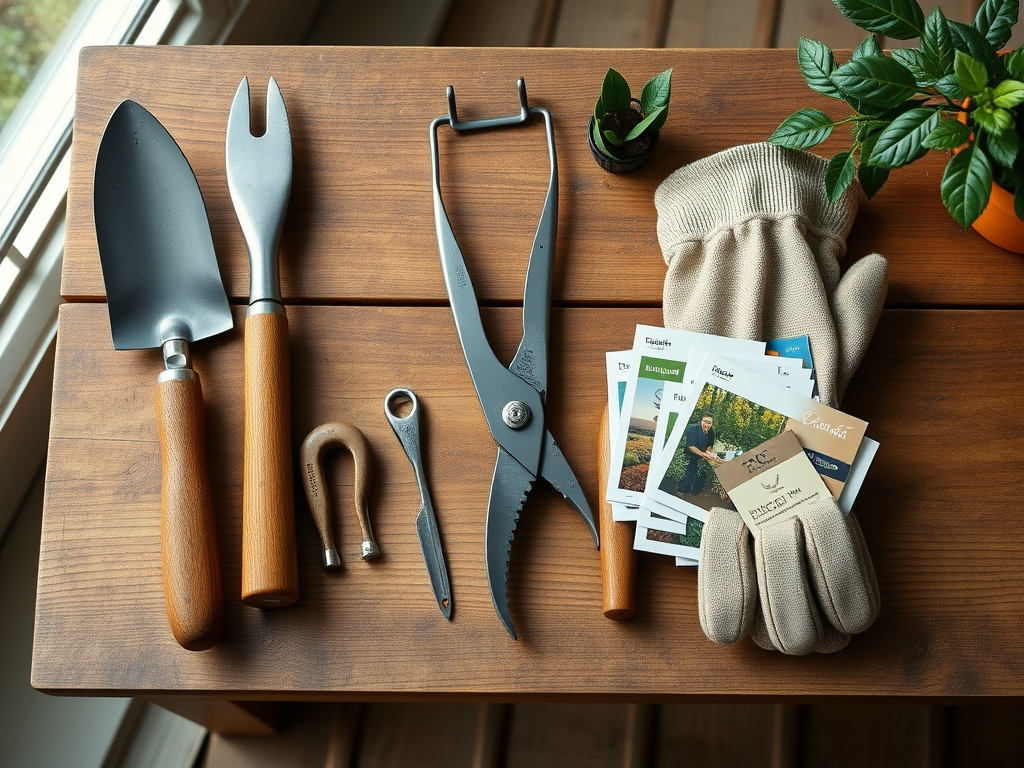
The substrate must be a **friable loam** with a Cation Exchange Capacity (CEC) between **15 and 25 milliequivalents per 100 grams**. Before installation, test the soil pH; most temperate ornamentals thrive at a **6.5 pH level**. If the soil is heavy clay, incorporate organic matter to improve drainage. For nutrient management, ensure the bed contains a balanced NPK ratio of **10-10-10** or a nitrogen-heavy **20-10-10** if supporting dense vegetative growth. You will need 14-gauge steel or aluminum edging, a heavy mallet, a flat-head spade, and safety gloves to handle the sharp edges of the metal.
Timing:
Successful installation occurs during the dormant season or early spring before the "Biological Clock" triggers the transition from vegetative to reproductive stages. In Hardiness Zones 4 through 7, the window opens once the ground thaws but before the first flush of spring growth. Avoid installation during peak summer heat when soil moisture is low and plant turgor is compromised. Installing edging during the spring allows the root systems to recover from any peripheral damage before the high-demand photoperiod of the summer solstice.
Phases:

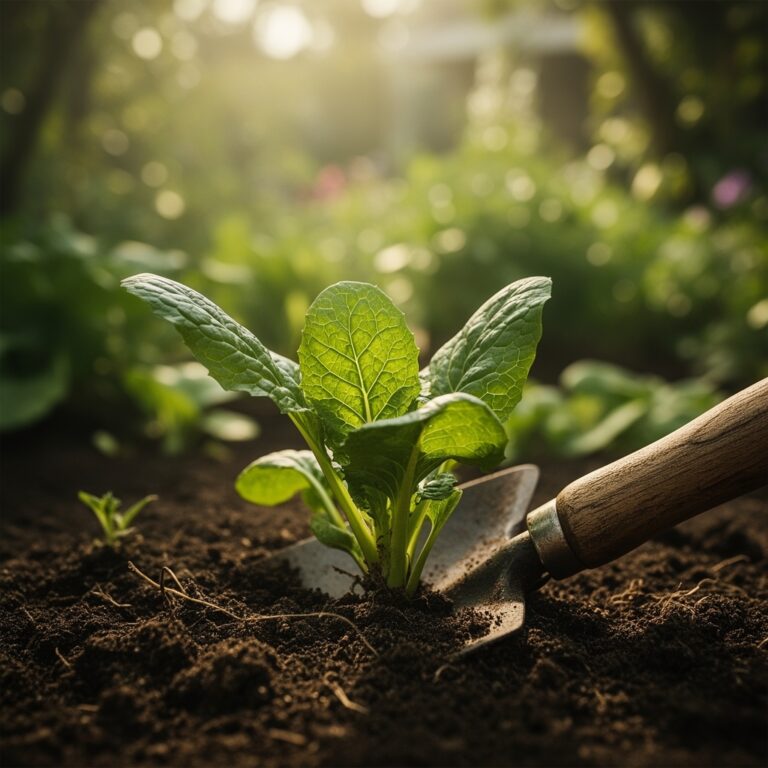
Sowing the Line
Mark the perimeter using a string line or a garden hose to define the curve. Use a sharp spade to cut a vertical trench 4 to 6 inches deep. This depth is critical to intercept the majority of lateral root growth in the topsoil layer.
Pro-Tip: Cutting cleanly through the soil minimizes damage to the existing mycorrhizal symbiosis, the fungal network that facilitates nutrient uptake for the surrounding flora.
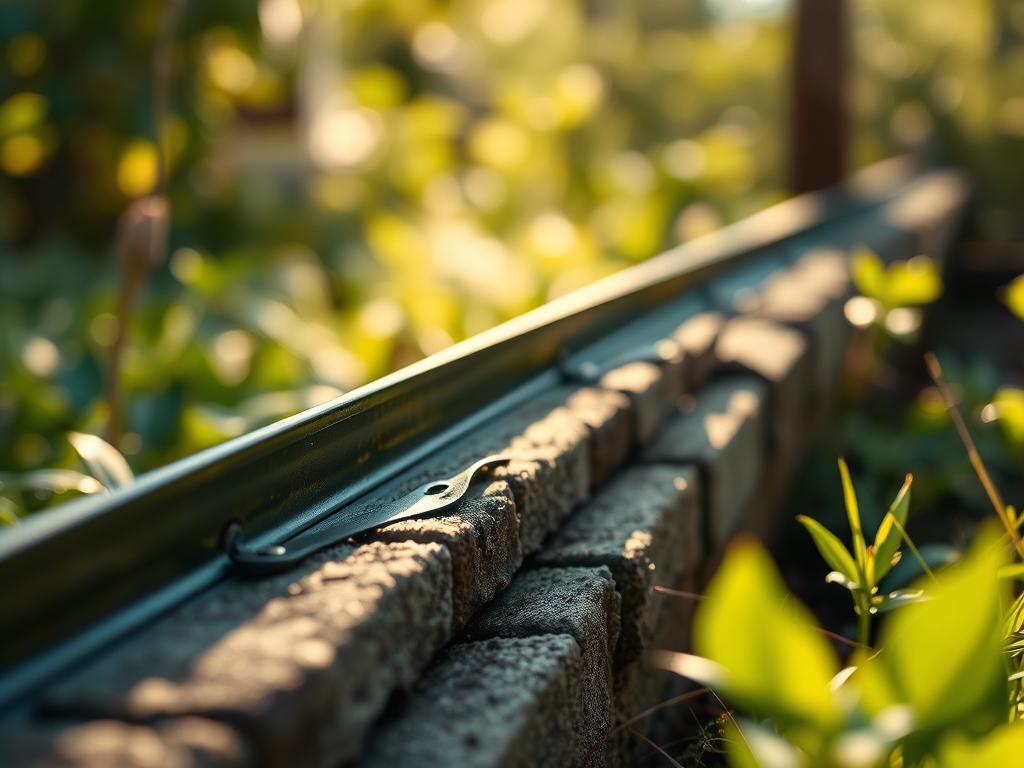
Transplanting the Metal
Place the metal strips into the trench. Ensure each section overlaps by at least 2 to 3 inches to prevent gaps where stolons could penetrate. Drive the anchoring stakes at a 45-degree angle for maximum mechanical resistance against soil heaving.
Pro-Tip: Maintain a consistent height of 0.5 inches above the soil line. This height prevents the mower blade from striking the metal while effectively suppressing auxin-driven lateral growth of turfgrass into the bed.
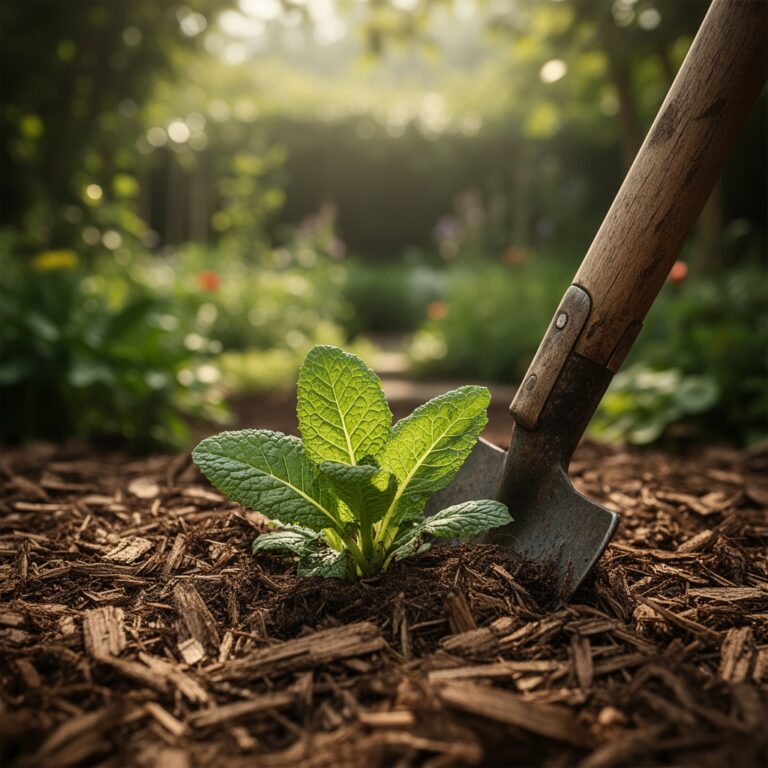
Establishing the Border
Backfill the trench with the original friable loam, tamping it down firmly to eliminate air pockets. Air pockets around the roots of nearby plants can cause localized desiccation. Water the area immediately to settle the soil particles and restore hydraulic conductivity.
Pro-Tip: Firm contact between the metal and the soil prevents light from reaching the base of weeds, utilizing negative phototropism to discourage unwanted seed germination along the edge.
The Clinic:
Physiological disorders often manifest near the border due to mechanical root disturbance or altered drainage patterns.
- Symptom: Interveinal chlorosis (yellowing leaves with green veins).
- Solution: This indicates a Manganese or Iron deficiency, often caused by a pH spike above 7.0. Apply chelated iron to the rhizosphere.
- Symptom: Marginal leaf burn or necrosis.
- Solution: This is frequently a sign of Potassium deficiency or salt accumulation. Flush the soil with 2 inches of water to leach excess salts.
- Symptom: Stunted growth and purplish stems.
- Solution: This points to Phosphorus deficiency, common in cold, compacted soils. Use a high-phosphorus (0-20-0) fertilizer to stimulate root recovery.
Fix-It Section: For Nitrogen chlorosis (uniform paling of older leaves), apply a quick-release urea-based fertilizer at a rate of 1 pound of actual nitrogen per 1,000 square feet.
Maintenance:
Precision maintenance ensures the longevity of both the edging and the plant life it protects. Provide 1.5 inches of water per week at the drip line, monitored by a soil moisture meter to prevent anaerobic conditions. Use a hori-hori knife to remove any weeds that attempt to bridge the metal barrier. Inspect the edging after the first hard frost for "frost heaving," where the soil expands and pushes the metal upward. If this occurs, use a mallet to reset the stakes. Prune any overhanging foliage with bypass pruners to maintain the clean line and prevent moisture traps that lead to fungal pathogens.
The Yield:
For those growing cut flowers or herbs along the metal border, harvest timing is paramount. Harvest during the early morning hours when cell turgidity is at its peak. Use a sharp, sterilized blade to make a clean cut, preventing the crushing of vascular tissues (xylem and phloem). Immediately plunge the stems into 40-degree Fahrenheit water to slow the rate of senescence. This rapid cooling preserves the sugars and oils within the plant, ensuring "day-one" freshness for several days.
FAQ:
How deep should I bury metal edging?
Bury the edging 4 to 6 inches into the soil. This depth is sufficient to block most turfgrass rhizomes while leaving roughly 0.5 inches of the metal visible above the surface to provide a clean mowing strip.
Will metal edging rust and hurt my plants?
Most modern edging is galvanized steel or aluminum, which resists corrosion. Small amounts of iron oxide (rust) from untreated steel are generally harmless to soil health and do not negatively impact the cation exchange capacity of the substrate.
Can I install metal edging in heavy clay?
Yes, but you must use a heavy-duty spade or a power edger to cut the trench. In high-clay soils, ensure the edging does not create a "bathtub effect" that traps water and leads to root rot in the rhizosphere.
How do I handle curves with metal edging?
Metal edging is flexible. For tight radii, pre-bend the section before placing it in the trench. Use additional stakes at the apex of the curve to counteract the metal's natural tendency to spring back to a straight line.
What is the best tool for cutting metal edging?
Use a hacksaw or an angle grinder with a metal-cutting blade for clean breaks. Always wear eye protection and deburr the cut edges with a metal file to prevent injury during future maintenance or planting tasks.