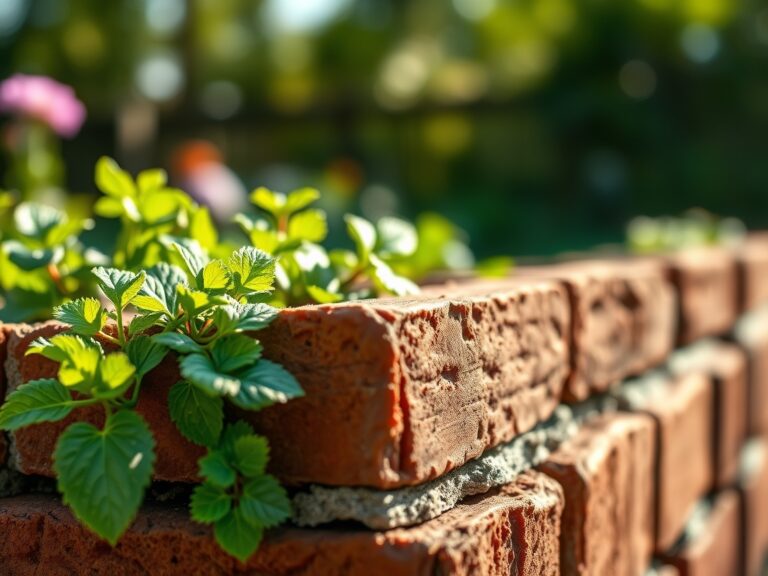
10 Essential Steps to Plant a Rain Garden
The scent of geosmin rises from the damp earth as stormwater hits the soil. A healthy leaf maintains high turgor pressure; it stands rigid against the weight of the rain rather than drooping. Mastering the steps to plant a rain garden requires more than digging a hole. It demands an understanding of hydrology and soil mechanics to manage runoff effectively. You are constructing a biological filter designed to capture, hold, and infiltrate water into the local aquifer. This system relies on a depression with specific soil amendments to maximize hydraulic conductivity while supporting a diverse rhizosphere. Successful installation prevents erosion and mitigates the flow of pollutants into watersheds. By selecting the right site and calculating the drainage area, you transform a soggy patch of turf into a functional ecosystem. Precision in the initial excavation ensures the basin handles a one-inch rain event within 24 to 48 hours. This timeframe prevents stagnant water and disrupts the breeding cycles of dipterous insects.
Materials:

The foundation of a rain garden is the engineered soil mix. You must achieve a pH between 5.5 and 6.5 to ensure optimal nutrient availability. The substrate should be a friable loam consisting of 50 percent sand, 25 percent topsoil, and 25 percent compost. This ratio provides a high Cation Exchange Capacity (CEC), allowing the soil to retain essential nutrients like calcium and magnesium despite heavy water throughput.
Avoid high nitrogen fertilizers that lead to weak, succulent growth. Instead, focus on an NPK ratio of 5-10-10 or 0-10-10 during the establishment phase. Phosphorus and potassium are critical for root elongation and cellular wall strength. You will also need a shredded hardwood mulch; unlike pine nuggets, shredded wood interlocks and will not float away during a heavy downpour. Ensure you have a transit level or a long 2×4 board and carpenter level to verify the basin floor is perfectly flat.
Timing:
In Hardiness Zones 4 through 7, the ideal window for planting is early spring or early autumn. You must avoid the heat of mid-summer to prevent excessive evapotranspiration. For spring planting, wait until the soil temperature consistently reaches 50 degrees Fahrenheit. This temperature triggers the biological clock of the plant, moving it from dormancy into the vegetative stage.
In Zones 8 and 9, autumn planting is preferred to allow root systems to establish before the intense solar radiation of the following year. Pay close attention to the local frost-date windows; plants need at least six weeks of growth before the first hard freeze to ensure the root crown is sufficiently hardy. This period allows the plant to store carbohydrates in the root system, facilitating a successful transition into senescence during winter.
Phases:

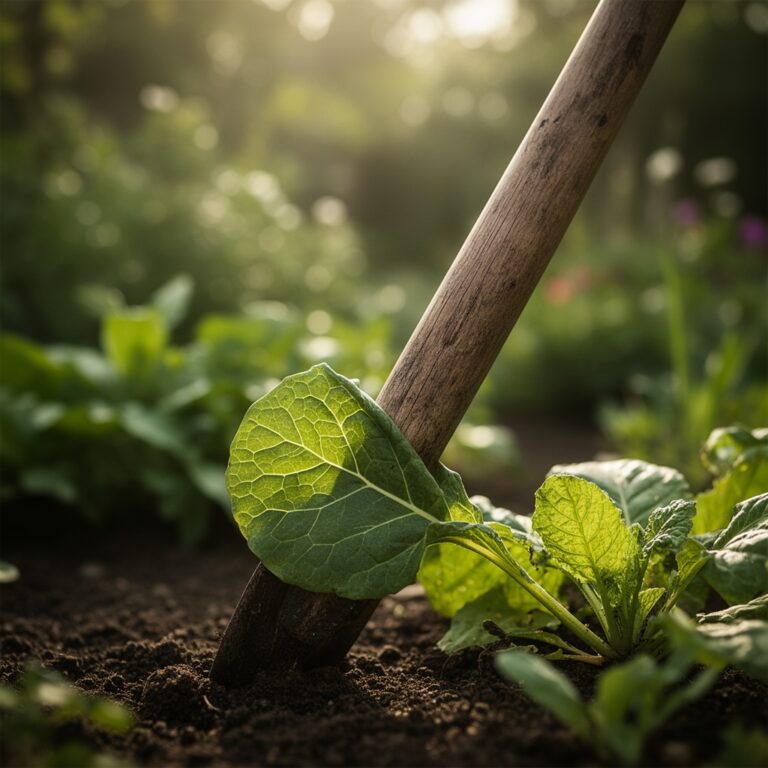
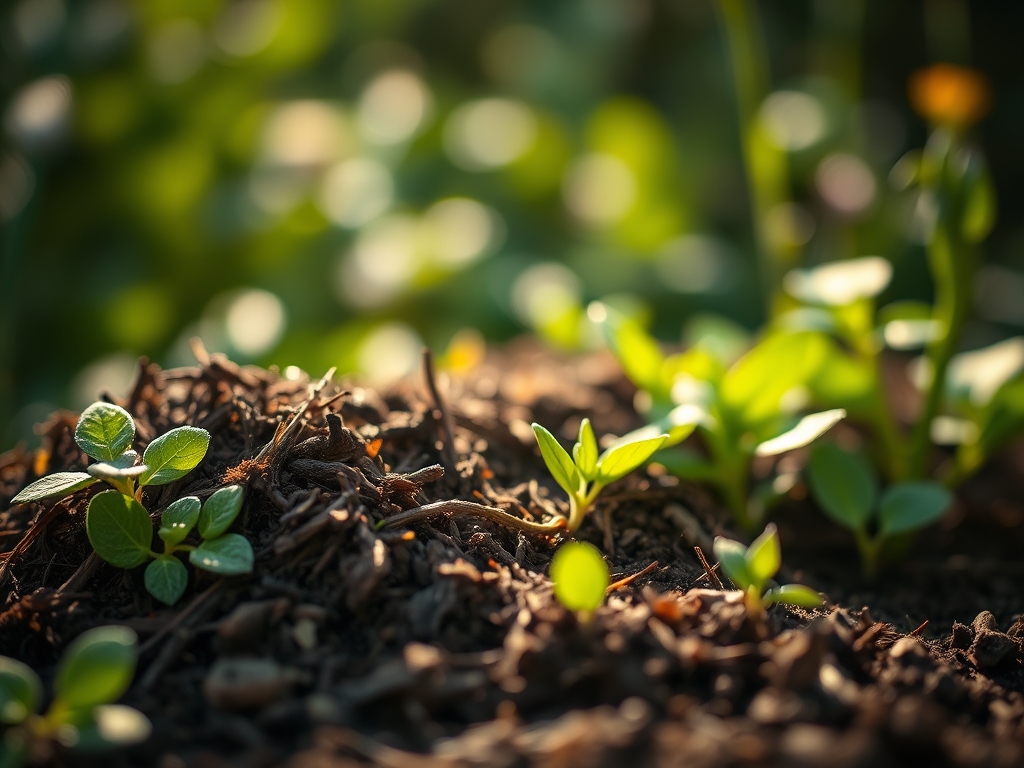
Sowing and Site Preparation
Excavate the basin to a depth of 6 to 12 inches. The bottom must be level to ensure even infiltration across the entire surface area. If the soil has high clay content, over-dig by an additional 12 inches and backfill with the engineered soil mix described above.
Pro-Tip: Avoid compacting the soil with heavy machinery. Compaction destroys soil macropores, which are essential for oxygen diffusion to the roots. Maintaining high soil porosity supports mycorrhizal symbiosis, where fungi extend the reach of the root system to improve water uptake.
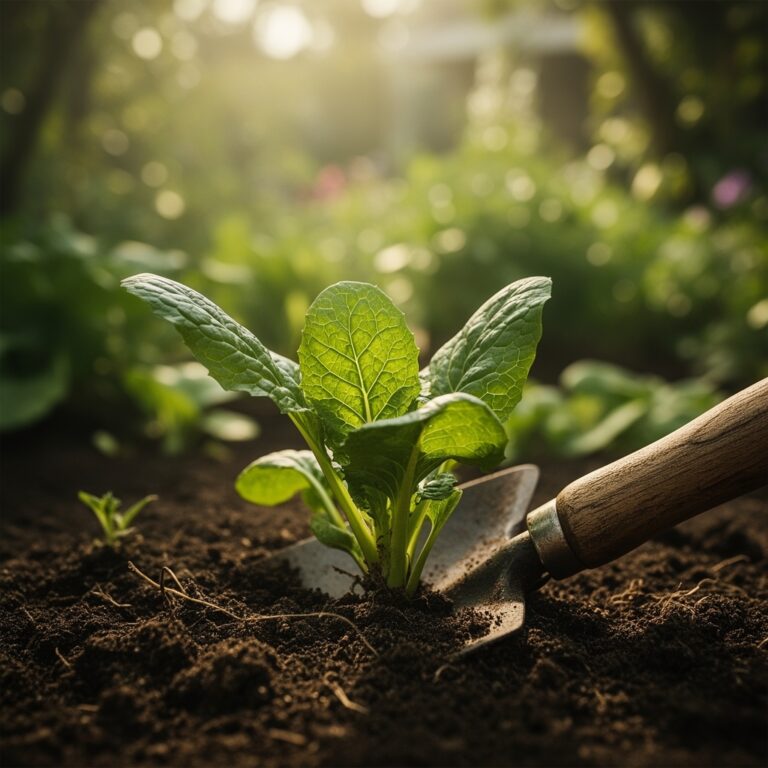
Transplanting
Space your plants based on their mature spread, typically 12 to 18 inches on center. Dig a hole twice as wide as the root ball. When placing the plant, ensure the root flare is level with the soil surface. Deep planting can lead to stem rot and oxygen deprivation.
Pro-Tip: Use a hori-hori knife to score the sides of the root ball if the plant is pot-bound. This mechanical disruption breaks the "circular growth" pattern and encourages lateral root expansion through auxin suppression at the root tips, forcing the plant to explore the surrounding soil.
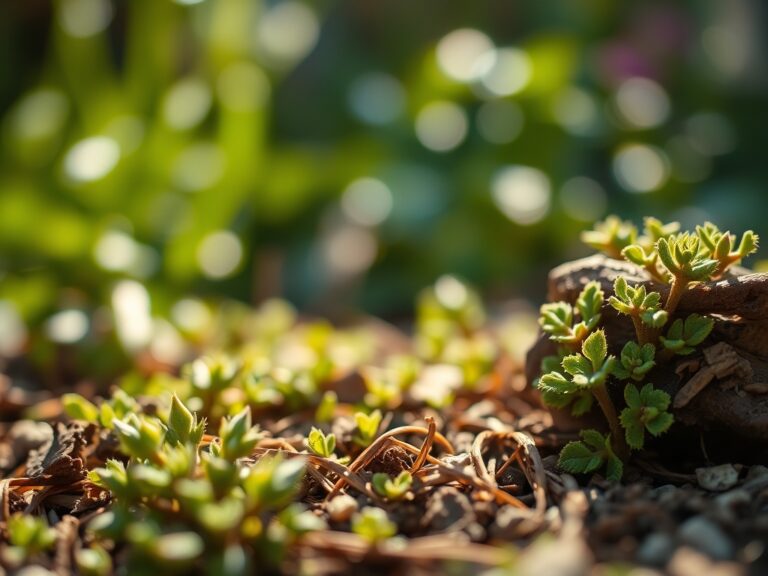
Establishing
Immediately after planting, apply 3 inches of shredded mulch. Water the garden manually if rain does not occur within the first 24 hours. The goal is to maintain consistent moisture without saturation during the first growing season.
Pro-Tip: Monitor for phototropism in young stems. If plants lean excessively toward the light, they may be shaded by taller species or structures. Proper spacing ensures each plant receives the specific photoperiod required for its reproductive stage.
The Clinic:
Physiological Disorders
- Symptom: Interveinal chlorosis (yellowing between leaf veins) on new growth.
- Solution: This indicates an Iron deficiency, often caused by a pH above 7.0. Apply chelated iron or lower the pH with elemental sulfur.
- Symptom: Marginal leaf burn or necrosis on older leaves.
- Solution: This suggests Potassium deficiency. Potassium regulates the opening and closing of stomata; without it, the plant cannot manage water loss. Apply a 0-0-50 sulfate of potash.
- Symptom: Stunted growth with purple or reddish tinting on stems.
- Solution: This is a classic sign of Phosphorus deficiency, common in cold, wet soils where phosphorus becomes chemically bound and unavailable.
Nutrient Fix-It
For general Nitrogen chlorosis (overall paling of the plant), apply a slow-release organic fertilizer. Do not exceed 1 pound of actual nitrogen per 1,000 square feet. Excessive nitrogen encourages rapid, weak growth that attracts aphids and other sap-sucking insects.
Maintenance:
During the first year, provide 1.5 inches of water per week at the drip line if rainfall is insufficient. Use a soil moisture meter to check the top 6 inches of the substrate; it should feel moist but not muddy. Once established, the rain garden should only require supplemental water during extreme droughts.
Use bypass pruners to remove dead or diseased wood in late winter. This prevents the spread of fungal pathogens and allows for better airflow through the canopy. Weeding is critical in the first two years. Use your hori-hori knife to extract taproots completely. If you leave a fragment of a perennial weed root, it can regenerate via adventitious buds. Check the inflow and outflow points after every major storm to clear debris that might block the passage of water.
The Yield:
If your rain garden includes species like Sambucus canadensis (Elderberry) or Monarda fistulosa (Wild Bergamot), timing the harvest is vital for potency and freshness. Harvest flowers when they are 50 percent open to ensure maximum essential oil content. Use sharp snips to make clean cuts, preventing jagged wounds that serve as entry points for pathogens.
For "day-one" freshness, harvest in the early morning when the plant has maximum turgor. Immediately place the stems in a bucket of cool water. For seeds, wait until the seed heads are dry and brown on the stalk, then shake them into a paper bag. Store seeds in a cool, dry place with a relative humidity below 40 percent to maintain viability.
FAQ:
How deep should a rain garden be?
A functional rain garden should be excavated to a depth of 6 to 12 inches. This depth allows for the temporary ponding of stormwater while ensuring the water infiltrates into the soil within a 48-hour window.
What plants work best in a rain garden?
Select native species that tolerate both "wet feet" and dry spells. Effective choices include Asclepias incarnata, Iris virginica, and Lobelia siphilitica. These plants have deep root systems that improve soil structure and facilitate rapid water infiltration.
Will a rain garden attract mosquitoes?
No. Mosquitoes require standing water for at least 7 to 10 days to complete their life cycle. A properly designed rain garden is engineered to drain completely in less than two days, preventing any insect breeding.
How do I calculate the size of my rain garden?
Measure the square footage of the impervious surfaces draining to the garden, such as your roof. Multiply this area by a sizing factor (usually 0.1 to 0.2) based on your soil type and the garden's depth.