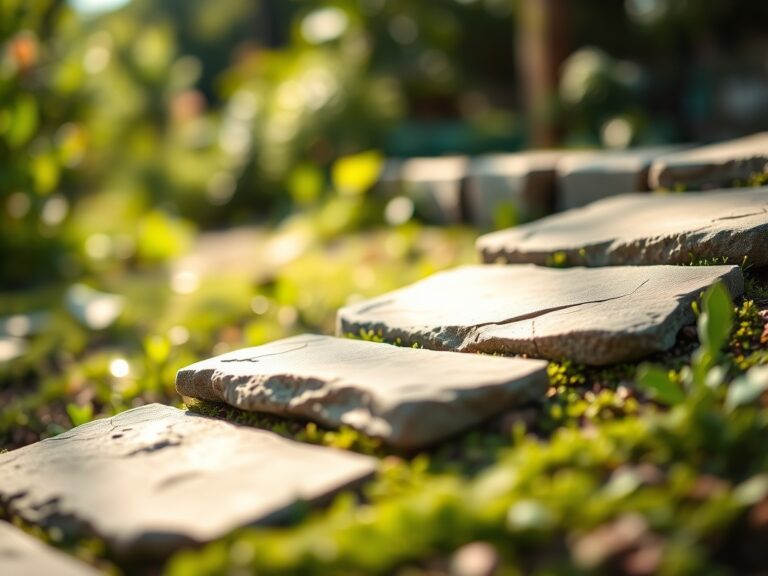
7 Strategic Ways How to Xeriscape a Dry Yard
Turgor pressure dictates the structural integrity of every cell in the garden; a leaf lacking water loses its rigidity as the central vacuole collapses. Mastering how to xeriscape a dry yard requires a shift from aesthetic decoration to rigorous environmental engineering. Success is measured by the efficiency of the rhizosphere and the ability of the soil to retain moisture against high evapotranspiration rates. You are not merely planting; you are constructing a self-sustaining hydraulic system.
The process begins with a radical reassessment of the land. Traditional turfgrass demands approximately one inch of water per week to remain viable in temperate climates. In arid regions, this requirement often exceeds local precipitation levels by 300 percent. By implementing xeriscaping, you reduce supplemental irrigation by 50 to 75 percent. This transition relies on the strategic selection of drought-tolerant species and the mechanical improvement of the soil Cation Exchange Capacity (CEC). High CEC values ensure that essential nutrients like potassium and magnesium remain available to the plant even when moisture levels fluctuate.
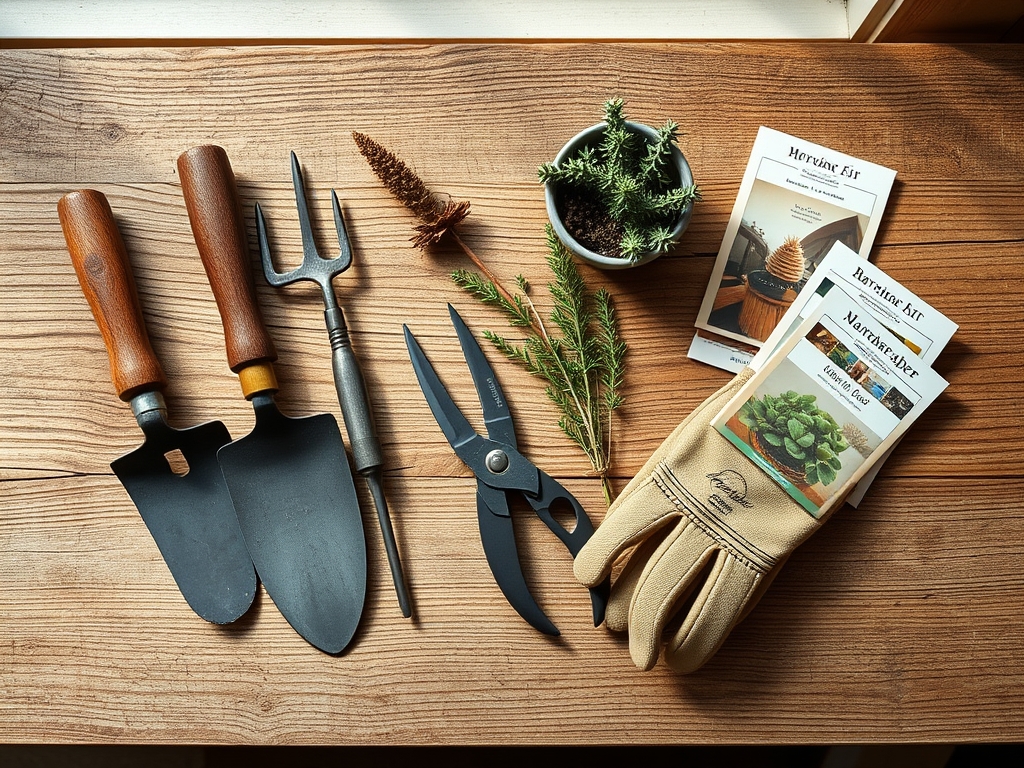
Materials:
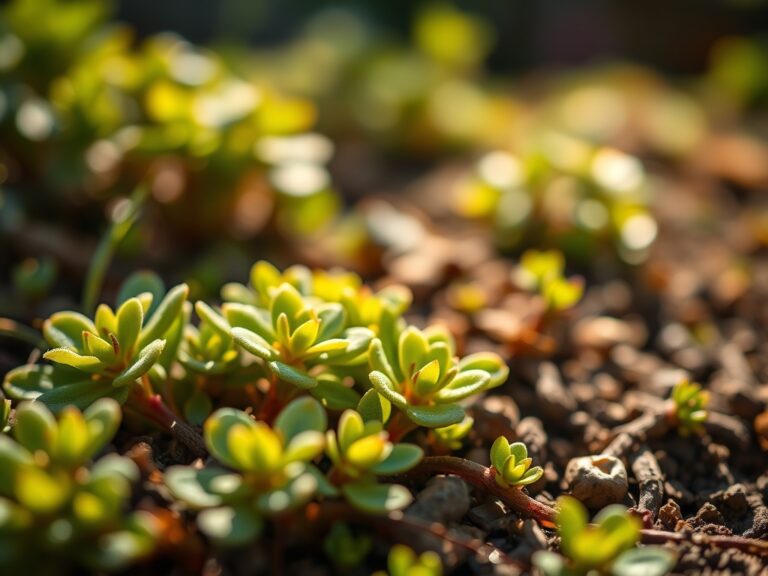
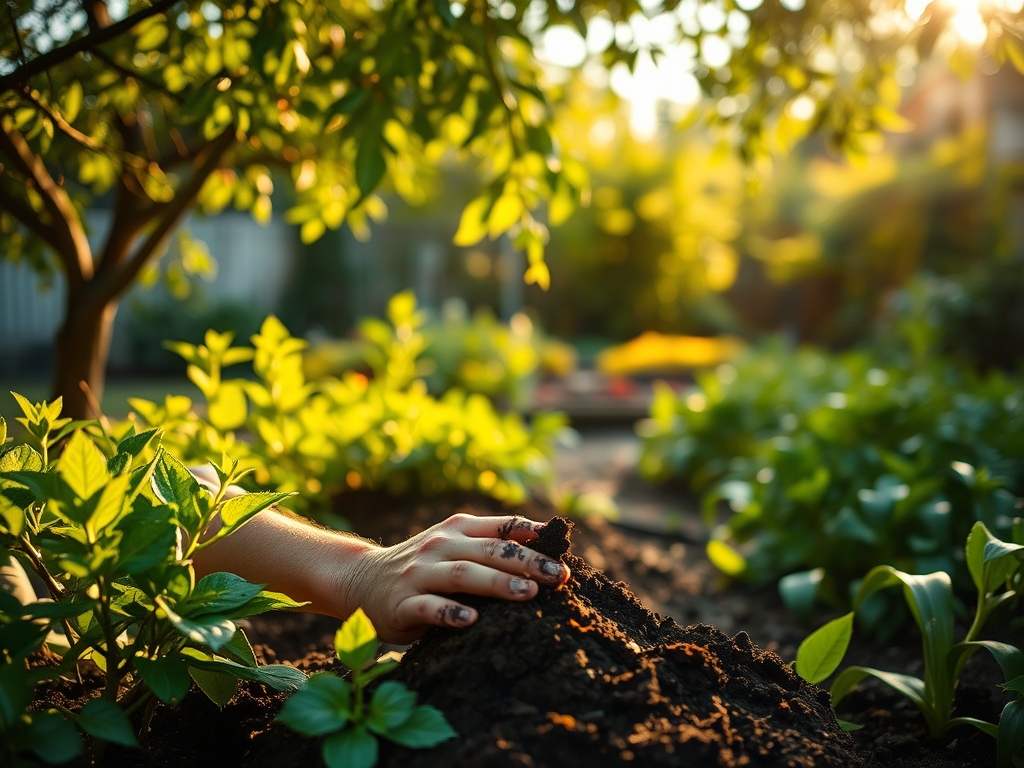
Substrate quality determines the survival rate of xeric species. Most drought-tolerant plants require a pH range between 6.0 and 7.5. The ideal physical texture is a friable loam or a sandy-loam mix that allows for rapid drainage. Heavy clay soils cause root rot because they lack the macropores necessary for oxygen exchange.
For soil amendment, utilize organic matter with a low Nitrogen-Phosphorus-Potassium (NPK) ratio such as 1-1-1 or 2-1-2. High nitrogen fertilizers (e.g., 20-0-0) trigger rapid vegetative growth that the plant's vascular system cannot support during heat waves. Focus on phosphorus (the middle number) to encourage deep root penetration. A 5-10-5 starter fertilizer is sufficient for establishing new transplants. Incorporate coarse horticultural grit or expanded shale to increase drainage if the native soil contains more than 30 percent clay particles.
Timing:
Timing is dictated by the USDA Hardiness Zones and the local frost-free window. In Zones 7 through 10, the optimal window for xeriscaping is late autumn. This allows the root system to establish during the winter dormancy period without the stress of high solar radiation. For Zones 3 through 6, early spring is preferable, specifically two to three weeks before the last predicted frost.
The biological clock of a xeric plant is governed by the photoperiod and temperature. Most xeric perennials transition from the vegetative stage (leaf production) to the reproductive stage (flowering) as day lengths increase. Establishing plants during the vegetative stage is critical; the plant must allocate its limited energy to root development rather than seed production. Aim for a soil temperature of at least 55 degrees Fahrenheit for active root respiration.
Phases:
Sowing and Site Preparation
Clear all existing vegetation using mechanical methods to avoid chemical residuals. Grade the area to a 2 percent slope away from structures to manage runoff. If sowing seeds for xeric grasses like Buffalo Grass or Blue Grama, ensure a seeding rate of 2 to 3 pounds per 1,000 square feet.
Pro-Tip: Utilize mycorrhizal inoculants during sowing. This creates a mycorrhizal symbiosis where fungal hyphae extend the root's reach by up to 100 times, significantly increasing the uptake of phosphorus and water.
Transplanting
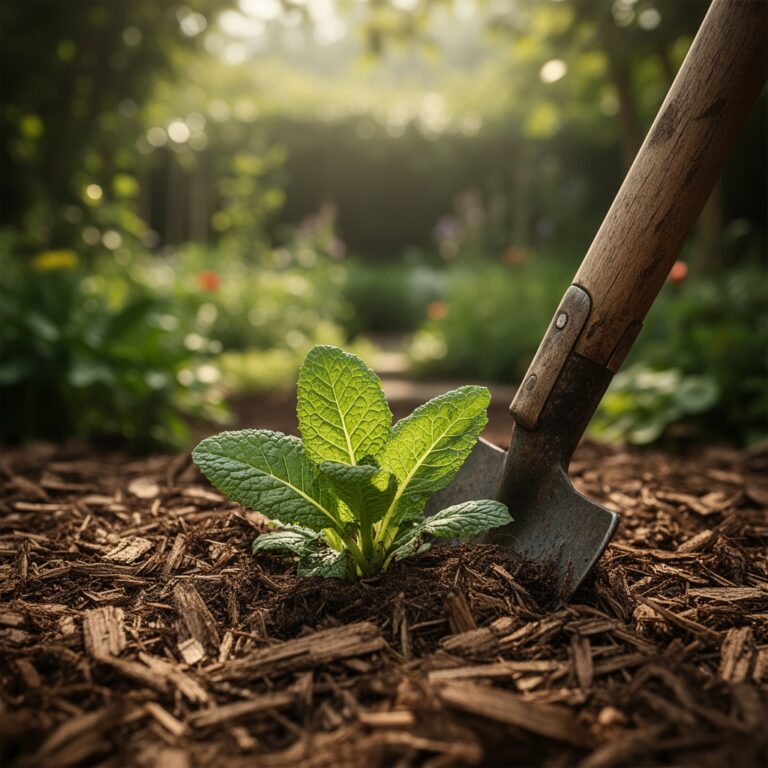
Dig holes twice as wide as the root ball but no deeper. The crown of the plant must remain at or slightly above the soil line. If the crown is buried, the plant will succumb to fungal pathogens. Backfill with native soil to ensure the roots do not experience "potting soil shock" when they attempt to penetrate the surrounding earth.
Pro-Tip: When transplanting, avoid heavy pruning of the upper canopy. This prevents auxin suppression; auxins are hormones produced in the tips of the plant that signal the roots to grow. Keeping the tips intact accelerates root establishment.
Establishing
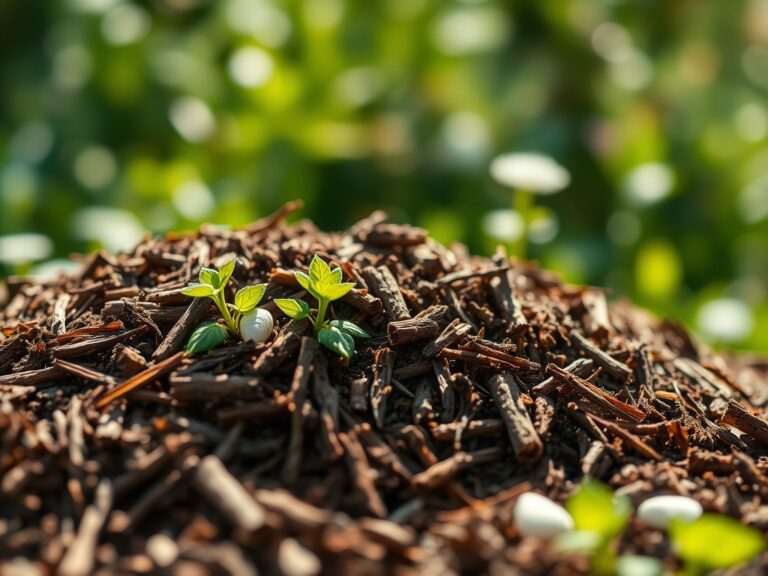
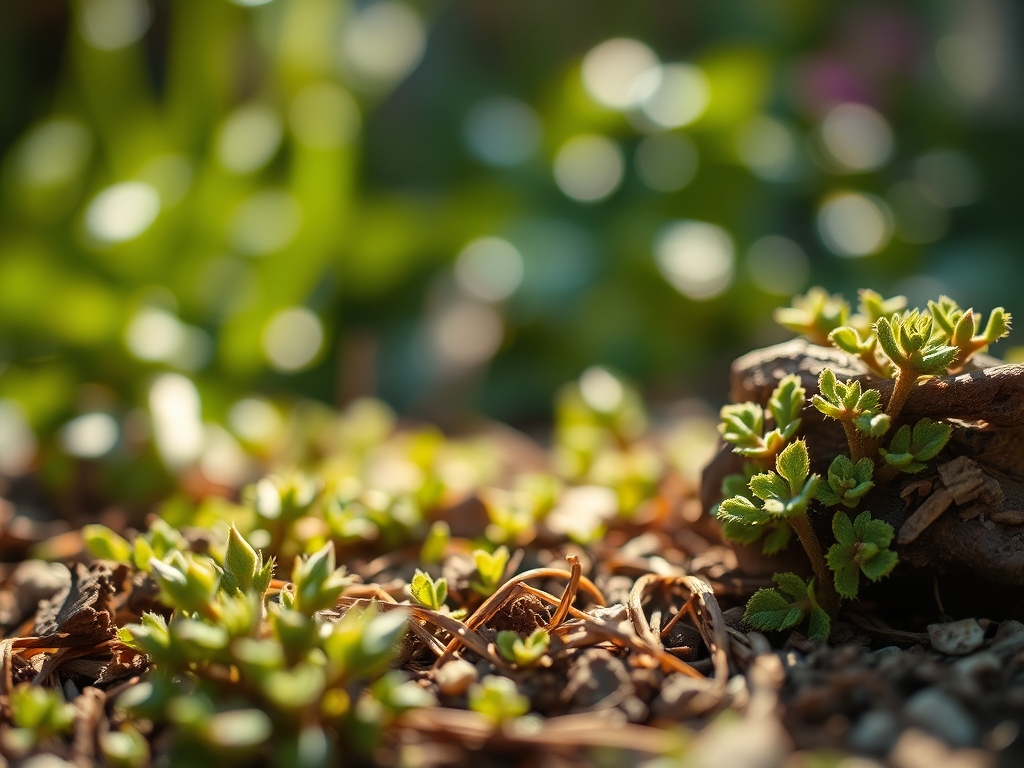
During the first 90 days, the yard is in the establishment phase. Water deeply but infrequently. Apply 2 inches of water every 10 days rather than daily light mists. This forces the roots to grow downward in search of the receding moisture line. Apply a 3-inch layer of organic mulch or pea gravel to reduce soil surface temperatures by up to 20 degrees Fahrenheit.
Pro-Tip: Monitor for phototropism (the plant leaning toward light). In a xeriscape, excessive leaning often indicates the plant is over-shaded, leading to "leggy" growth with weak cell walls that cannot withstand wind or heat.
The Clinic:
Physiological disorders in xeric landscapes often mimic nutrient deficiencies.
- Symptom: Interveinal chlorosis (yellowing between green leaf veins) in new growth.
Solution: This is typically an Iron deficiency caused by high pH. Apply chelated iron or lower the pH with elemental sulfur to 6.5.
- Symptom: Marginal leaf burn (browning edges).
Solution: This indicates salt accumulation or potassium deficiency. Flush the soil with 4 inches of water to leach salts and apply a 0-0-50 potassium sulfate supplement.
- Symptom: Leaf abscission (dropping green leaves).
Solution: This is a stress response to sudden temperature fluctuations. Ensure the mulch layer is thick enough to insulate the rhizosphere.
- Fix-It (Nitrogen Chlorosis): If the entire plant turns pale green, apply a slow-release 10-10-10 fertilizer. Avoid liquid feeds that provide a "spike" and then vanish; xeric plants require steady, low-level nutrition.
Maintenance:
Xeriscaping is low-maintenance, not no-maintenance. Use a soil moisture meter to check the hydration level at a 6-inch depth. If the meter reads below 20 percent, provide 1.5 inches of water at the drip line. Use a hori-hori knife to remove deep-taproot weeds like dandelion without disturbing the shallow feeder roots of your xeric plants.
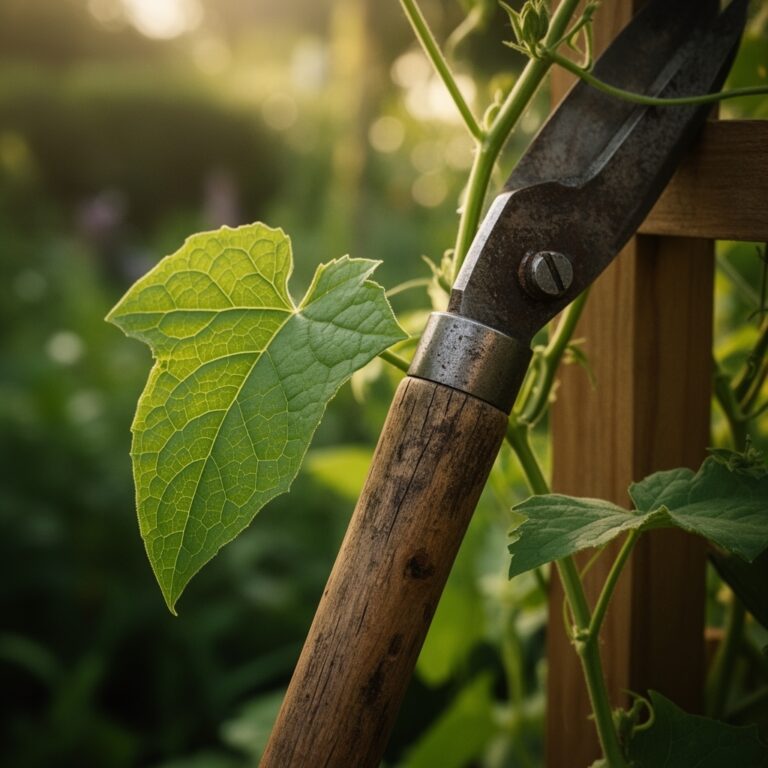
Annual pruning should be done with sharp bypass pruners to ensure clean cuts that heal quickly. Remove no more than one-third of the biomass at a time to prevent hormonal shock. In late winter, clear dead stalks to prevent the accumulation of pathogens in the decaying organic matter.
The Yield:
If your xeriscape includes edible xeric herbs like Rosemary or Lavender, harvest during the morning hours when essential oil concentration is at its peak. Use sharp shears to cut stems just above a node. To maintain "day-one" freshness, place the stems in a cool, dark environment immediately. For dried yields, hang bundles in a room with less than 40 percent humidity to prevent mold growth during the desiccation process.
FAQ:
How often should I water a new xeriscape?
Water every 3 to 5 days for the first month. Gradually transition to once every 10 to 14 days by the end of the first season. Always water deeply to reach a 12-inch soil depth.
Can I use wood chips for mulch?
Yes, but use coarse wood chips. Fine mulch can mat together and become hydrophobic, preventing water from reaching the soil. Maintain a depth of 3 inches for maximum moisture retention and weed suppression.
What is the best soil for xeriscaping?
A well-draining sandy loam with a pH of 6.5 to 7.0 is ideal. Ensure the soil has a high mineral content and moderate organic matter to support healthy cation exchange without holding excessive water.
How do I stop weeds in a dry yard?
Maintain a thick mulch layer and use a pre-emergent herbicide in early spring. For established weeds, use a hori-hori knife to extract the entire root system, preventing regrowth from lateral rhizomes or taproots.