9 Best Mulch for Weed Control
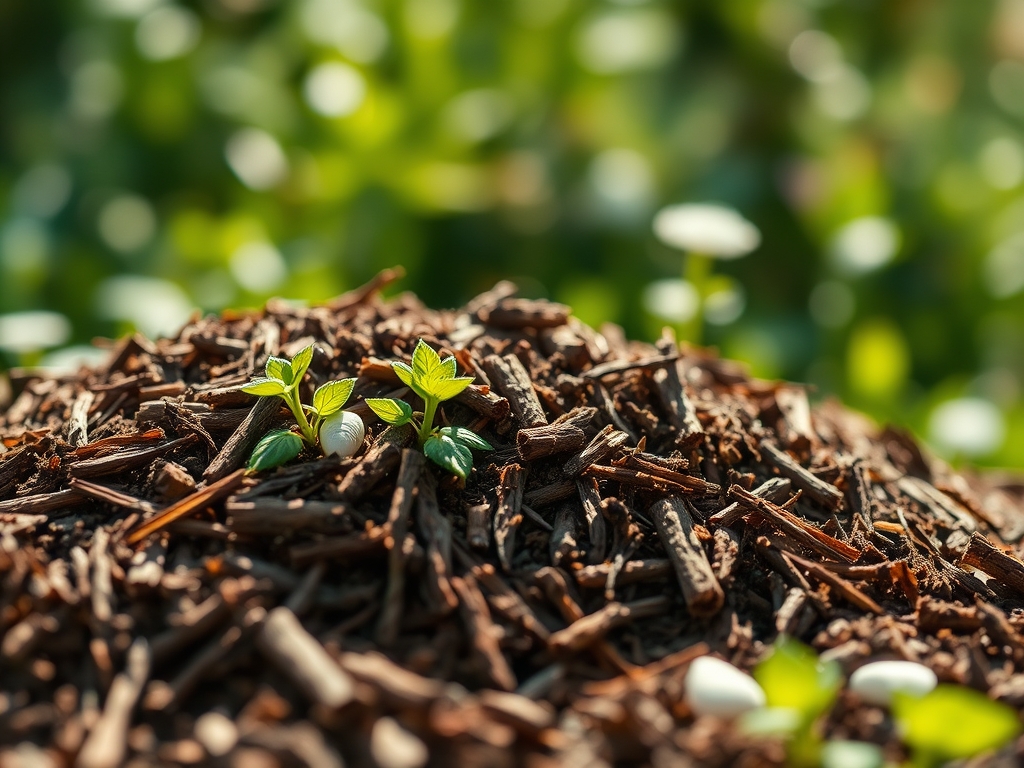
The scent of damp, anaerobic decomposition signals a failure in soil management; conversely, the crisp, earthy aroma of aerobic microbial activity indicates a thriving rhizosphere. Successful cultivation depends on maintaining high turgor pressure within the plant vascular system. This requires a stable soil environment where moisture evaporation is suppressed and competitive species are physically blocked. Selecting the best mulch for weed control is not merely an aesthetic choice; it is a critical intervention in soil physics and plant physiology. By suppressing the germination of dormant seeds through light deprivation and thermal regulation, a proper mulch layer ensures that nutrients remain available for the primary crop rather than being sequestered by invasive flora.
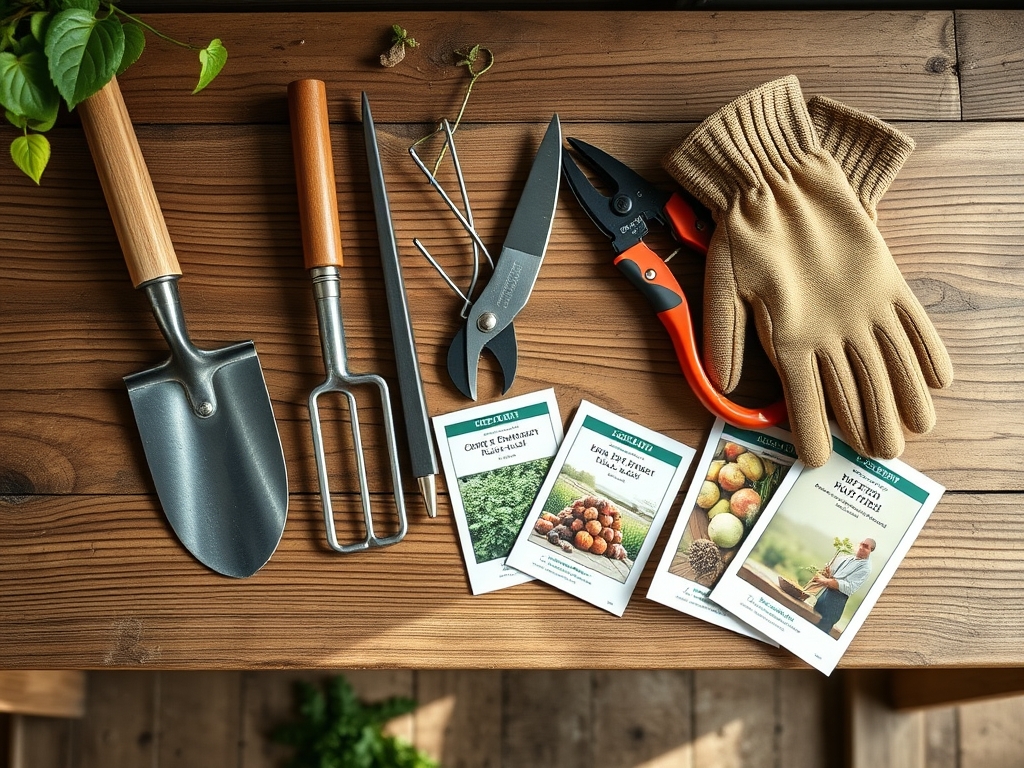
Materials:
The selection of the best mulch for weed control depends on the target soil pH and existing Cation Exchange Capacity (CEC). For acid-loving species such as *Vaccinium corymbosum*, pine bark nuggets are ideal as they maintain a pH range of 4.5 to 5.5. For general vegetable production in **friable loam** with a neutral pH (6.5 to 7.0), straw or composted leaf mold is preferred.
- Arborist Wood Chips: High carbon-to-nitrogen (C:N) ratio, approximately 400:1. Ideal for permanent pathways and woody perennials.
- Pine Straw: Acidic profile; provides excellent water infiltration while maintaining a pH of 5.0 to 6.0.
- Straw (Wheat or Oat): Neutral pH; NPK ratio of approximately 0.5-0.2-1.0.
- Shredded Cedar: Contains thujone, a natural chemical compound that resists rapid fungal decay.
- Composted Leaf Mold: High CEC; improves soil structure while providing a 1-1-1 NPK boost.
- Black Plastic/Landscape Fabric: Non-organic; provides 100 percent light blockage but can limit gas exchange.
- Grass Clippings: High nitrogen (4-0.5-2 NPK); must be dried to prevent matting and thermophilic spikes.
- Rice Hulls: High silica content; provides a grit-heavy texture that deters gastropods.
- Coco Coir: pH neutral (5.8 to 6.8); exceptional water retention capabilities.
Timing:
Application timing must align with USDA Hardiness Zones and local frost dates. In Zones 5 through 7, the primary application window opens when soil temperatures consistently reach 55 degrees Fahrenheit (13 degrees Celsius). Applying mulch too early in the spring can insulate the cold, delaying the "Biological Clock" of the plant and slowing the transition from the dormant stage to the vegetative stage.
For fall applications, mulch should be applied after the first hard frost to stabilize soil temperatures and prevent the "heaving" of root balls caused by freeze-thaw cycles. This timing protects the rhizosphere from extreme fluctuations, ensuring that biennial and perennial species enter senescence without vascular damage.
Phases:

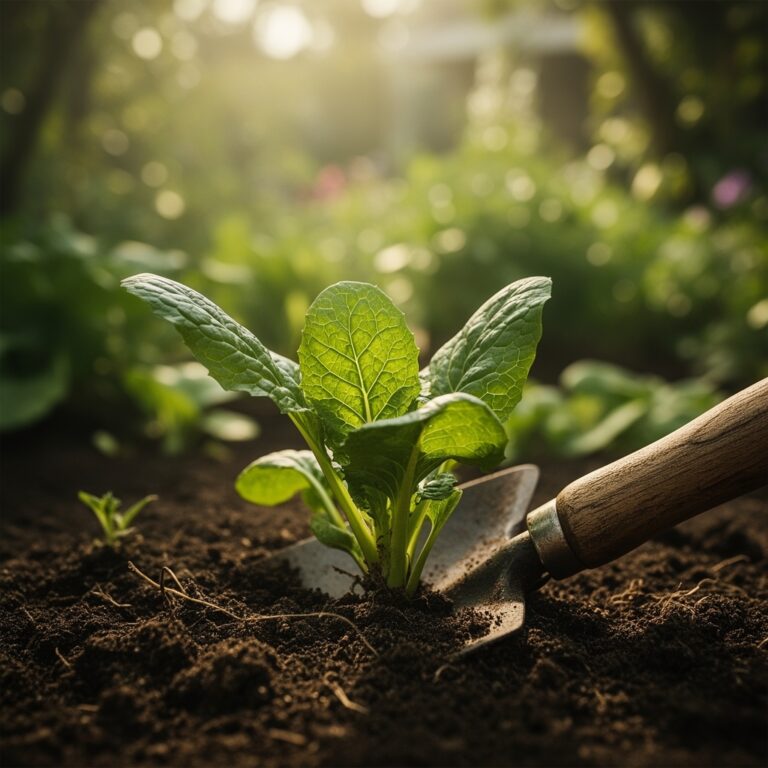
Sowing
Direct-sown seeds require a clear path to the surface to maximize phototropism. When using mulch for weed control in seed beds, apply a thin 0.5 inch layer of fine-textured material like vermiculite or screened compost. This prevents crusting of the soil surface, which can inhibit the emergence of delicate hypocotyls.
Pro-Tip: Use fine-textured mulch to ensure high seed-to-soil contact. This facilitates rapid imbibition, the process where the seed absorbs water to trigger metabolic activity and endosperm conversion.
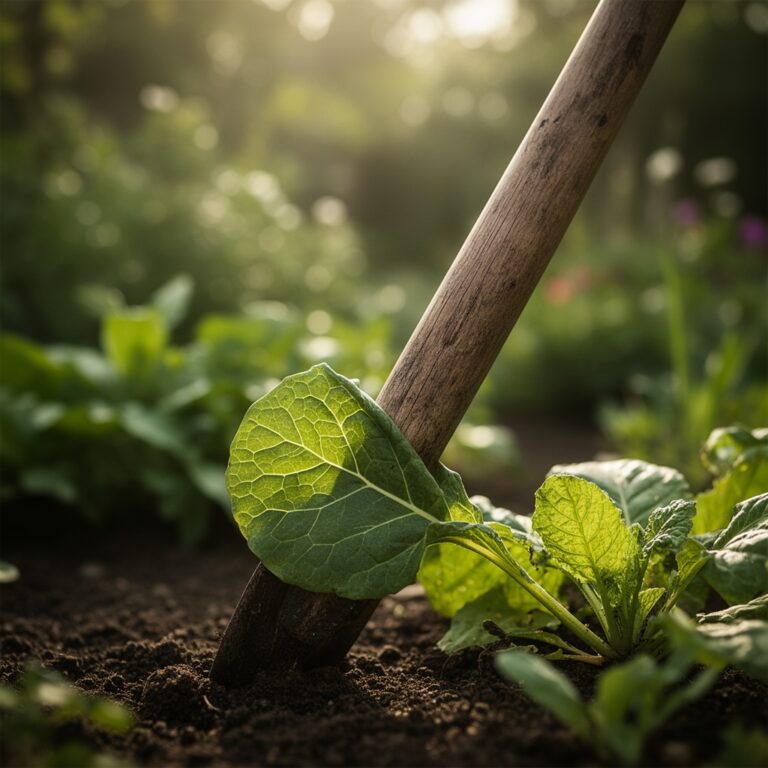
Transplanting
When moving starts from a greenhouse to the field, clear a 6 inch diameter circle around the transplant site. Install the mulch after the plant is set to avoid burying the crown. For heavy feeders, integrate a balanced 10-10-10 fertilizer into the soil before mulching to compensate for any nitrogen immobilization caused by high-carbon mulches.
Pro-Tip: Maintain a gap between the mulch and the plant stem to prevent auxin suppression and crown rot. Direct contact can create a moist microclimate that encourages opportunistic fungal pathogens like Phytophthora.
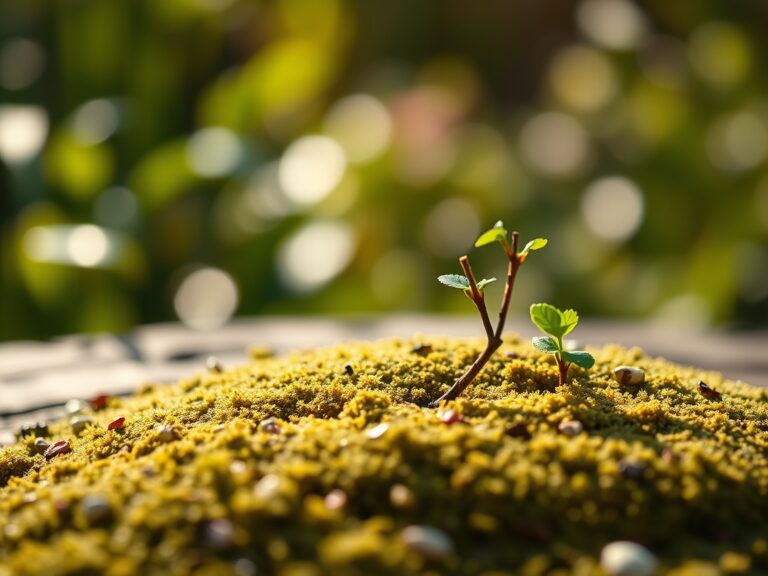
Establishing
As the plant moves into its rapid vegetative growth phase, increase mulch depth to 3 inches. This depth is the threshold for effective weed suppression, as it filters out the red-light spectrum required for the germination of many weed species. Monitor soil moisture using a soil moisture meter to ensure the mulch is not shedding water away from the root zone.
Pro-Tip: Mycorrhizal symbiosis is enhanced under a stable mulch layer. The consistent moisture levels encourage fungal hyphae to colonize the root system, effectively increasing the surface area for phosphorus uptake.
The Clinic:
Physiological disorders often arise from improper mulching techniques or material choices.
-
Symptom: Interveinal chlorosis (yellowing leaves with green veins) in new growth.
-
Solution: This indicates Nitrogen chlorosis. High-carbon mulches (like fresh sawdust) can "rob" nitrogen from the soil during decomposition.
-
Fix-It: Apply a liquid fish emulsion or blood meal (12-0-0) to provide immediate bioavailable nitrogen.
-
Symptom: Slime mold or "Dog Vomit" fungus appearing on the mulch surface.
-
Solution: This is usually a sign of excessive moisture and poor airflow.
-
Fix-It: Use a hori-hori knife to fluff the mulch, breaking up the fungal mat and increasing oxygen penetration.
-
Symptom: Wilting despite moist soil.
-
Solution: Possible root rot or "wet feet" caused by over-mulching in heavy clay soils.
-
Fix-It: Reduce mulch depth to 1 inch and incorporate perlite or expanded shale to improve drainage.
Maintenance:
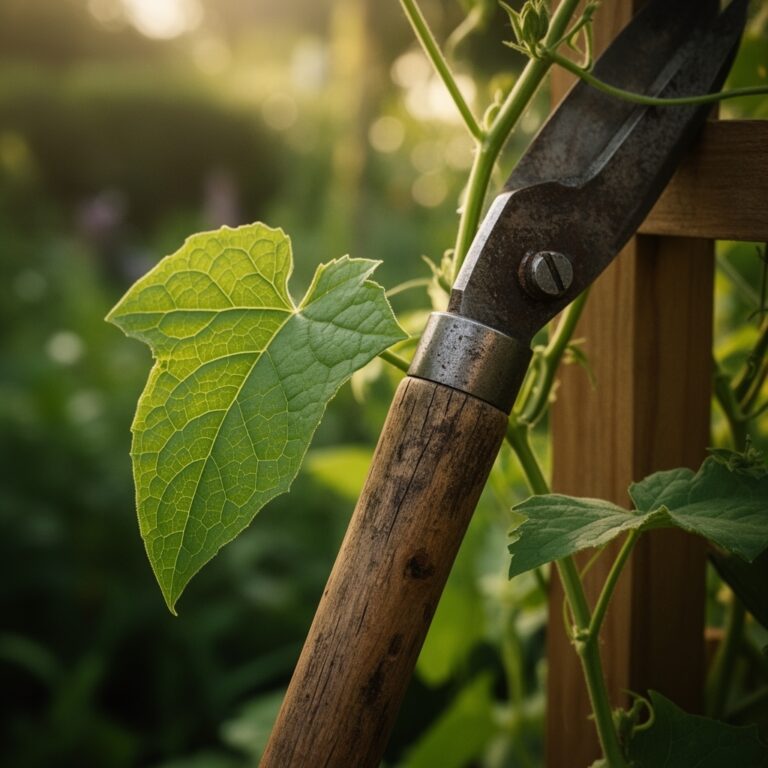
Precision maintenance is required to keep the system functioning. Provide 1.5 inches of water per week delivered at the drip line using a soaker hose buried beneath the mulch. This prevents evaporative loss and ensures deep root penetration. Use bypass pruners to remove any lower foliage that touches the mulch, as this prevents the "bridge" effect for soil-borne pathogens.
Every spring, use a hori-hori knife to check the decomposition rate of the bottom layer. If the mulch has integrated into the soil, top-dress with 1 to 2 inches of fresh material. Avoid "mulch volcanoes" around tree trunks, which can cause bark necrosis and provide harborage for rodents that girdle the vascular cambium.
The Yield:
For edible crops, the use of mulch ensures cleaner produce by preventing soil splash during rain events. Harvest during the early morning when turgor pressure is at its peak. For leafy greens, use sharp shears to make clean cuts, reducing the surface area for moisture loss. Post-harvest, submerge produce in 40 degree Fahrenheit (4.4 degrees Celsius) water to remove field heat immediately. This slows the metabolic rate and extends the shelf life of the harvest.
FAQ:
What is the best mulch for weed control in vegetable gardens?
Clean, seed-free straw or composted leaves are best. They suppress weeds while breaking down into organic matter, improving soil structure and increasing the Cation Exchange Capacity (CEC) for future growing seasons.
How deep should I apply mulch to stop weeds?
A depth of 2 to 3 inches is the industry standard. This thickness provides sufficient light occlusion to prevent weed seed germination while still allowing for adequate gas exchange between the soil and the atmosphere.
Can mulch cause nitrogen deficiency in my plants?
Yes, if the mulch has a high carbon-to-nitrogen ratio, such as fresh wood chips. Soil microbes will consume available nitrogen to break down the carbon, temporarily depriving the plants. Supplement with a high-nitrogen fertilizer to offset this.
Is landscape fabric better than organic mulch?
Landscape fabric provides a physical barrier but does not improve soil health. Over time, weed seeds germinate in the dust on top of the fabric. Organic mulches are preferred for their ability to enhance the rhizosphere.