8 Basic Steps to Lay a Flagstone Walkway
The scent of damp, disturbed earth signals the start of a structural intervention in the garden. When the soil reaches a friable state, neither saturated nor baked into a hard pan, the conditions are optimal for hardscaping. Understanding the steps to lay a flagstone walkway requires a mastery of soil compaction and drainage mechanics. You are not merely placing stones; you are managing the rhizosphere and ensuring that the structural weight of the path does not compromise the pore space necessary for root respiration in adjacent plantings.
A successful installation begins with an assessment of the soil's bulk density. High-traffic areas often suffer from compaction, which reduces the infiltration rate of water and oxygen. By following the steps to lay a flagstone walkway, you create a stable surface that protects the underlying soil structure from further degradation. Every stone placed is a shield for the delicate mycorrhizal networks that thrive in the undisturbed layers beneath the path. Proper execution ensures that the walkway integrates with the landscape without causing localized flooding or nutrient leaching due to improper runoff management.
Materials:

The foundation of a permanent walkway depends on the chemical and physical properties of the substrate. For areas surrounding the path, maintain a soil pH between 6.0 and 7.0 to ensure maximum nutrient availability. Use a base of crushed limestone or 3/4-inch minus gravel to provide a stable, non-shifting foundation. The bedding layer should consist of coarse washed sand, which offers a high Cation Exchange Capacity (CEC) when integrated with organic matter at the edges.
For the surrounding vegetation, apply a slow-release fertilizer with an NPK ratio of 10-10-10 to support root recovery after excavation. The ideal soil texture for the borders is a friable loam, consisting of roughly 40 percent sand, 40 percent silt, and 20 percent clay. This balance prevents the "bathtub effect" where water collects in the excavated trench and drowns nearby root systems.
Timing:
Hardscaping projects must align with the local frost-date windows to avoid the destructive power of the freeze-thaw cycle. In Hardiness Zones 4 through 7, construction should occur after the final spring frost or at least six weeks before the first autumn freeze. This allows the soil to settle and any disturbed perennial roots to enter a period of dormancy without the stress of extreme temperature fluctuations.
The biological clock of your garden dictates the window for installation. Perform heavy excavation during the plant's vegetative stage rather than the reproductive stage. Disrupting the soil during flowering or fruiting diverts energy away from production and toward stress recovery. By timing the installation when plants are not under high transpirational demand, you minimize the risk of permanent wilting point (PWP) in the surrounding flora.
Phases:
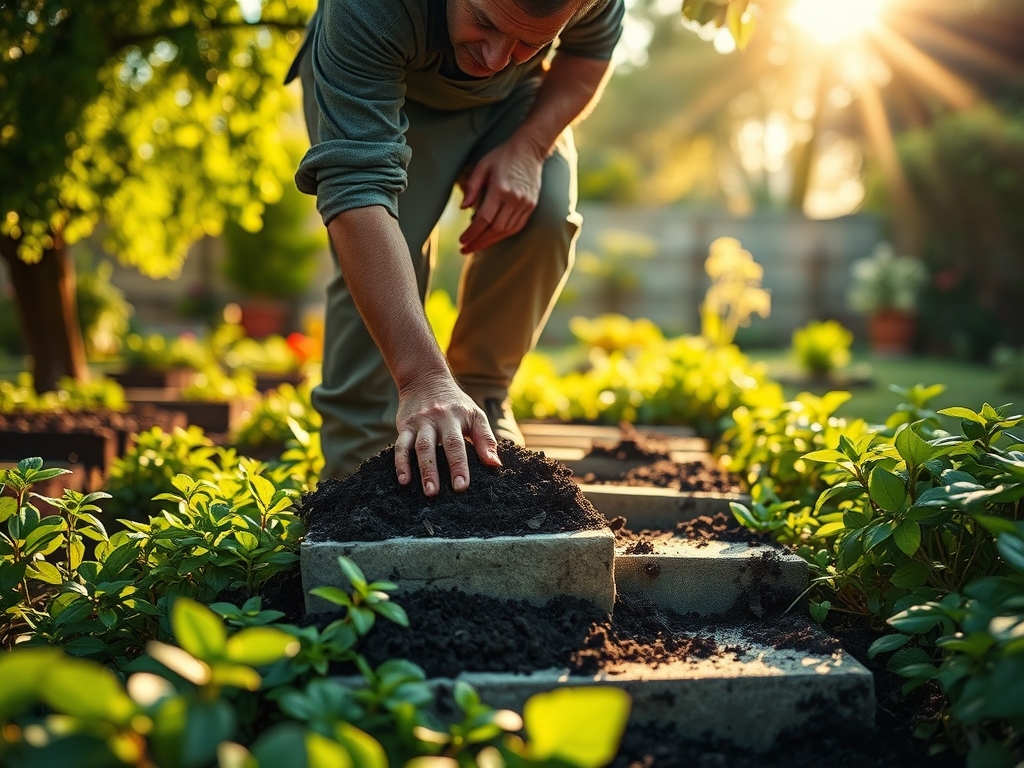
Sowing and Site Preparation
Begin by excavating the path to a depth of 6 to 8 inches. This depth accounts for 4 inches of compacted base, 1 inch of leveling sand, and the thickness of the stone. Use a line level to ensure a 2 percent slope away from structural foundations to prevent hydrostatic pressure buildup.
Pro-Tip: Maintaining a slight slope facilitates lateral water movement. This prevents localized anaerobic conditions in the soil, which can lead to root rot caused by Phytophthora species.
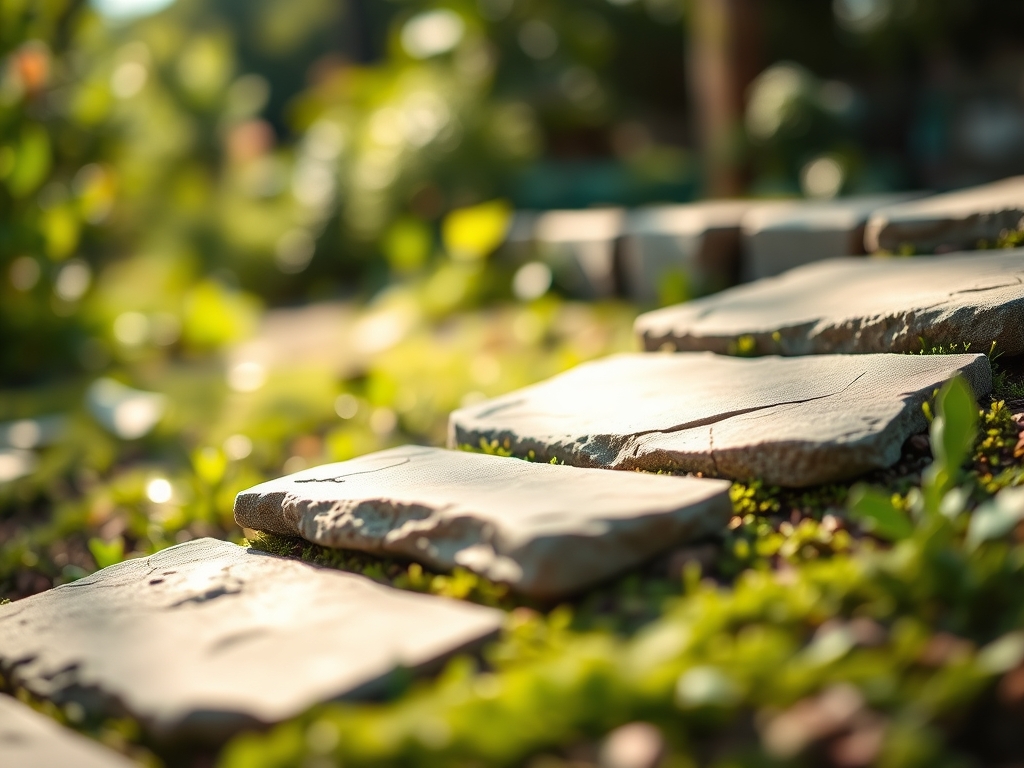
Transplanting and Stone Placement
Lay the flagstones with a minimum gap of 2 inches if you intend to plant "steppable" groundcovers like Thymus serpyllum. When placing stones, use a rubber mallet to set them into the sand bed. Check for "wobble" by applying pressure to the edges; a moving stone indicates a void in the bedding layer that will eventually lead to stone fracture.
Pro-Tip: When planting between stones, ensure the crown of the plant is level with the soil surface. This prevents auxin suppression in the lateral buds, allowing the plant to spread horizontally through the gaps via stolons or rhizomes.
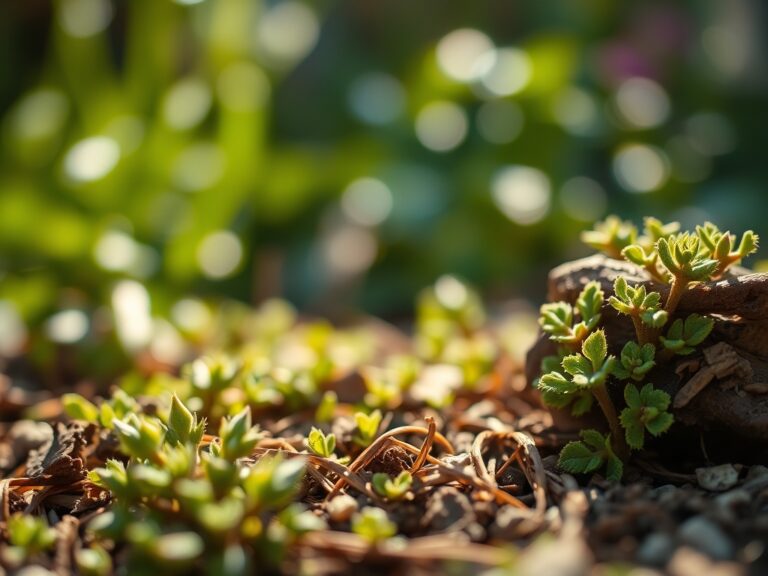
Establishing the Borders
Once the stones are set, fill the joints with either polymeric sand for a solid finish or a mix of compost and sand for a living path. Water the area deeply to settle the particles. For the living path, use a soil moisture meter to ensure the interstitial spaces remain at field capacity during the first 14 days of plant establishment.
Pro-Tip: Living paths benefit from mycorrhizal symbiosis. Adding a fungal inoculant to the joint filler improves the plant's ability to uptake phosphorus and water in the restricted root zones between stones.
The Clinic:
Physiological disorders in the garden often manifest after the soil has been disturbed by construction.
- Symptom: Leaf margins turning yellow while veins remain green (Interveinal Chlorosis).
Solution: This indicates a Manganese or Iron deficiency, often caused by an localized increase in soil pH from the limestone base. Apply a chelated iron foliar spray to bypass soil lockout. - Symptom: Stunted growth and purplish tint on underside of leaves.
Solution: Phosphorus deficiency. The cold soil temperatures during early spring installation can limit P availability. Apply a 0-20-0 superphosphate amendment to the root zone. - Symptom: Sudden wilting of established plants near the walkway despite moist soil.
Solution: Root suffocation due to over-compaction. Use a garden fork to aerate the soil at the drip line, restoring oxygen flow to the rhizosphere.
Fix-It: For general Nitrogen chlorosis (overall paling of the leaf), apply a high-nitrogen organic meal like blood meal at a rate of 2 pounds per 100 square feet.
Maintenance:
A flagstone walkway requires ongoing soil management to prevent settling and weed encroachment. Check the integrity of the joints annually. If using living fillers, provide 1.5 inches of water per week at the drip line using a soaker hose to ensure deep infiltration.
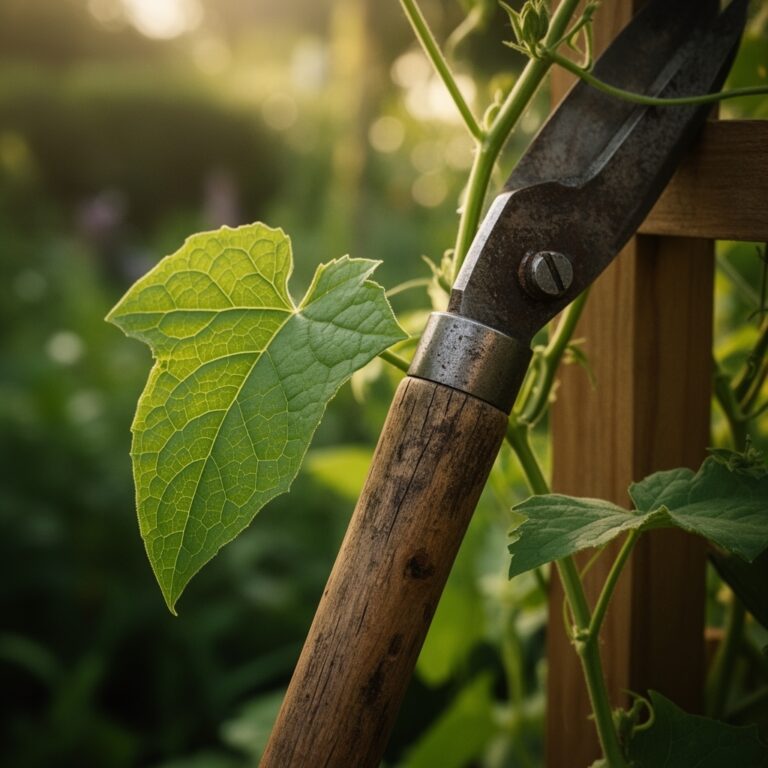
Use a hori-hori knife to remove deep-rooted weeds that penetrate the sand base; this tool allows for precise extraction without disrupting the leveling layer. For overhanging perennials that obstruct the path, use bypass pruners to make clean cuts at the branch collar, promoting rapid callus formation and preventing pathogen entry. Monitor the soil around the path with a soil moisture meter to ensure the stone's thermal mass is not causing excessive evaporation in the adjacent beds.
The Yield:
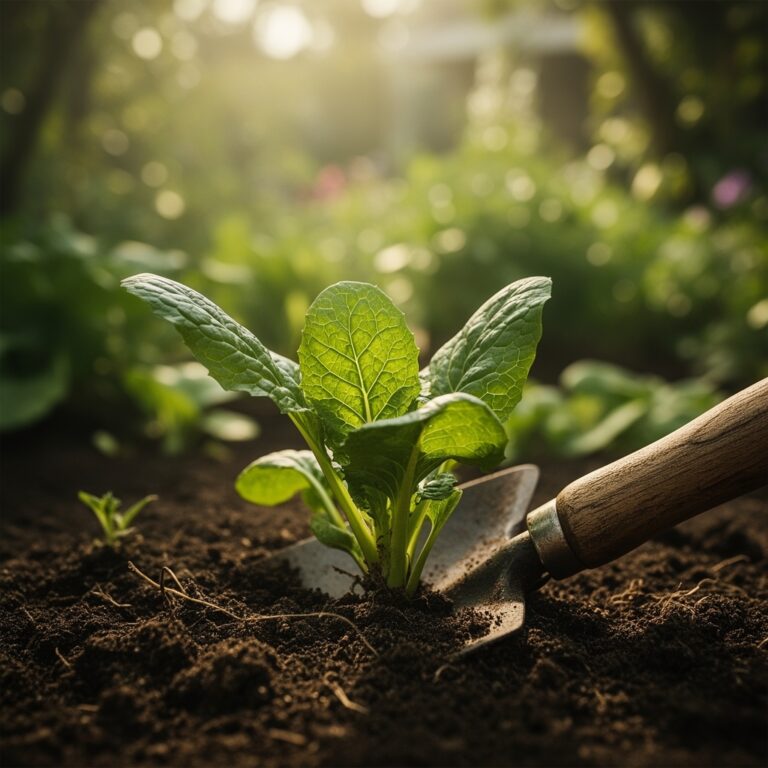
If your walkway traverses a kitchen garden, the "yield" is the ease of harvest. Accessing crops like kale or herbs from a stable stone surface prevents soil compaction near the plants. Harvest leafy greens in the early morning when turgor pressure is at its peak. This ensures the cells are fully hydrated, providing the crispest texture.
For post-harvest handling, submerge the stems in 40-degree Fahrenheit water immediately. This rapid cooling slows the metabolic rate and delays senescence, maintaining "day-one" freshness for up to a week. Use the walkway as a clean staging area to sort and trim your harvest, keeping the produce away from soil-borne pathogens.
FAQ:
How deep should I dig for a flagstone path?
Excavate to a total depth of 6 to 8 inches. This allows for a 4-inch sub-base of compacted gravel, a 1-inch layer of leveling sand, and the average 2-inch thickness of the flagstone.
What is the best material for the walkway base?
Use 3/4-inch minus crushed stone. The varied particle sizes allow for maximum compaction and stability, creating a solid foundation that resists shifting during the seasonal freeze-thaw cycles in colder hardiness zones.
Can I lay flagstone directly on dirt?
Laying stone on raw soil is not recommended. Soil lacks the structural integrity to prevent sinking and shifting. Without a gravel base, the stones will eventually become uneven, leading to trip hazards and stone breakage.
How do I prevent weeds between flagstones?
Use polymeric sand in the joints to create a hard, weed-resistant barrier. If you prefer a natural look, plant dense groundcovers like creeping thyme to outcompete weed seeds for light and nutrients through competitive exclusion.