7 Best Landscape Staples for Fabric
The scent of damp, anaerobic earth rising from a poorly secured weed barrier indicates a failure in site preparation. When the wind catches a loose edge of non-woven geotextile, it creates a bellows effect that dries out the rhizosphere and disrupts the delicate fungal networks essential for nutrient uptake. Achieving structural integrity requires the best landscape staples for fabric to anchor the barrier against the hydraulic pressure of heavy rainfall and the mechanical force of frost heave. You must drive these fasteners with enough force to penetrate compacted subsoil while maintaining the turgor pressure of the surrounding plant life.
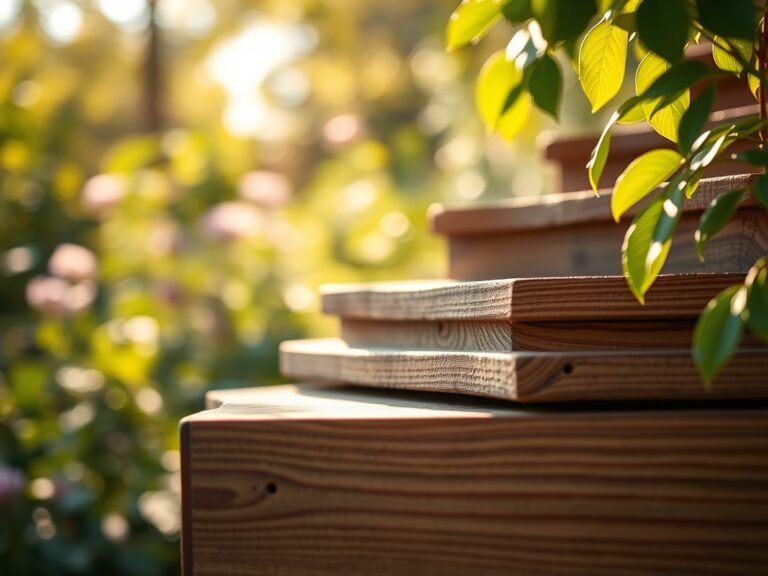
Materials:
The ideal substrate for high-performance landscaping is a **friable loam** with a **Cation Exchange Capacity (CEC) between 15 and 25 meq/100g**. This soil structure allows for maximum mineral retention while providing enough resistance to hold a 6-inch steel gauge staple. Before installation, ensure the soil pH is adjusted to **6.2 to 6.8** to prevent the rapid oxidation of galvanized coatings on your hardware. If the soil is overly acidic (pH below 5.5), untreated steel staples will corrode within two seasons, losing their grip on the fabric.
A balanced nutrient profile is required to support the microbial life beneath the fabric. Incorporate a slow-release fertilizer with an NPK ratio of 10-10-10 into the top four inches of the soil before laying the barrier. This ensures that as the fabric suppresses weed growth, the desired ornamentals have immediate access to nitrogen for vegetative expansion, phosphorus for root development, and potassium for cellular water regulation.
Timing:
Installation should occur during the dormant window for your specific Hardiness Zone. In Zones 5 through 7, the optimal period is between the first hard frost and the spring thaw. This timing aligns with the "Biological Clock" of most temperate perennials; the plants have entered senescence, reducing the risk of damaging active growth points.
Avoid installation when the soil temperature is below 32 degrees Fahrenheit as frozen ground prevents the proper seating of the staple crown. The transition from the vegetative stage to the reproductive stage in spring requires an undisturbed root zone. By securing your fabric in late winter, you allow the soil to settle and the mycorrhizal symbiosis to stabilize before the photoperiod triggers new bud development.
Phases:

Sowing and Preparation
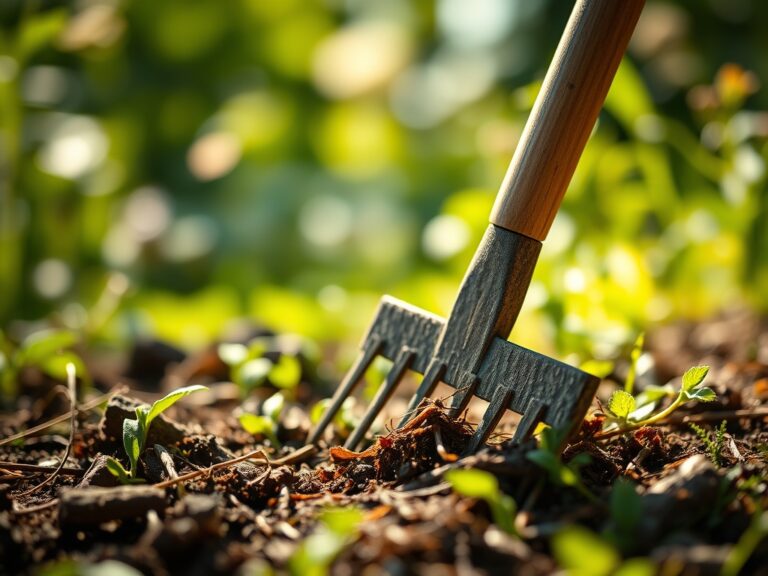
Clear all existing biomass from the site. Use a hori-hori knife to sever the taproots of deep-seated weeds. Level the area to ensure the fabric lays flat against the soil surface; gaps create microclimates for opportunistic seeds.
Pro-Tip: Maintaining direct contact between the fabric and the soil prevents the "greenhouse effect" where trapped air pockets reach temperatures exceeding 110 degrees Fahrenheit, effectively solarizing and killing beneficial soil microbes.
Transplanting through Fabric
Cut an "X" into the fabric only large enough to accommodate the root ball. Dig a hole twice the width of the container. Ensure the plant is set at a depth where the root flare is visible above the soil line to prevent stem rot.
Pro-Tip: Use a soil moisture meter to check the hydration levels within the transplant hole. Fabric can sometimes act as a hydrophobic barrier if not properly saturated during the initial installation phase.
Establishing and Anchoring
Space your staples every 12 inches along the seams and every 24 inches in the center of the fabric. Use a rubber mallet to drive the staples flush with the ground. If you encounter a rock, do not force the staple; reposition it to avoid bending the steel.
Pro-Tip: Secure the fabric tightly to trigger thigmotropism in the soil surface. When the barrier is firm, it prevents light penetration, which suppresses the production of auxin in weed seedlings, effectively halting their upward growth.
The Clinic:
Physiological disorders often arise from improper fabric installation or nutrient imbalances.
Symptom: Leaf margins turning yellow while veins remain green (Interveinal Chlorosis).
Solution: This indicates a Manganese or Iron deficiency, often caused by high pH levels. Apply a chelated mineral spray to the foliage to bypass soil lockout.
Symptom: Wilting despite moist soil.
Solution: This suggests Root Rot (Phytophthora). The fabric may be trapping too much moisture. Increase the drainage by piercing the fabric in low spots or incorporating perlite into the substrate.
Symptom: Purple tinting on the underside of older leaves.
Solution: This is a classic sign of Phosphorus deficiency. The cold soil may be inhibiting phosphorus uptake. Apply a water-soluble high-phosphorus fertilizer (NPK 5-30-5) directly to the root zone.
Fix-It for Nitrogen Chlorosis: If the entire plant is pale green, it lacks nitrogen. Inject a liquid 20-0-0 fertilizer through the fabric at the drip line to provide an immediate boost to chlorophyll production.
Maintenance:
Precision is the hallmark of a professional landscape. Monitor your plants with a soil moisture meter twice weekly. Most established ornamentals require 1.5 inches of water per week delivered at the drip line. Use bypass pruners to remove any dead or diseased wood, making cuts at a 45-degree angle to allow moisture to run off the wound.
Check the tension of your landscape staples every spring. Frost heave can push staples out of the ground by as much as 2 inches. Use your mallet to re-seat any hardware that has migrated upward. If the fabric shows signs of UV degradation, cover it with a 3-inch layer of organic mulch to protect the integrity of the polymer fibers.
The Yield:
When harvesting floral staples like Lavender or Hydrangeas, timing is critical. Harvest in the early morning when turgor pressure is at its peak. Use a sharp hori-hori knife to make clean cuts, avoiding the crushing of vascular tissues (xylem and phloem).
Immediately plunge the stems into 40-degree Fahrenheit water. This "cold shock" slows down the metabolic rate and delays senescence, ensuring the blooms maintain their structural integrity for up to ten days. For woody stems, a vertical slit at the base of the cutting increases the surface area for water absorption, maintaining "day-one" freshness.
FAQ:
How deep should landscape staples go?
Staples should be at least 6 inches long to bypass the loose organic layer and anchor into the denser subsoil. In sandy soils, use 8-inch or 10-inch staples to prevent the fabric from lifting during high-wind events.
Will landscape staples rust in the ground?
Standard steel staples will oxidize over time, which actually increases their "holding power" as the rust creates friction against the soil. For acidic soils or permanent installations, use galvanized or stainless steel to prevent complete structural failure.
How many staples do I need per square foot?
Plan for one staple per square foot for general coverage. For high-slope areas or overlapping seams, increase the density to two staples per linear foot to ensure the fabric remains taut against the soil profile.
Can I reuse landscape staples?
If the staples are not bent or severely corroded, they can be extracted and reused. Clean them with a 10% bleach solution to prevent the transfer of soil-borne pathogens like Fusarium or Pythium between different garden beds.