7 High-Moisture Benefits of Specialized Fern Soil
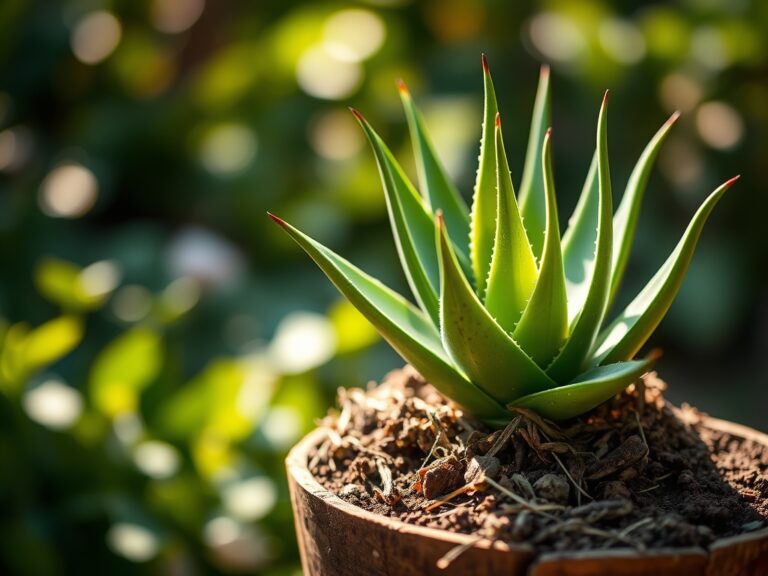
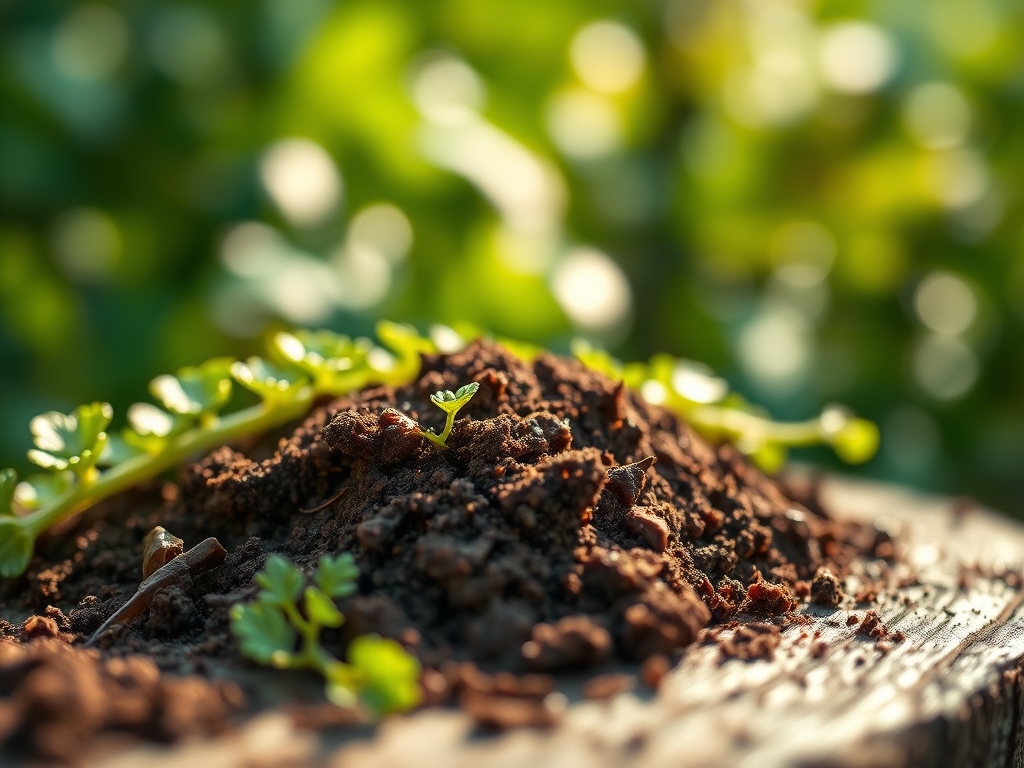
The scent of decomposing forest floor matter and the immediate snap of a leaf under high turgor pressure define the success of a pteridophyte collection. When fronds lose their rigidity, the cellular structure is failing due to inadequate hydraulic conductivity within the substrate. Using a specialized fern soil ensures that the rhizosphere maintains a constant moisture film without inducing anaerobic conditions that lead to root rot. Most standard potting mixes collapse under the weight of frequent irrigation; however, a specialized blend utilizes coarse aggregates to preserve macropores. These air pockets are essential for gas exchange in the root zone. A healthy fern should exhibit deep pigmentation and upright posture, facilitated by a substrate that balances water retention with rapid drainage. By mimicking the O-horizon of a temperate forest floor, you provide the precise chemical and physical environment required for delicate fibrous roots to expand. This technical approach moves beyond basic gardening into the realm of precise botanical engineering, where soil porosity and water-holding capacity are calculated rather than guessed.
Materials:
The ideal substrate for ferns is a friable loam characterized by high organic matter and a low bulk density. The target pH range is 4.5 to 6.0 for most species, though some calcicolous ferns prefer a more neutral 7.0. The nutrient profile must be lean to prevent salt accumulation, which scorches sensitive root tips.
- NPK Ratio: A controlled-release 3-1-2 or 2-1-2 ratio is preferred. High nitrogen levels support the vegetative growth of fronds, while lower phosphorus prevents the buildup of minerals that ferns cannot efficiently process.
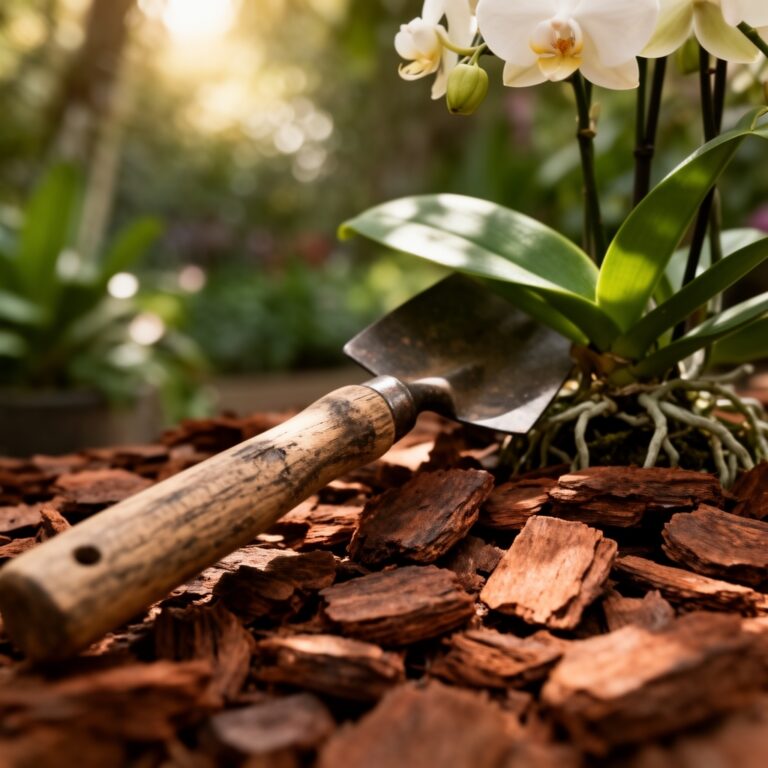
- Organic Components: Long-fiber sphagnum moss or composted pine bark provides the primary water-holding capacity. These materials offer a high Cation Exchange Capacity (CEC), allowing the soil to hold onto essential nutrients like magnesium and calcium.
- Inorganic Aggregates: Horticultural grade perlite, pumice, or medium-grit sand must comprise 20% to 30% of the volume. This ensures that even when saturated, the oxygen levels remain sufficient for root respiration.
- Moisture Retentants: Some specialized mixes include calcined clay or vermiculite to increase the plant-available water (PAW) without compressing the soil structure.
Timing:
Ferns are highly sensitive to the photoperiod and ambient temperature fluctuations. In Hardiness Zones 3 through 9, the primary window for repotting or establishing new plants occurs in early spring, approximately two weeks before the last frost date. This timing aligns with the transition from the dormant phase to the active vegetative stage.
The biological clock of a fern is governed by temperature and light. When soil temperatures reach a consistent 55 degrees Fahrenheit (13 degrees Celsius), the rhizome begins to push new croziers (fiddleheads). Avoid transplanting during the reproductive stage when sori (spore clusters) are developing on the underside of fronds, as the plant diverts significant ATP toward spore production rather than root establishment. For indoor specimens, timing is less restrictive, but success rates increase when following the natural increase in day length during the spring equinox.
Phases:
Sowing and Spore Propagation
Propagation from spores requires a sterile, fine-textured version of your specialized soil. Sift the mix to remove large bark chunks. Surface-sow the spores and maintain 100% relative humidity. The prothallus (the gametophyte stage) requires a continuous film of water for fertilization to occur.
Pro-Tip: Maintain a constant temperature of 70 to 75 degrees Fahrenheit. The biological why involves chemotaxis; the male sperm cells must swim through a film of water to reach the archegonia, a process that is inhibited by dry conditions or temperature extremes.
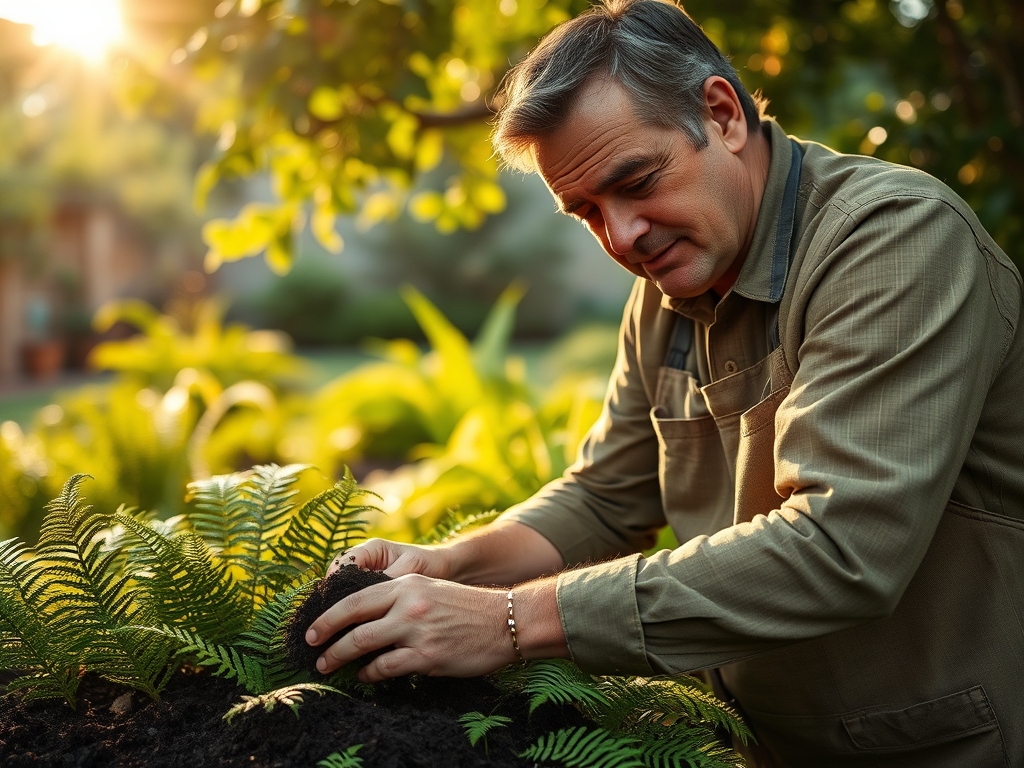
Transplanting
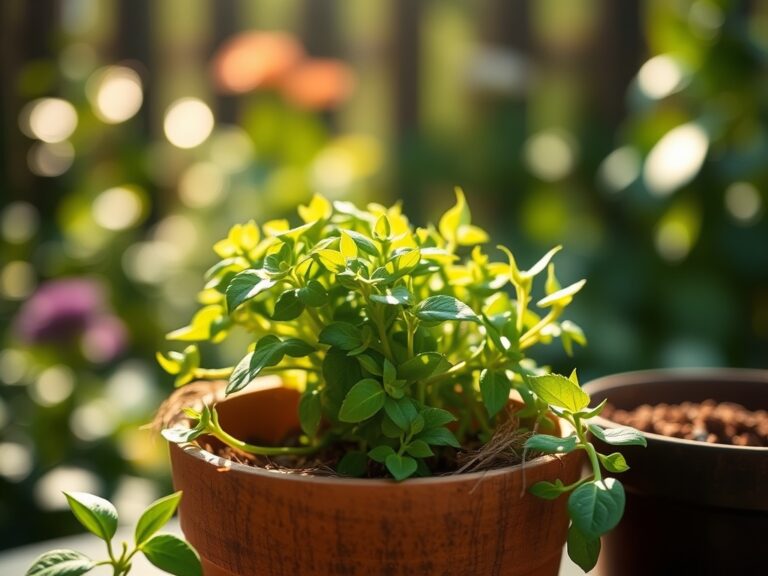
When moving a fern to a larger vessel, ensure the new container is only 1 to 2 inches wider than the previous one. Using a specialized fern soil during this phase prevents "potting up" shock. Gently tease the outer roots to encourage lateral growth into the new substrate.
Pro-Tip: Do not bury the crown. The biological why relates to auxin suppression and gas exchange; burying the crown limits oxygen to the apical meristem, which can lead to crown rot or the cessation of new frond development.
Establishing
The first 21 to 30 days post-transplant are critical for hydraulic integration. The roots must bridge the gap between the old root ball and the new specialized soil. Keep the substrate consistently moist but not waterlogged.
Pro-Tip: Use distilled or rainwater if your tap water is hard. The biological why is the low salt tolerance of ferns; high electrical conductivity (EC) in the soil solution causes osmotic stress, pulling water out of the roots instead of into them.
The Clinic:
Physiological disorders in ferns often manifest through foliage changes. Use this diagnostic guide to adjust your substrate management.
- Symptom: Tip Burn (Necrosis of frond edges).
- Cause: Low humidity or high salt accumulation in the soil.
- Solution: Flush the specialized soil with three volumes of water to one volume of soil to leach excess salts. Increase ambient humidity to above 50%.
- Symptom: Nitrogen Chlorosis (Yellowing of older fronds).
- Cause: Nitrogen deficiency or high pH locking out micronutrients.
- Fix-It: Apply a diluted liquid fertilizer at half-strength (10-5-5) and verify the soil pH is below 6.0.
- Symptom: Frond Wilting with Wet Soil.
- Cause: Root rot (Phytophthora) due to poor aeration.
- Fix-It: Repot immediately into a fresh specialized fern soil with a higher percentage of perlite or pumice to improve oxygenation in the rhizosphere.
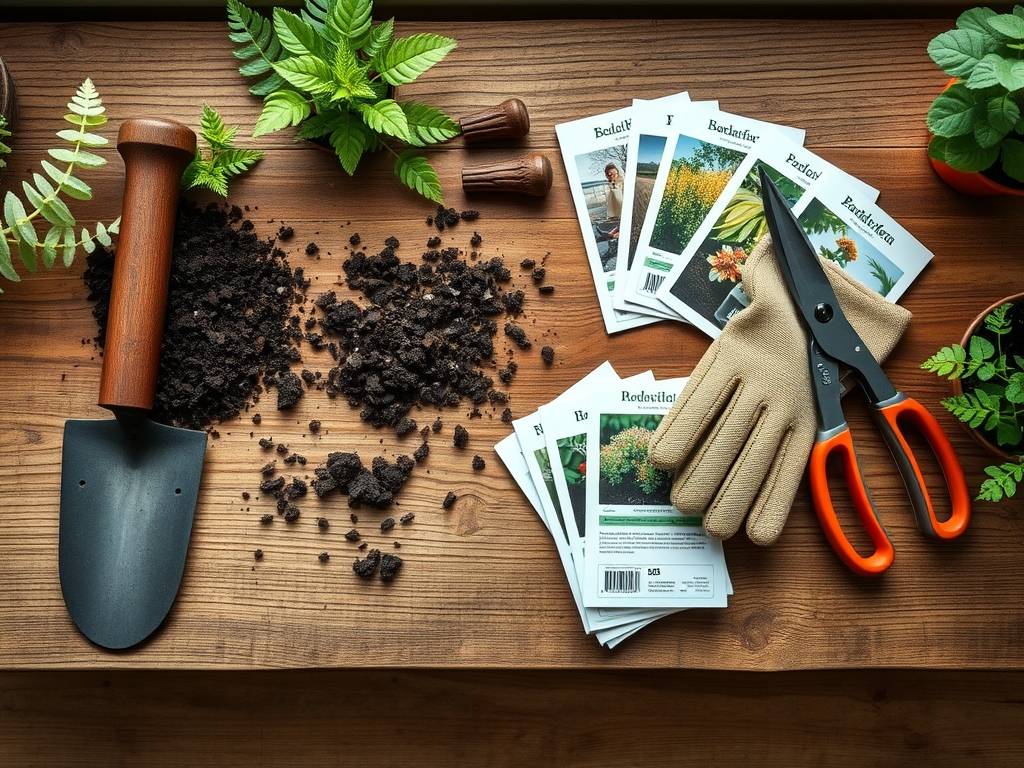
Maintenance:
Precision maintenance requires the right tools and a strict schedule. Use a soil moisture meter daily; do not wait for the plant to wilt. For most ferns, the meter should read in the "Moist" range (6-8 on a 10-point scale). Provide 1.5 inches of water per week at the drip line for outdoor ferns, ensuring the water penetrates the full depth of the root zone.
Use a hori-hori knife for weeding or dividing mature rhizomes to ensure clean cuts that heal quickly. When pruning dead or senescing fronds, use bypass pruners sterilized with isopropyl alcohol to prevent the spread of fungal pathogens. Cut the frond at the base, approximately 0.5 inches above the crown, to maintain the structural integrity of the plant.
The Yield:
While most ferns are grown for ornamental value, the "yield" is measured in biomass and frond density. For species where fiddleheads are harvested, timing is essential. Harvest when the croziers are no more than 2 to 6 inches tall and still tightly coiled. Use a sharp knife to cut the stem, taking no more than one-third of the total fiddleheads from a single clump to ensure the plant has enough photosynthetic capacity to recover. Post-harvest, submerge the fiddleheads in ice-cold water immediately to maintain turgor and prevent wilting. They should be stored at 34 degrees Fahrenheit for maximum shelf life.
FAQ:
Why is specialized soil better than standard potting mix?
Standard mixes lack the specific porosity and acidic pH required for ferns. Specialized soil uses components like bark and sphagnum to maintain a high water-holding capacity while ensuring the rhizosphere remains oxygenated, preventing root senescence.
Can I use garden soil for my ferns?
No. Garden soil is too dense and often contains pathogens. It lacks the macropores necessary for drainage in a container or prepared bed. This leads to soil compaction, which suffocates the delicate fibrous root systems of most fern species.
How often should I replace the soil?
Replace or refresh the substrate every 12 to 24 months. Over time, organic components decompose, leading to a loss of structure and a decrease in the Cation Exchange Capacity, which limits the plant's ability to uptake essential nutrients.
What is the best way to water ferns in specialized soil?
Apply water at the base of the plant until it exits the drainage holes. This ensures the entire soil column is saturated and flushes out metabolic wastes. Use a soil moisture meter to maintain consistent levels between 60% and 80% saturation.