6 Upcycled Steps to Prepare a DIY Household Material Plant Pot
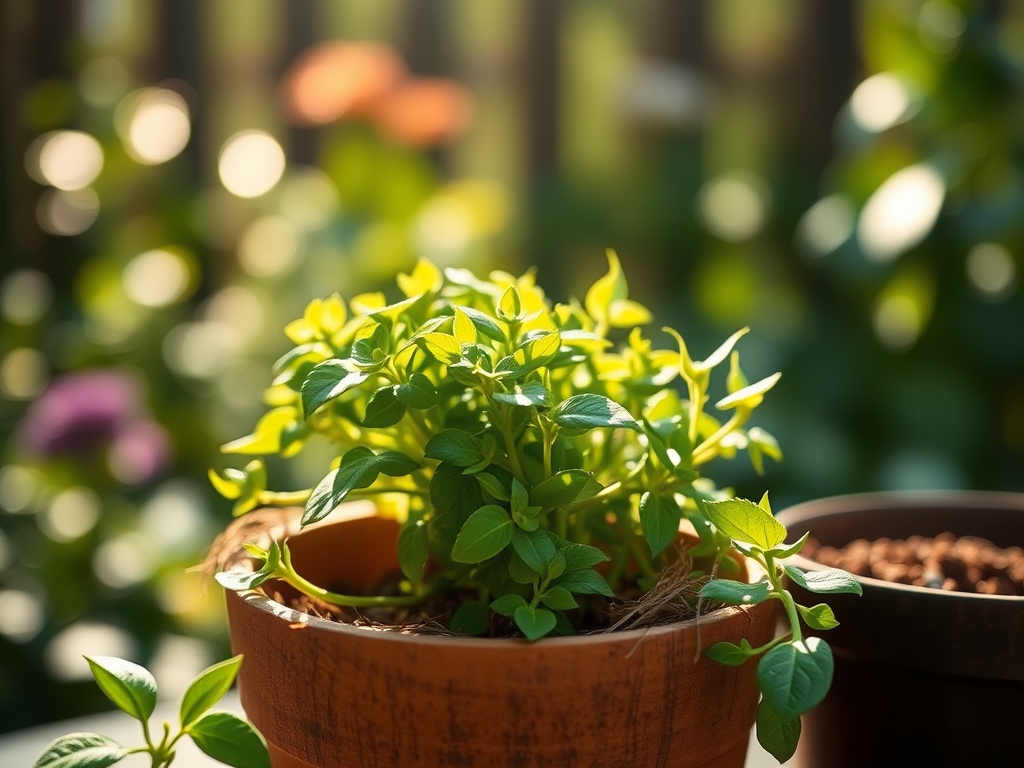
Crushing a handful of damp, friable loam reveals the structural integrity of the rhizosphere; the earthy scent of geosmin indicates a healthy microbial population. To achieve maximum turgor pressure in a developing seedling, the container must facilitate gas exchange and hydraulic conductivity. Learning how to prepare a DIY plant pot from household waste is not merely an exercise in recycling. It is a technical calibration of drainage, thermal mass, and substrate chemistry. A successful vessel prevents root circling and ensures the plant maintains high metabolic rates throughout its life cycle.
Materials:
The selection of a household container depends on its Cation Exchange Capacity (CEC) potential and chemical stability. Polypropylene (Plastic #5) or food-grade metal tins are preferred for their non-leaching properties. The substrate within these vessels requires a specific chemical profile. Aim for a pH range of 6.0 to 7.0 to optimize nutrient availability.
The NPK ratio for the initial potting mix should be a balanced 10-10-10 for general foliage or a 5-10-5 for root development. The physical texture must be a friable loam; a mixture of 40 percent sand, 40 percent silt, and 20 percent clay. This ratio ensures a high surface area for ion exchange while maintaining a bulk density of approximately 1.3 grams per cubic centimeter. Avoid using garden soil directly. It lacks the porosity required for containerized environments and often harbors pathogens that trigger damping-off.
Timing:
Successful container gardening relies on the synchronization of the plant's biological clock with local Hardiness Zones. In Zones 5 through 7, the window for transitioning plants to outdoor DIY pots typically begins two weeks after the last predicted frost. For cool-season crops, this occurs when soil temperatures reach a consistent 50 degrees Fahrenheit.
The biological clock of the plant dictates the transition from the vegetative stage (biomass accumulation) to the reproductive stage (flowering and fruiting). Monitoring the photoperiod is essential. Most long-day plants require 14 or more hours of light to initiate the reproductive phase. If you are preparing pots indoors under LED arrays, maintain a distance of 12 to 18 inches from the canopy to prevent photoinhibition and heat stress.
Phases:
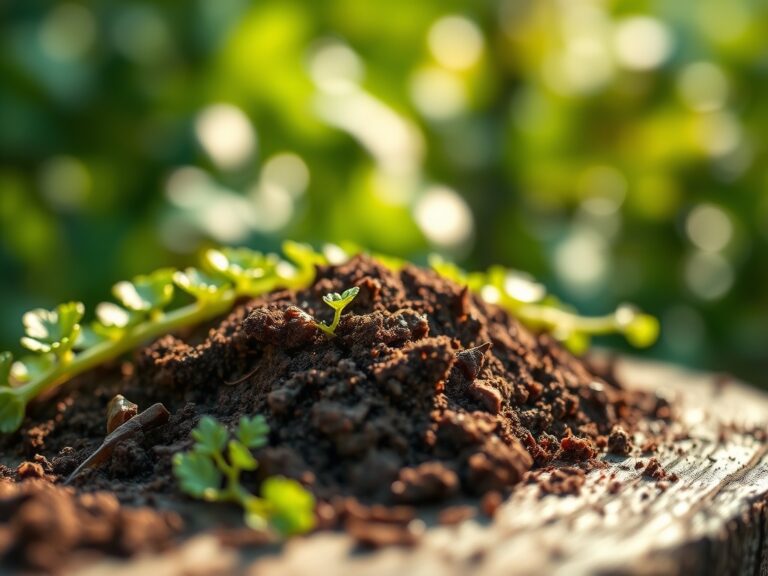
Sowing and Site Preparation
Before adding substrate, you must establish drainage. Use a high-speed drill to create at least four 0.5-inch diameter holes in the base of your upcycled container. Line the bottom with a thin layer of activated charcoal to facilitate filtration. Fill the vessel with your prepared loam, leaving 1 inch of headspace at the rim to prevent overflow during irrigation.
Pro-Tip: Ensure the seeds are sown at a depth of three times their diameter. This depth provides the necessary darkness to trigger the degradation of abscisic acid, the hormone responsible for maintaining seed dormancy.
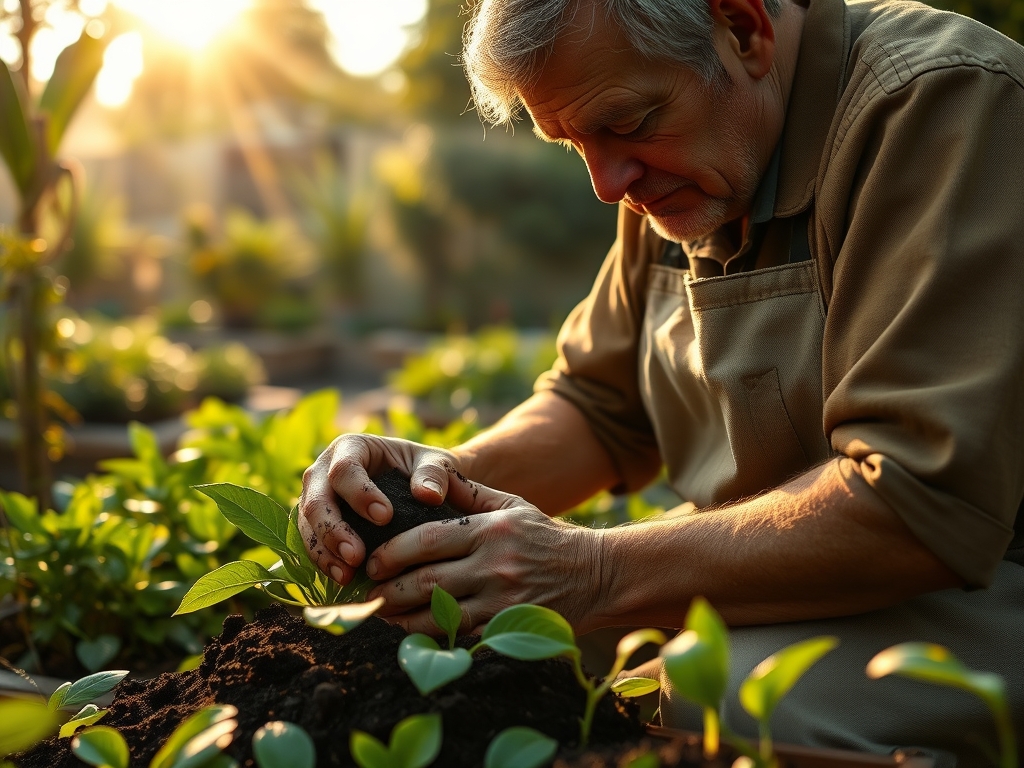
Transplanting
When moving a seedling from a starter tray to your DIY pot, handle the plant only by the cotyledons or the root ball. Avoid touching the hypocotyl (stem), as bruising can disrupt the vascular cambium. Ensure the root system is spread radially to prevent "J-rooting," which limits the plant's ability to access water in the lower strata of the pot.
Pro-Tip: Apply a mycorrhizal inoculant to the root zone during transplanting. This establishes a symbiotic relationship where fungi extend the root's reach, increasing the uptake of phosphorus and micronutrients through hyphal networks.
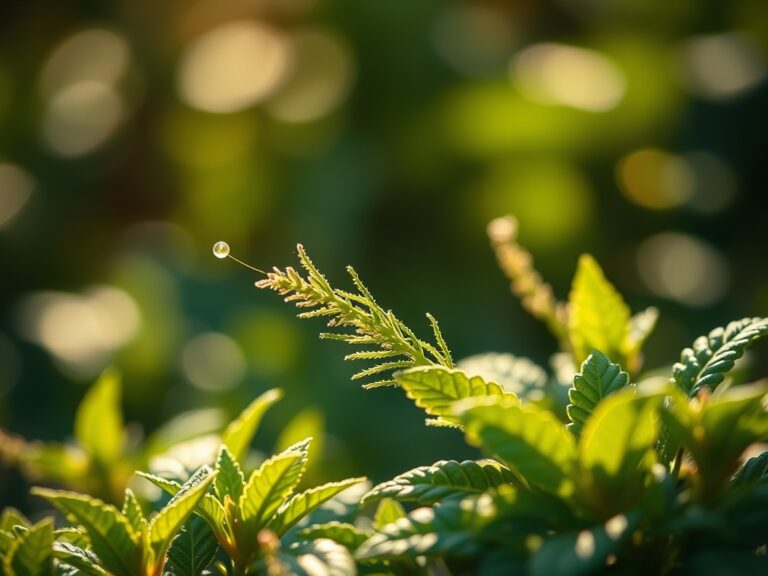
Establishing
The establishment phase requires high humidity and consistent moisture. Use a soil moisture meter to ensure the substrate stays between 60 and 80 percent field capacity. If the plant shows signs of wilting despite moist soil, it may be experiencing transplant shock, where the transpiration rate exceeds the roots' ability to pull water.
Pro-Tip: Place the pot in a location with indirect light for the first 48 hours. This suppresses auxin accumulation in the apical meristem, allowing the plant to redirect metabolic energy toward root repair rather than upward vertical growth.
The Clinic:
Physiological disorders often manifest through leaf morphology. Monitoring these signs allows for rapid intervention before permanent cellular damage occurs.
- Symptom: Interveinal chlorosis (yellowing between leaf veins) on older leaves.
- Solution: This indicates a Magnesium deficiency. Apply a foliar spray of 1 tablespoon of Epsom salts per gallon of water to restore chlorophyll production.
- Symptom: Necrotic (brown) leaf tips and margins.
- Solution: This is often a sign of "Tip Burn" caused by localized Calcium deficiency or high salinity. Flush the DIY pot with three volumes of distilled water to leach out accumulated salts.
- Symptom: Epinsty (downward curling of leaves) without discoloration.
- Solution: Check for over-saturation. Excess water fills the macropores in the soil, causing root hypoxia and triggering the production of ethylene gas.
Fix-It for Nitrogen Chlorosis: If the entire plant turns a pale lime green, it lacks Nitrogen. Incorporate a high-nitrogen organic amendment, such as blood meal, to achieve a 12-0-0 boost. Nitrogen is a primary component of amino acids and is critical for vegetative vigor.
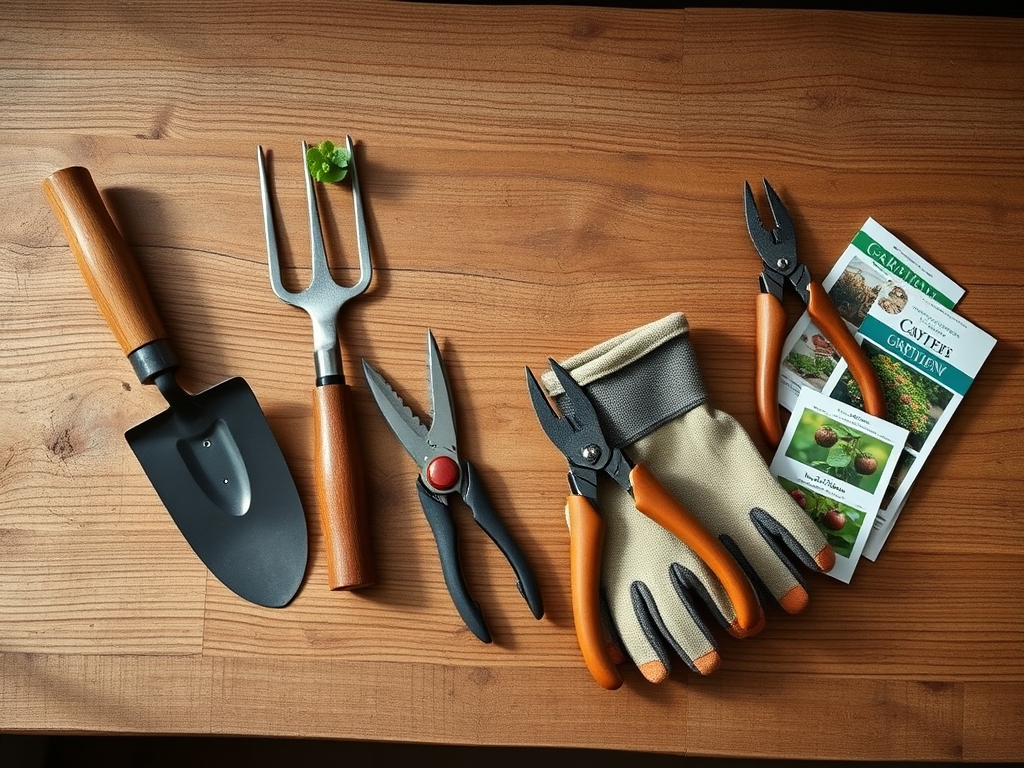
Maintenance:
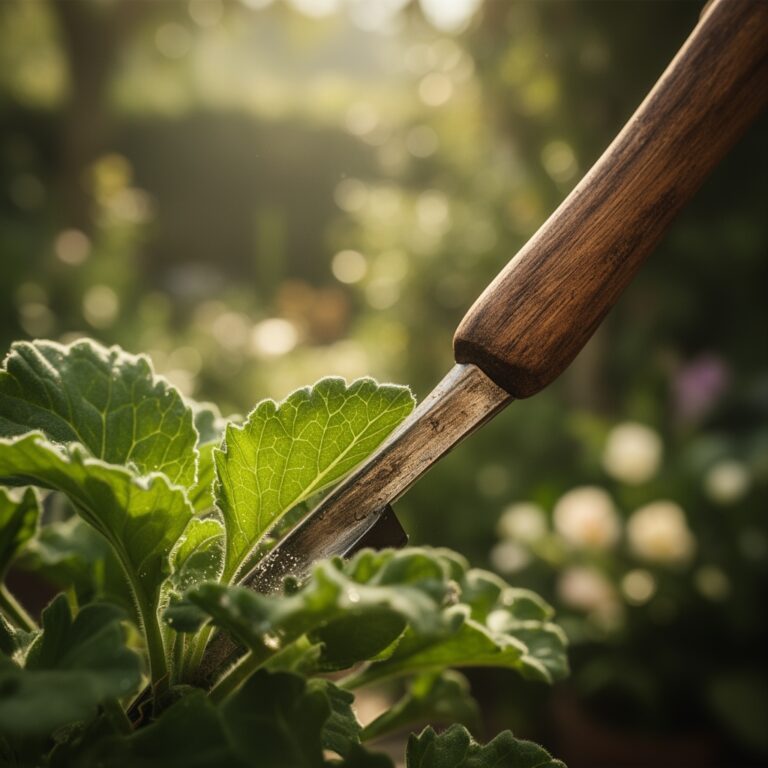
Precision is the hallmark of a professional horticulturist. Do not water on a schedule; water based on the tension of the soil. Most containerized plants require approximately 1.5 inches of water per week delivered at the drip line to ensure deep penetration.
Use a hori-hori knife to check for soil compaction every three weeks. If the blade meets significant resistance, the soil has lost its structure and needs aeration. Use bypass pruners to remove any senescing (dying) leaves at the node. This prevents the spread of botrytis and redirects carbohydrates to healthy tissues. Maintain a clean perimeter around the pot to discourage the migration of gastropods or arthropods into the rhizosphere.
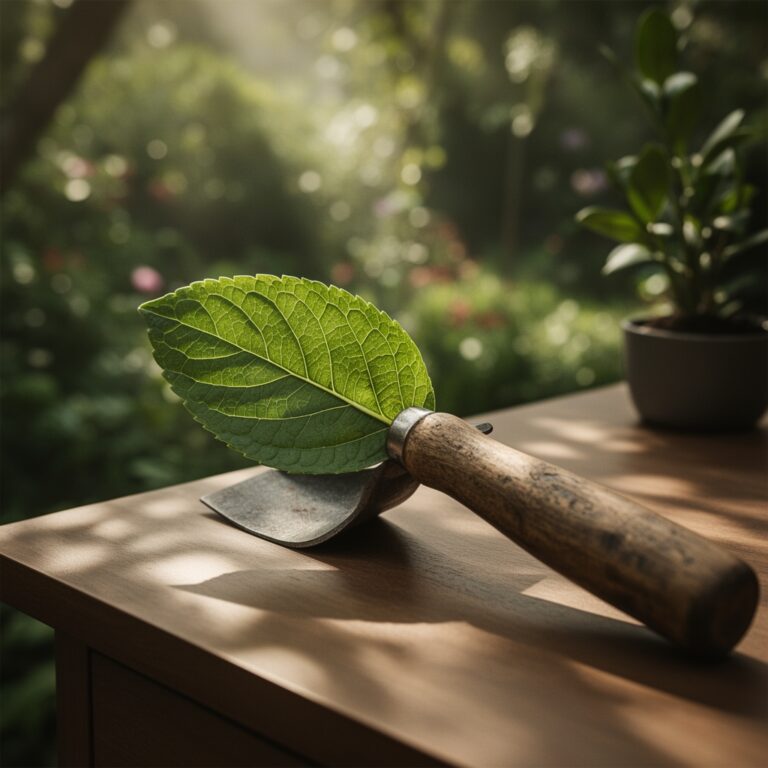
The Yield:
Harvesting from a DIY pot requires timing based on the plant's peak secondary metabolite production. For leafy greens, harvest in the early morning when turgor pressure is at its maximum. Use a sharp, sterilized blade to make a clean cut at a 45-degree angle. This minimizes the surface area of the wound and reduces the risk of infection.
To maintain "day-one" freshness, immediately submerge the cut ends in 40-degree Fahrenheit water. This process, known as hydro-cooling, removes field heat and slows the respiration rate. For fruiting plants, harvest when the abscission layer at the base of the fruit stem begins to weaken. This indicates the plant has finished transporting sugars to the fruit.
FAQ:
How do I clean an upcycled container for planting?
Scrub the vessel with a 10 percent bleach solution to eliminate pathogens. Rinse thoroughly until no chlorine scent remains. This prevents the transfer of fungal spores or bacterial blights to the new rhizosphere.
Can I use any plastic container for a DIY pot?
Only use plastics labeled with recycling codes 2, 4, or 5. These are chemically stable and will not leach bisphenol A (BPA) or phthalates into the soil substrate, especially when exposed to UV radiation.
Why is my DIY pot draining too slowly?
Slow drainage usually indicates a lack of macropores or insufficient drainage holes. Ensure you have at least one square inch of drainage hole area for every gallon of substrate. Add perlite to increase aeration.
How often should I fertilize plants in small DIY pots?
Containerized plants require more frequent fertilization due to leaching. Apply a water-soluble 20-20-20 fertilizer at half-strength every two weeks. This maintains steady nutrient concentrations without risking osmotic root burn from salt accumulation.