9 Simple Rules How to Grow Green Beans
Crush a handful of moist earth between your palms and you will smell the sharp, metallic scent of geosmin. This indicates a healthy rhizosphere ready for legumes. Success in learning how to grow green beans depends on maintaining high turgor pressure within the plant vascular system. When the cellular walls are fully hydrated, the leaves stand rigid and the pods snap with a clean, audible break. Proper cultivation requires precise management of soil temperature and moisture levels.
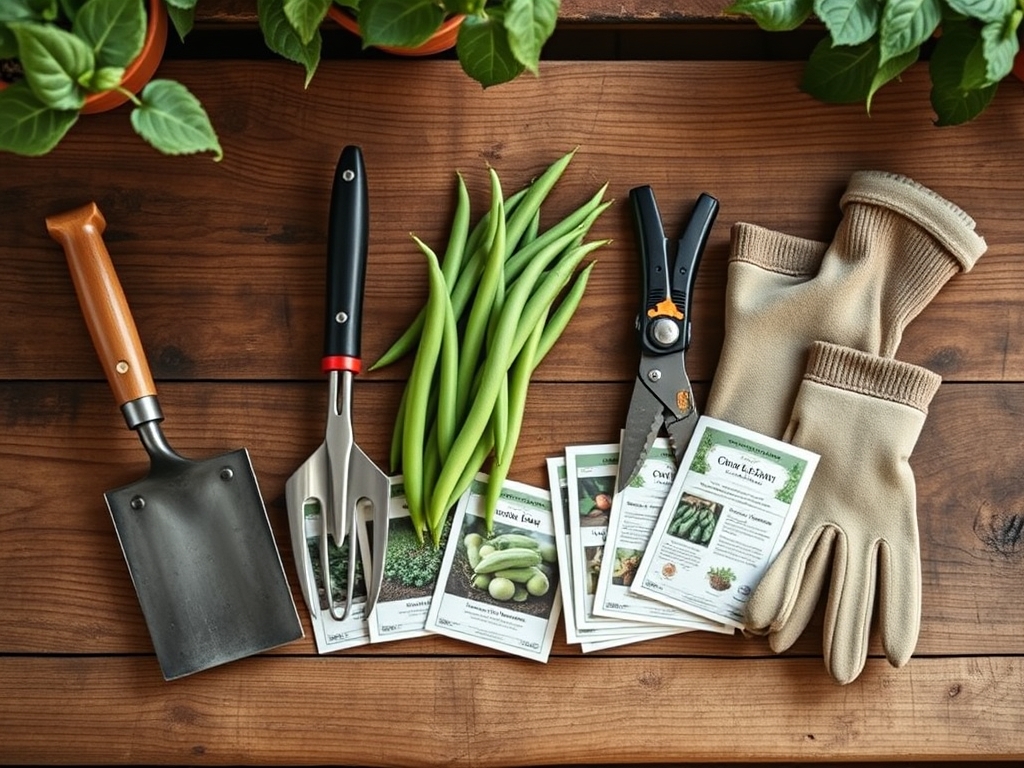
Materials:
Green beans thrive in **friable loam** with a high sand and silt content to ensure rapid drainage. The ideal substrate must have a **pH between 6.0 and 6.8**. If your soil pH falls below 5.8, molybdenum becomes unavailable, which halts the nitrogen fixation process.
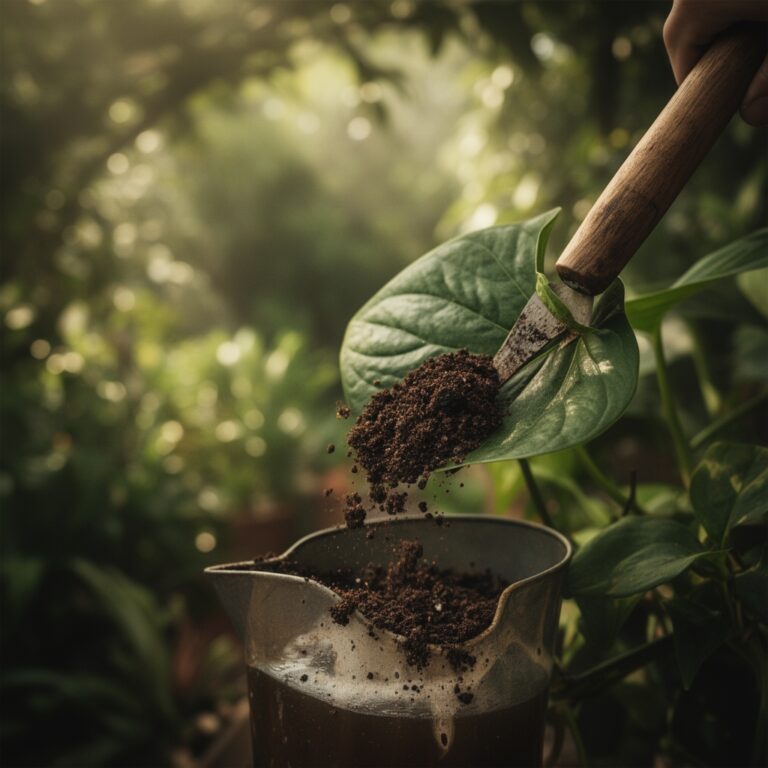
Before planting, integrate a low-nitrogen fertilizer with an NPK ratio of 5-10-10. Excessive nitrogen at the seedling stage triggers aggressive vegetative growth at the expense of pod development. For soils with low Cation Exchange Capacity (CEC), incorporate organic matter to increase the ability of the soil to hold onto essential nutrients like potassium and magnesium. Ensure the soil is rich in Rhizobium leguminosarum bacteria, or apply a commercial inoculant to the seeds to facilitate the development of nitrogen-fixing root nodules.
Timing:
The biological clock of Phaseolus vulgaris is dictated by soil temperature rather than air temperature. Do not sow until the soil consistently registers 65 degrees Fahrenheit at a depth of three inches. In USDA Hardiness Zones 3 through 6, this typically occurs two weeks after the last spring frost. In Zones 7 through 10, gardeners can achieve two distinct growing seasons by planting in early spring and again in late summer.
The transition from the vegetative stage to the reproductive stage is triggered by the plant reaching a specific biomass and heat unit accumulation. Most bush varieties require 50 to 60 days to reach maturity; pole beans require 70 to 80 days. Sudden temperature spikes above 90 degrees Fahrenheit during the flowering phase can cause "blossom drop," where the plant aborts flowers to preserve internal moisture.
Phases:

Sowing
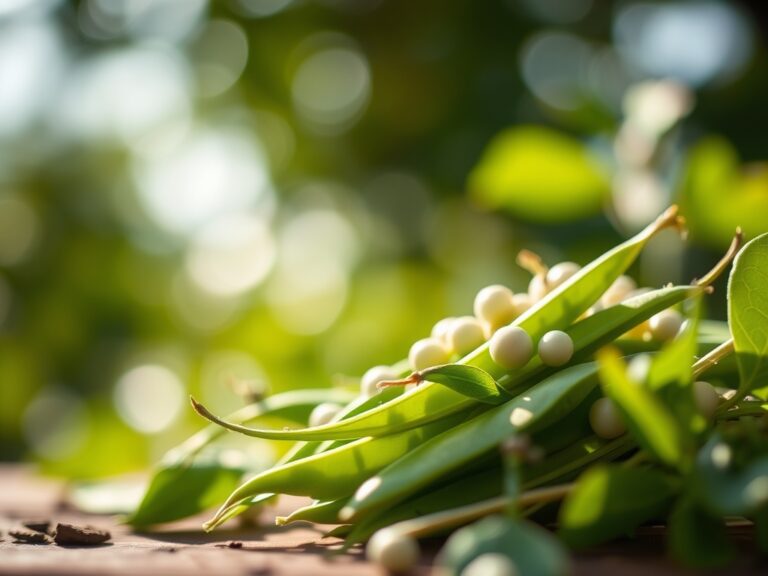
Direct sow seeds 1 inch deep in heavy soil or 1.5 inches deep in light, sandy soil. Space seeds 2 to 4 inches apart in rows separated by 18 to 24 inches. Ensure the hilum (the "eye" of the bean) is facing downward to reduce the energy the seedling spends orienting itself.
Pro-Tip: Use a seed inoculant containing nitrogen-fixing bacteria. The Biological Why involves a symbiotic relationship where the plant provides carbohydrates to the bacteria in exchange for atmospheric nitrogen converted into a plant-available form.
Transplanting
While most beans are direct-sown, you can start them indoors in peat pots to avoid root disturbance. Transplant when the first set of true leaves appears. Do not wait for the plant to become root-bound, as this induces premature senescence.
Pro-Tip: Handle only the root ball and avoid touching the stem. The Biological Why is to protect the delicate hypocotyl; any mechanical damage to the stem can disrupt the flow of auxins, the hormones responsible for apical dominance and root initiation.
Establishing
Once the seedlings reach 3 inches in height, thin them to a final spacing of 6 inches. This ensures adequate airflow and reduces the risk of fungal pathogens. Apply a thin layer of straw mulch to regulate soil temperature and prevent moisture evaporation.
Pro-Tip: Avoid overhead watering during the establishment phase. The Biological Why relates to the prevention of bacterial blight; moisture on the leaf surface provides a medium for pathogens to enter the stomata, the microscopic pores used for gas exchange.
The Clinic:
Physiological disorders often mimic pest damage but are usually rooted in environmental stress or nutrient imbalances.
Symptom: Yellowing of lower leaves (Chlorosis).
Solution: This typically indicates a nitrogen deficiency or poor drainage leading to root hypoxia. If the soil is waterlogged, aeration is required. If the soil is dry, apply a side-dressing of compost tea.
Fix-It: For immediate recovery, use a foliar spray with a 0.1 percent urea solution to bypass the roots and deliver nitrogen directly to the leaf tissue.
Symptom: Curled or distorted new growth.
Solution: This is often caused by calcium deficiency or fluctuating moisture levels. Calcium is immobile within the plant; if transpiration slows, calcium cannot reach the growing tips.
Fix-It: Maintain consistent soil moisture at the 15 percent to 20 percent range using a soil moisture meter.
Symptom: Flower drop without pod set.
Solution: High heat or low humidity. When temperatures exceed 90 degrees Fahrenheit, pollen becomes sterile.
Fix-It: Use shade cloths to reduce ambient temperature by 5 to 10 degrees during peak afternoon sun.
Maintenance:
Precision is required for high yields. Green beans require exactly 1.5 inches of water per week delivered at the drip line. Use a soil moisture meter to verify that the moisture has penetrated 6 inches deep. Surface watering encourages shallow root systems that fail during drought.
Weeding should be performed with a hori-hori knife to slice weeds below the soil surface without overturning the earth. Deep cultivation will damage the shallow, fibrous root system of the bean plant. If growing pole beans, install a trellis or cattle panel before planting to avoid driving stakes through established roots later. Use bypass pruners to remove any yellowing or diseased foliage at the base of the plant to improve vertical airflow.
The Yield:
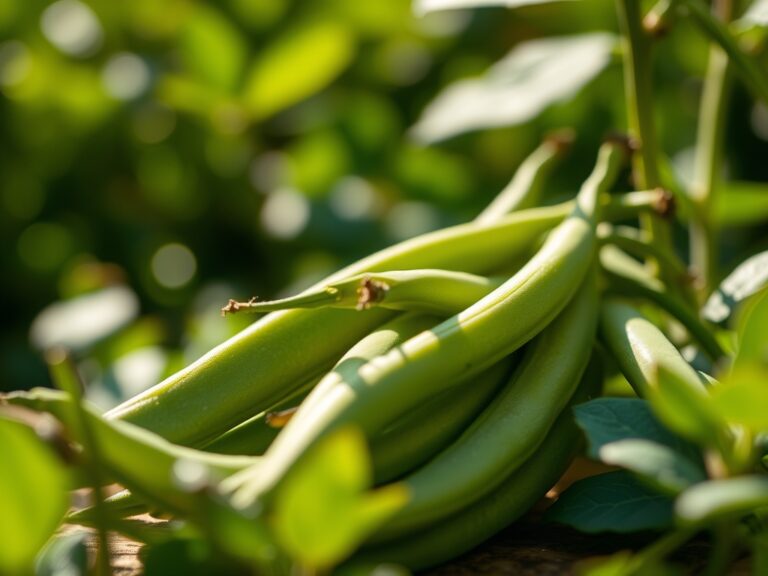
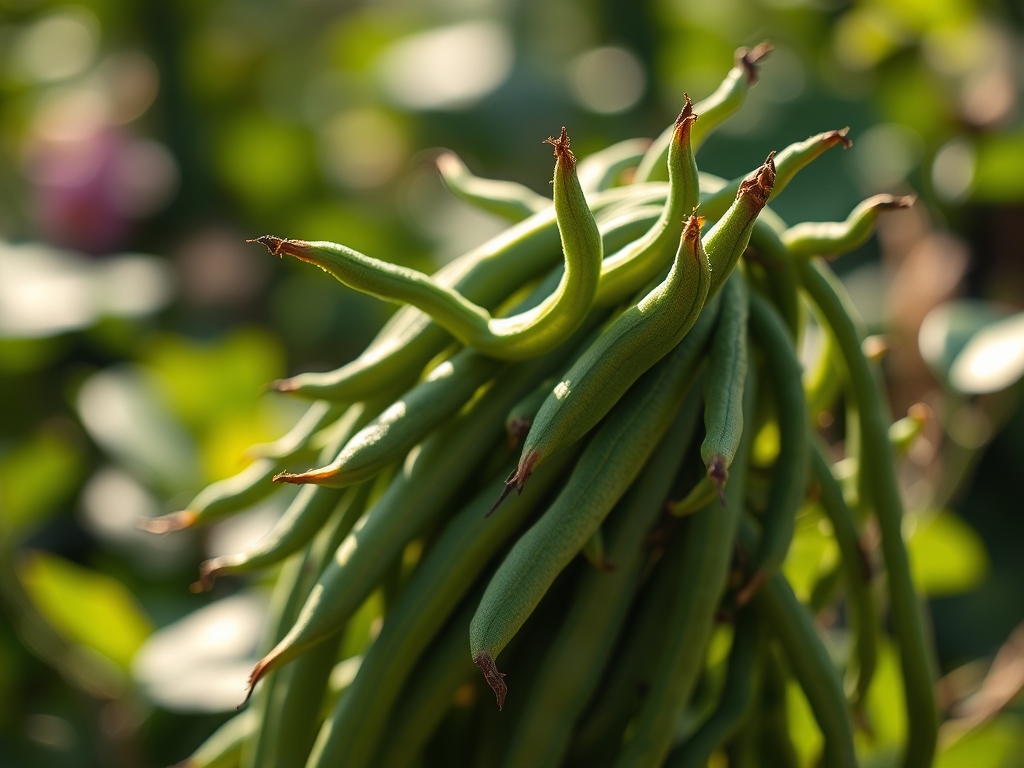
Harvesting is a catalyst for further production. For bush beans, begin picking when the pods are the thickness of a standard pencil and the seeds inside are not yet bulging. This prevents the plant from entering its final life stage, as the presence of mature seeds signals the plant to stop producing flowers.
Use two hands to harvest: one to hold the vine and the other to snap the pod. Pulling with one hand can tear the vascular tissue or uproot the plant entirely. For "day-one" freshness, harvest in the early morning when turgor pressure is at its peak. Immediately plunge the harvested beans into an ice water bath to remove field heat; this slows the metabolic process and preserves the sugars within the pod. Store at 40 degrees Fahrenheit with 95 percent relative humidity for a shelf life of up to 10 days.
FAQ:
Why are my bean plants flowering but not producing pods?
This is usually caused by high temperatures over 90 degrees Fahrenheit, which sterilizes pollen. It can also result from excessive nitrogen, which forces the plant to focus on leaf production instead of reproductive fruit development.
How deep should I plant green bean seeds?
Sow seeds 1 inch deep in silty or clay-heavy soils. In lighter, sandy soils, increase the depth to 1.5 inches to ensure the seed remains in contact with consistent moisture during the germination phase.
Do green beans need a lot of fertilizer?
No. Green beans are light feeders. Use a low-nitrogen 5-10-10 NPK fertilizer at planting. Because they fix their own nitrogen through a symbiotic relationship with soil bacteria, over-fertilizing will actually decrease your total pod yield.
How often should I water my bean plants?
Provide 1.5 inches of water per week. Use a drip irrigation system or a soaker hose to apply water directly to the soil. Avoid wetting the foliage, as this increases the risk of fungal and bacterial infections.
Can I grow green beans in containers?
Yes. Use a container with at least a 12-inch depth and excellent drainage. Bush varieties are ideal for pots. Ensure the potting mix has a high Cation Exchange Capacity to retain nutrients in the limited soil volume.