9 Steps to Prepare a Natural Backyard Pond Site
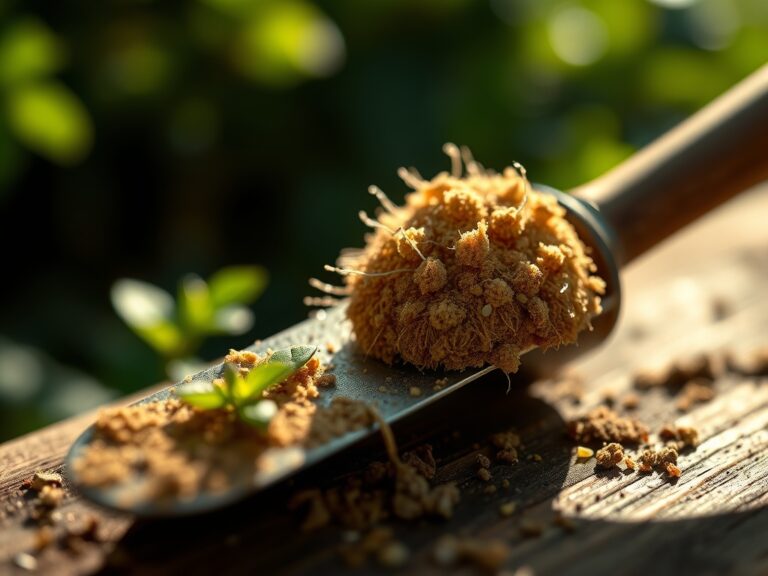
The sharp scent of geosmin rises from the earth as the spade breaks the surface; this organic compound signals the presence of Actinomycetes bacteria in healthy, aerobic soil. Building a functional ecosystem requires more than digging a hole. To understand how to prepare a garden for a pond, you must first assess the hydraulic conductivity of your substrate and the structural integrity of the surrounding rhizosphere. A successful installation relies on managing turgor pressure in peripheral plantings and ensuring the water table does not interfere with the liner's stability. Precision in site selection prevents future anaerobic stagnation and ensures the long term health of your aquatic biome.
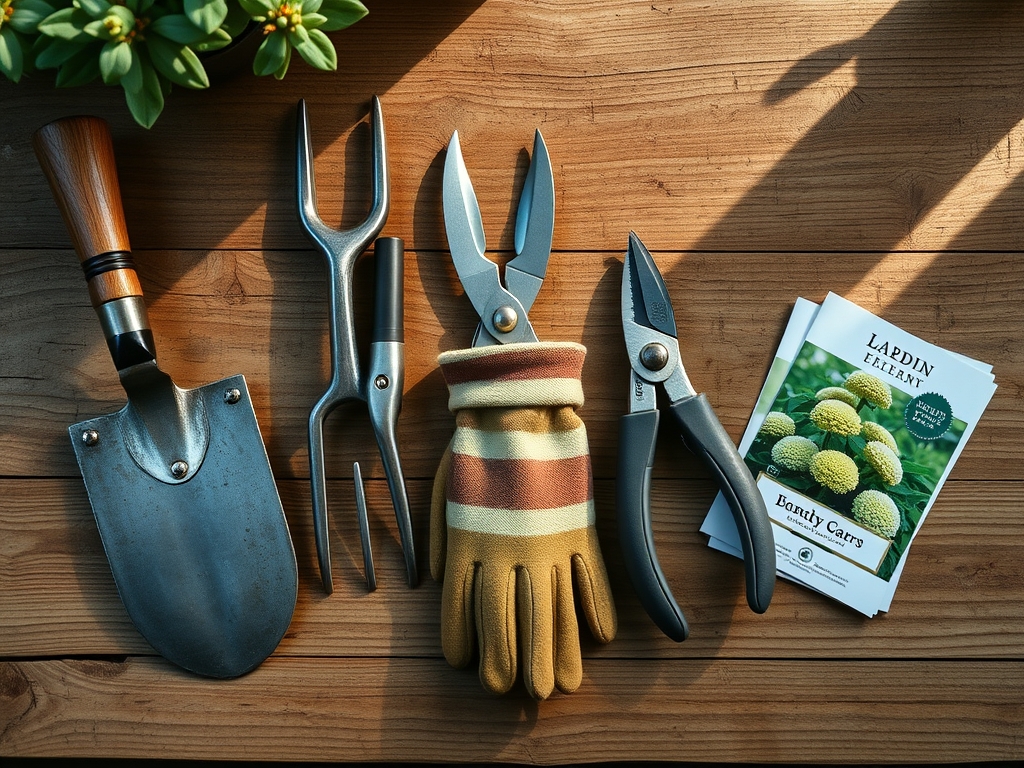
Materials:
Site preparation requires a comprehensive understanding of the existing soil profile. The ideal substrate surrounding the pond perimeter is a **friable loam** with a **Cation Exchange Capacity (CEC) between 15 and 25 meq/100g**. This allows the soil to retain essential nutrients without becoming compacted or hydrophobic.
Before excavation, test the soil pH. Aim for a pH range of 6.5 to 7.2 to support marginal vegetation. If the soil is overly acidic, incorporate pelletized lime; if alkaline, use elemental sulfur. For the marginal planting zones, prepare a specialized growing medium with an NPK ratio of 5-10-5. High phosphorus levels encourage robust root development and rhizome expansion in aquatic species like Typha or Iris pseudacorus. Avoid high-nitrogen fertilizers (e.g., 20-10-10) near the water's edge, as nitrogen runoff triggers eutrophication and rapid filamentous algae blooms.
Timing:
The biological clock for pond installation is dictated by the thermal properties of the soil. In Hardiness Zones 4 through 7, excavation should commence once the soil temperature reaches a consistent 50 degrees Fahrenheit (10 degrees Celsius). This usually occurs two to three weeks after the last spring frost.
In warmer Zones 8 through 10, autumn installation is preferable to allow for root establishment during the cooler dormant season. Timing is critical because it aligns with the transition from vegetative to reproductive stages in native riparian plants. Installing during a period of active transpiration ensures that marginal plants can quickly anchor their root systems into the new substrate before the peak heat of summer increases the risk of wilting or cellular senescence.
Phases:
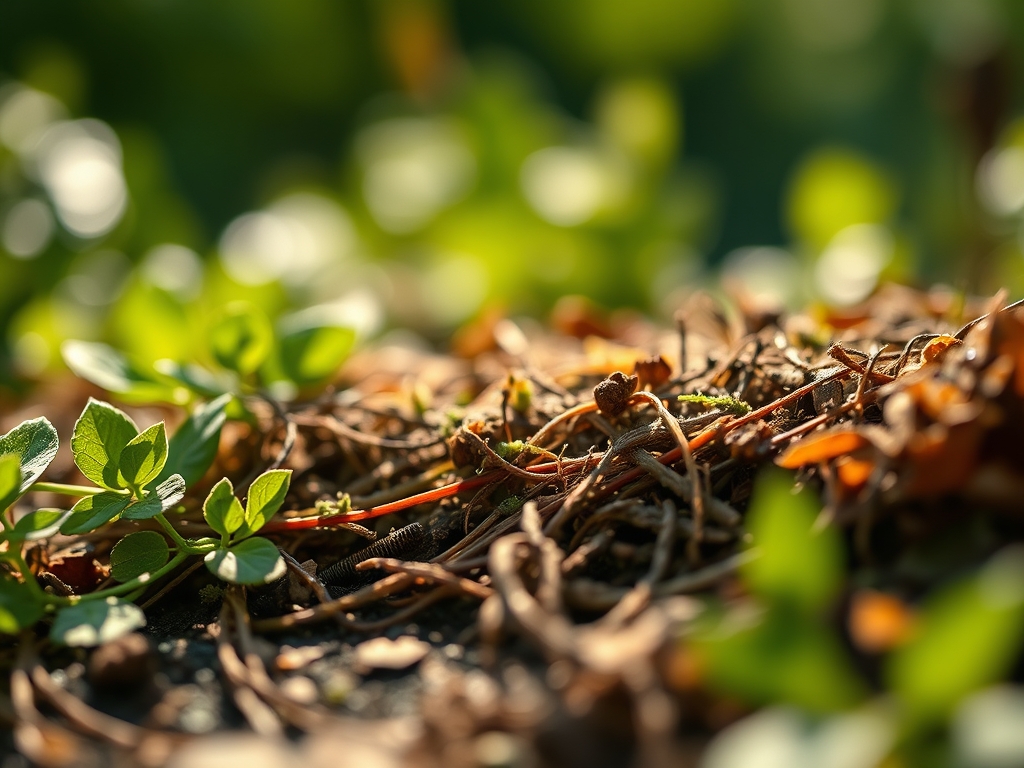
Sowing the Perimeter
Establish a buffer zone of native grasses and sedges around the excavation site. These plants stabilize the soil and prevent sediment runoff. Ensure seeds are sown at a depth of 0.25 inches and kept consistently moist until germination.
Pro-Tip: Utilize mycorrhizal inoculants during sowing. This creates a mycorrhizal symbiosis where fungal hyphae extend the root system's reach; this improves phosphorus uptake and drought resistance through enhanced hydraulic lift.
Transplanting Marginals
When moving potted aquatic plants into the pond shelves, ensure the crown of the plant is positioned exactly at the water line. For species like Pontederia cordata, maintain a planting depth of 2 to 6 inches.
Pro-Tip: Remove any circling roots before planting to prevent "girdling." This stimulates auxin suppression in the root tips; it forces the plant to redirect energy into lateral root branching rather than unproductive circular growth.
Establishing the Biome
Once the water is added and the plants are set, allow the pond to cycle for 14 to 21 days before introducing any fish or sensitive macroinvertebrates. This period allows the chlorine to dissipate and the nitrifying bacteria (Nitrosomonas and Nitrobacter) to colonize the filter media.
Pro-Tip: Introduce floating plants like Pistia stratiotes early to provide shade. This manages phototropism and limits the amount of UV light reaching the bottom; it effectively starves opportunistic algae of the energy needed for photosynthesis.
The Clinic:
Physiological disorders in the pond garden often manifest through foliage changes. Monitoring the turgor pressure and leaf color provides a direct window into the health of the ecosystem.
- Symptom: Interveinal chlorosis (yellowing between green veins) in marginal plants.
Solution: This indicates a Magnesium deficiency or an iron lockout due to high pH. Fix-It: Apply chelated iron or Epsom salts (Magnesium Sulfate) at a rate of 1 tablespoon per 10 square feet. - Symptom: Marginal necrosis (brown, crispy leaf edges).
Solution: This is often caused by high salinity or potassium deficiency. Fix-It: Increase irrigation frequency to leach salts or apply a 0-0-50 Potassium Sulfate supplement. - Symptom: Stunted growth and purple-tinted lower leaves.
Solution: Phosphorus deficiency, common in cold water temperatures. Fix-It: Apply a slow release 10-20-10 aquatic fertilizer spike directly into the root ball.
Maintenance:
Precision maintenance prevents the pond from reverting to a swamp. Use a soil moisture meter to ensure the surrounding soil stays at a consistent 60% to 70% saturation. If the meter reads below 40%, provide 1.5 inches of water per week at the drip line of perimeter shrubs.
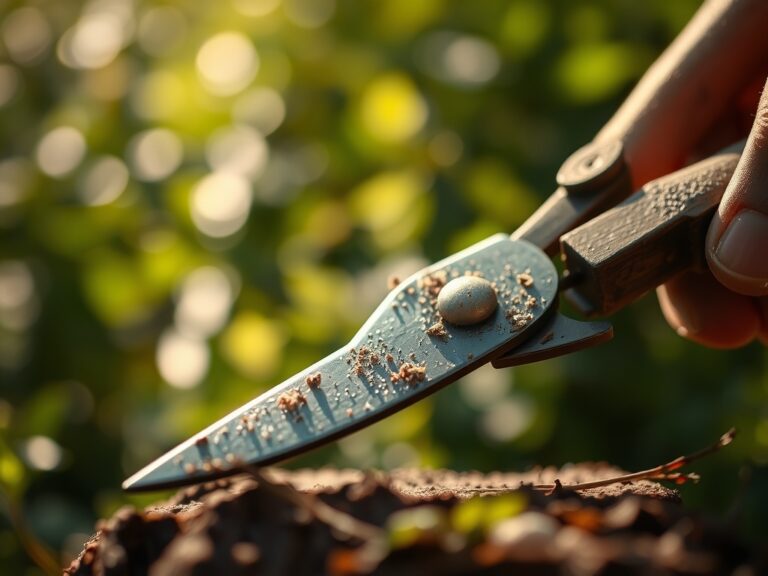
Keep a hori-hori knife sharpened for dividing overgrown rhizomes every three years; this prevents the plants from becoming root-bound and ensures oxygen can reach the center of the clump. Use bypass pruners to remove dead foliage at the end of the season. Cut stems 2 inches above the water line to prevent gasses from being trapped under winter ice, which can lead to anaerobic conditions and fish mortality.
The Yield:
If your pond includes edible species like Nasturtium officinale (watercress) or Nelumbo nucifera (lotus), harvest timing is paramount. Harvest watercress in the morning when turgor pressure is highest. This ensures the cell walls are fully hydrated, providing a crisp texture.
For lotus tubers, harvest in late autumn once the leaves have entered senescence and turned brown. Handle tubers with extreme care to avoid breaking the growing tips. To maintain "day-one" freshness, submerge harvested greens in 40 degree Fahrenheit water immediately; this slows the metabolic rate and preserves the vitamin C content.
FAQ:
How deep should a natural backyard pond be?
For most climates, a minimum depth of 24 to 36 inches is required. This provides a thermal refuge for aquatic life, preventing the water from overheating in summer or freezing solid during winter months.
Can I use tap water to fill my pond?
Yes, but it must be treated. Tap water contains chlorine or chloramines that damage the delicate gill tissues of fish and kill beneficial bacteria. Use a sodium thiosulfate-based conditioner or allow the water to off-gas for 48 hours.
How do I stop my pond from leaking?
Ensure you use a 45-mil EPDM rubber liner or a reinforced polyethylene (RPE) liner. Always install a non-woven geotextile underlayment to protect the membrane from punctures caused by sharp rocks or invasive root systems.
What is the best way to control pond algae?
Maintain a plant coverage of 50% to 70% of the water surface. This creates competition for nutrients and blocks sunlight. Additionally, ensure adequate aeration to maintain high dissolved oxygen levels, which supports aerobic bacteria that break down organic waste.