7 Steps to Build a Multi-Texture Garden Path
The smell of damp earth after a heavy rain indicates more than just moisture; it signals the activation of microbial life within the rhizosphere. When you step onto a garden walkway, the turgor pressure of the surrounding foliage should remain undisturbed by your passage. Mastering the steps for building a garden path requires a deep understanding of soil compaction, drainage physics, and botanical structural integrity. A successful path does not merely provide a walkway. It manages water runoff and prevents the anaerobic conditions that lead to root rot in adjacent plantings. This guide provides the technical framework to construct a durable, multi-textured transit system through your landscape while maintaining the delicate balance of your soil ecosystem.
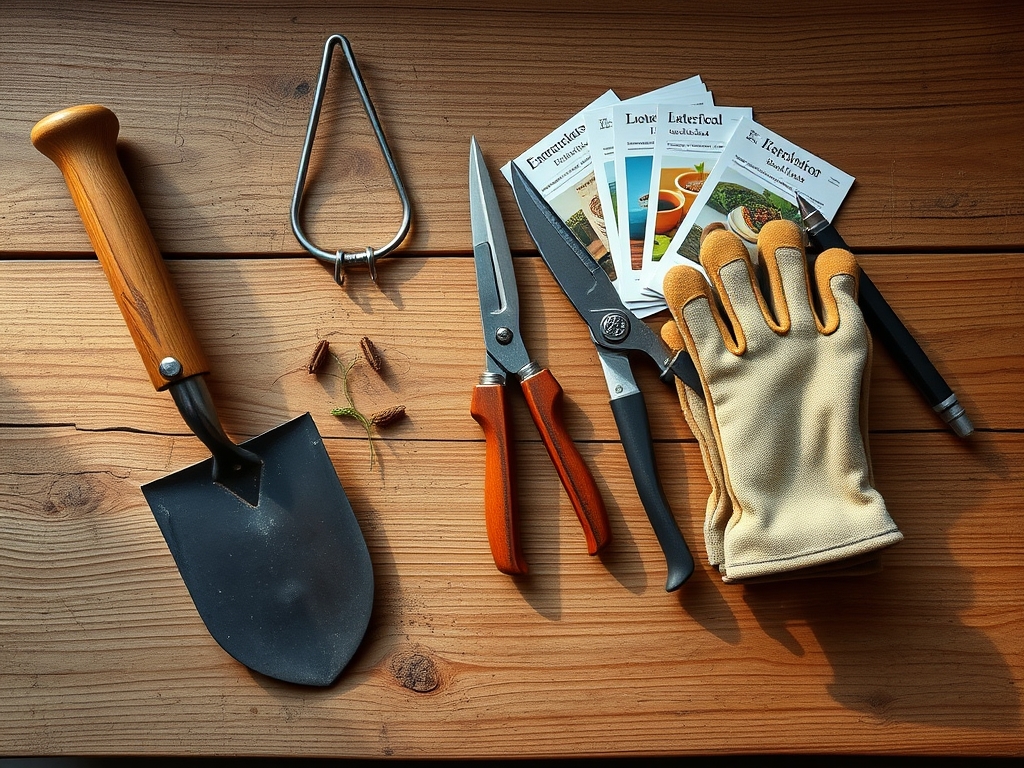
Materials:
The foundation of any horticultural structure begins with the substrate. For a multi-texture path, you must account for the **Cation Exchange Capacity (CEC)** of the underlying soil. High-clay soils (CEC >25) require more aggressive drainage layers than sandy loams (CEC <10). Your base layer should consist of **crushed 3/4-inch limestone**, which provides a stable, alkaline foundation.
For the planting pockets between stones, use a friable loam consisting of 40% sand, 40% silt, and 20% clay. This specific texture ensures adequate pore space for oxygen exchange. The nutrient profile for the infill soil should be balanced at an NPK ratio of 5-10-5 to encourage root development without triggering excessive vegetative surge. Maintain a pH level between 6.2 and 6.8 to ensure the bioavailability of micronutrients like manganese and iron. If the pH drops below 5.5, aluminum toxicity becomes a risk to the surrounding groundcovers.
Timing:
Construction must align with the local biological clock to minimize stress on the surrounding flora. In Hardiness Zones 4 through 7, the ideal window for installation is the six-week period following the first autumn frost or the four-week window before the spring thaw. During these periods, most perennial groundcovers enter senescence, a state of dormancy where metabolic activity slows.
Wait until the soil temperature is consistently between 45 and 55 degrees Fahrenheit. Working the soil when it is too wet or during the peak of the reproductive stage (flowering) leads to severe soil compaction and a decrease in hydraulic conductivity. Avoid construction during the summer solstice when high photoperiod intensity increases transpiration rates; any root disturbance during this time can lead to permanent wilting point.
Phases:

Sowing and Excavation
Excavate the path to a depth of 8 inches. This depth allows for a 4-inch sub-base of aggregate, a 2-inch sand leveling layer, and 2-inch flagstones. Ensure a 2% cross-slope to prevent water pooling.
Pro-Tip: Proper excavation prevents geotropism issues in surrounding shrubs. By cutting roots cleanly rather than tearing them, you allow the plant to redirect its hormonal resources toward wound sealing rather than futile growth.
Transplanting Groundcovers
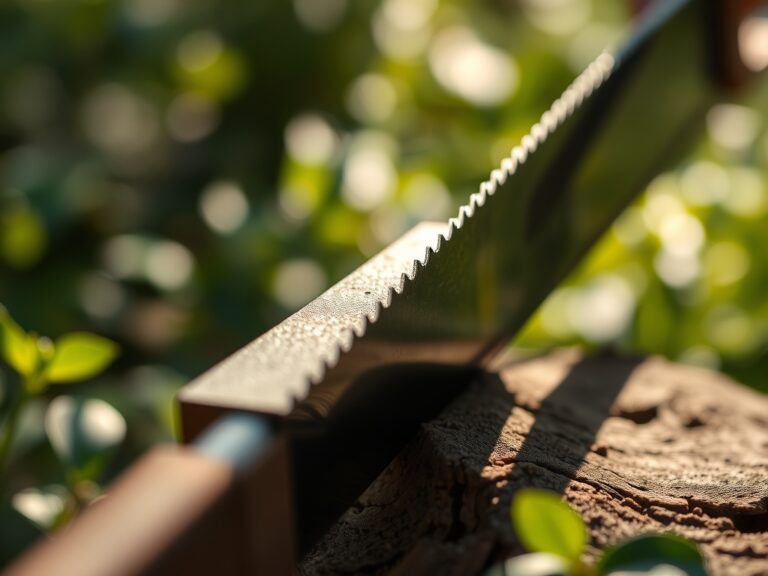
When placing creeping thyme or moss between stones, ensure the crown of the plant is flush with the soil surface. Use a hori-hori knife to create vertical slits in the substrate to prevent root circling.
Pro-Tip: Utilize the principle of mycorrhizal symbiosis. Inoculate the planting pockets with Glomus intraradices fungi. This biological addition increases the surface area of the root system, allowing the plants to scavenge phosphorus more efficiently in the restricted space between stones.
Establishing the Path
Once the textures are set, saturate the area with 0.5 inches of water to settle the fines within the aggregate. This eliminates air pockets that cause frost heaving in colder climates.
Pro-Tip: Monitor for auxin suppression. If you are using heavy stones near trees, the weight can compress the soil and inhibit the flow of auxins to the root tips. Use a soil moisture meter to ensure the compacted areas are still receiving adequate hydration through lateral movement.
The Clinic:
Physiological disorders often manifest shortly after construction due to altered drainage patterns.
- Symptom: Interveinal chlorosis (yellowing leaves with green veins) in path-side plants.
- Solution: This indicates a high pH spike from the limestone base. Apply elemental sulfur at a rate of 5 lbs per 100 square feet to lower the pH.
- Symptom: Leaf epinasty (downward curling) and stunted growth.
- Solution: This is a sign of ethylene buildup due to anaerobic soil conditions. Aerate the path edges with a garden fork to a depth of 6 inches to restore gas exchange.
- Symptom: Rapid wilting despite moist soil.
- Solution: Check for Pythium root rot. Improve drainage by increasing the depth of the coarse aggregate layer to 6 inches.
Fix-It for Nitrogen Chlorosis: If groundcovers appear pale green across the entire leaf, apply a liquid 10-0-0 fertilizer. This provides immediate nitrate ions to the roots, bypassing the slower mineralization process of organic matter.
Maintenance:
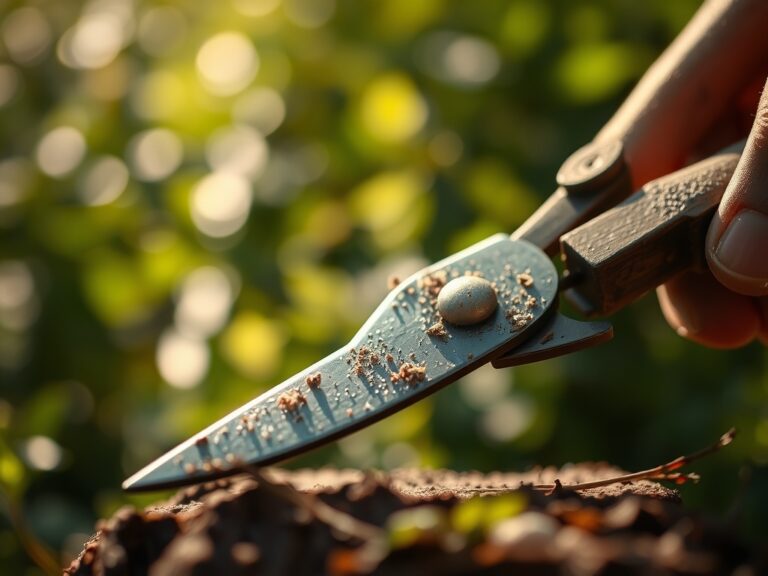
Precision maintenance ensures the longevity of the path's living components. Provide exactly 1.5 inches of water per week at the drip line of the path, measured using rain gauges. Use bypass pruners to trim any groundcovers that encroach more than 2 inches over the stone surfaces; this prevents the accumulation of organic debris that can rot and create a slip hazard.
Every spring, use a soil moisture meter to check the compaction levels at the path's edge. If the meter shows high resistance, use a hori-hori knife to slice vertically into the soil, breaking up surface crusting without destroying the root architecture. Avoid high-nitrogen fertilizers in late summer, as this stimulates tender growth that will succumb to frost during the first cold snap.
The Yield:
If your multi-texture path includes herbal groundcovers like Chamaemelum nobile (Roman Chamomile), harvest the blossoms when they are 75% open. Use sharp shears to cut the stems early in the morning when turgor pressure is at its peak and essential oil concentration is highest.
Post-harvest, submerge the cuttings in 40-degree Fahrenheit water for ten minutes to remove field heat. This process slows the metabolic rate and preserves the cellular structure. Store in a dark, ventilated area with a humidity level of 60% to maintain "day-one" freshness and prevent the onset of fungal pathogens during the drying phase.
FAQ:
What is the best base for a garden path?
A 4-inch layer of compacted 3/4-inch crushed stone provides the best structural integrity and drainage. This base prevents frost heave and ensures that the soil remains aerobic for nearby plant roots.
How do I stop weeds without chemicals?
Install a high-quality geotextile fabric between the sub-soil and the aggregate layer. This physical barrier prevents weed seeds from the lower soil profile from germinating while allowing water and nutrients to pass through.
Can I build a path over tree roots?
Avoid cutting any roots larger than 2 inches in diameter. Use a "floating" path design with a thick layer of wood chips or permeable gravel to allow for gas exchange and moisture penetration to the tree's rhizosphere.
How do I prevent stones from sinking?
Ensure the sub-grade is compacted to 95% Proctor density. Use a 2-inch layer of sharp bedding sand over the aggregate to distribute the weight of the stones evenly across the surface area.