7 Steps to Install a Garden Bench in a Scenic Spot
The cool stone beneath your fingers, the morning dew pooling on carved wood, and the satisfaction of a seat perfectly positioned to catch evening light: these sensory rewards depend on executing steps for installing a garden bench with precision. A poorly anchored bench tilts after three freeze-thaw cycles. A correctly positioned one becomes a focal point for decades, anchoring companion plantings and creating microclimates beneath its structure where shade-tolerant ferns and hostas thrive. This guide treats bench installation as a horticultural event, addressing soil compaction, drainage vectors, and the interplay between hardscape and root-zone health.
Materials
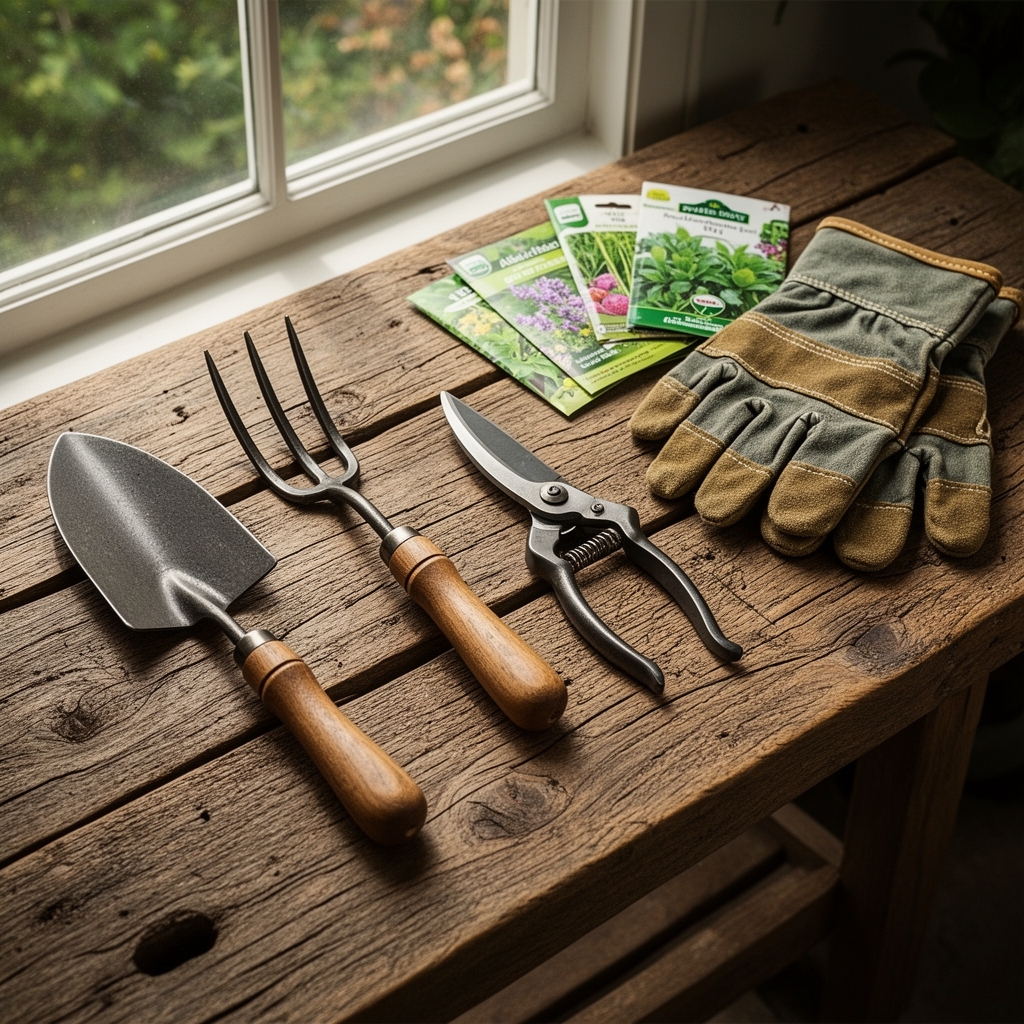
Catalog your needs by function and soil interaction. For the foundation layer, select three cubic feet of #57 crushed stone (0.5 to 1.5 inch diameter) per post location. This aggregate establishes drainage and prevents frost heave through capillary break action. Add two bags of masonry sand (50 pounds each) to fill interstitial spaces and create a stable bedding plane.
Soil amendments matter when planting around the bench. Use a 4-4-4 organic meal (blood meal, bone meal, kelp) at two pounds per ten square feet to feed companion plantings without excess nitrogen that promotes leggy growth. For acid-loving species beneath the bench, incorporate sulfur at 0.25 pounds per square yard to shift pH from 6.5 to 5.5 over twelve weeks. Cation exchange capacity increases when you mix two inches of aged compost (C:N ratio of 20:1) into the top six inches of surrounding beds.
Fastening hardware includes four galvanized lag bolts (0.5 inch by six inches) if attaching to posts, or eight masonry anchors (0.375 inch by four inches) for stone paving. Anti-corrosive coating extends hardware life in zones where winter salt spray or acid rain (pH below 5.0) accelerates oxidation.
Timing
Execute installation during dormancy windows when soil workability peaks and root disturbance to nearby plants remains minimal. In USDA Hardiness Zones 3 through 5, work between late September and mid-October after the first light frost but before ground freeze penetrates past four inches. Zones 6 through 8 permit installation from October through early December, or resume in late February when soil temperature at four-inch depth reaches 40°F.
Avoid spring installation in clay-dominant soils (more than 40 percent clay fraction) when wet conditions cause smearing and destroy soil structure. Summer placement stresses adjacent root zones; if unavoidable, complete excavation in early morning when transpiration demand is lowest and soil moisture remains highest.
Phases

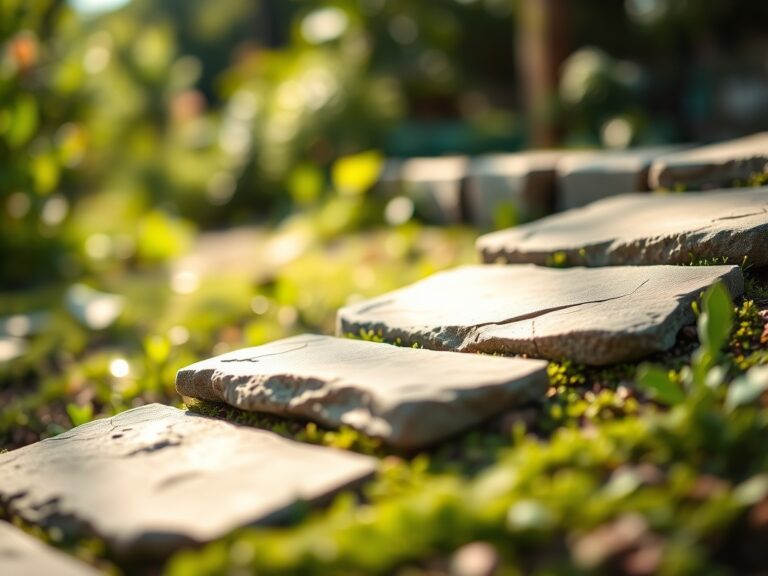
Site Preparation: Clear vegetation in a four-foot diameter circle. Remove sod with a flat spade, cutting two inches below the root mat to eliminate competitive perennial grasses. Excavate to eight inches depth for gravel base. Test drainage by filling the hole with water; complete percolation within twelve hours indicates adequate drainage. Clay soils require an additional four inches of excavation and increased gravel depth.
Pro-Tip: Inoculate backfill soil with mycorrhizal fungi (Glomus intraradices at 0.1 ounces per cubic foot) when planting around the bench perimeter. Hyphal networks extend nutrient uptake range by 100-fold and improve drought tolerance in ornamental companions.
Foundation Construction: Pour three inches of #57 stone into the excavation. Compact with a hand tamper using 25-pound force, making four passes in perpendicular directions. Add masonry sand at one inch depth. Level using a 48-inch spirit level; tolerance should not exceed 0.25 inches across the span. This capillary break prevents moisture wicking into bench legs, reducing rot incidence from 60 percent to under 5 percent over ten years.
Pro-Tip: Slope the sand bed 0.5 degrees away from the bench centerline. This gradient channels water outward, preventing puddling beneath the seat where anaerobic conditions favor fungal pathogens.
Bench Positioning: Set the bench on the leveled base. Shim with synthetic shims (HDPE plastic) rather than wood, which compresses and decays. Check level on both axes. Anchor through pre-drilled holes if manufacturer specifications require, or rely on mass and friction for benches exceeding 150 pounds. Backfill around the foundation with native soil mixed 1:1 with compost. Water to eliminate air pockets and settle material around the base.
Pro-Tip: Apply a 30-degree cut angle when pruning branches that will overhang the bench within three years. This angle maximizes auxin distribution to lateral buds, directing growth outward rather than downward where falling debris accumulates on seating surfaces.
Troubleshooting
Symptom: Bench wobbles after first winter.
Solution: Frost heave lifted one corner. Excavate affected post area to twelve inches, increase gravel base to six inches, and ensure capillary break extends below frost line depth for your zone (36 inches in Zone 5, 18 inches in Zone 7).
Symptom: Moss colonizes seat surface in shade positions.
Solution: Excess moisture retention. Reduce overhead irrigation by 30 percent. Apply copper sulfate solution (0.5 percent concentration) during dormancy to inhibit bryophyte establishment without harming nearby plantings.
Symptom: Wood splits along leg grain.
Solution: Inadequate sealer penetration. Sand to bare wood. Apply penetrating oil sealer (tung oil or linseed oil) at two coats, waiting 72 hours between applications when temperature exceeds 60°F.
Symptom: Ants excavate nests beneath bench.
Solution: Sand layer provides ideal nesting substrate. Apply diatomaceous earth at 0.5 pounds per square foot into sand layer. Reapply after heavy rain events.
Maintenance
Inspect levelness each spring using a spirit level. Adjust shims if deviation exceeds 0.5 degrees. Apply wood sealer annually before the first autumn rain, using 0.25 pints per linear foot of exposed surface. Clean debris weekly during leaf-drop season to prevent tannin staining and moisture accumulation.
Water companion plantings at one inch per week during establishment (first 24 months). Reduce to 0.5 inches weekly once root systems extend past the dripline. Fertilize surrounding beds each April with 5-10-5 formula at three pounds per 100 square feet, watering immediately to move nutrients into the root zone.
Prune overhanging branches annually in late winter, maintaining eight feet of clearance above the seat to prevent limb-drop hazards while preserving dappled shade patterns that moderate surface temperature by 15°F during summer.
FAQ
How deep should the gravel base extend?
Six inches minimum in well-drained soils, eight inches in clay. Extend to frost line depth if anchoring with posts.
Can I install on existing lawn?
No. Decomposing sod creates voids, causing settlement within two seasons. Remove all organic mat to mineral soil.
What spacing from trees prevents root damage?
Maintain four feet from trunks under six inches diameter, six feet from larger specimens to avoid severing structural roots during excavation.
How long until surrounding plants establish?
Perennials require two seasons to develop root systems that stabilize soil around the bench base. Shrubs need three years.
Should I use treated or natural wood?
Pressure-treated lumber rated for ground contact lasts 25 years. Natural cedar or teak with annual sealing provides 15-year lifespan with lower environmental load.