8 Steps to Prepare for a New Landscape Path
Learning how to prepare a garden for a path transforms raw soil into functional circulation space while preserving root health and drainage integrity. The scent of disturbed earth signals the start of a process that demands precision in excavation depth, base material selection, and edge definition. Most gardeners underestimate the biological disruption caused by compaction and the years required for soil structure recovery without proper preparation.
Materials
Base layer construction requires crushed limestone or granite aggregate in 3/4-inch diameter. This material provides a cation exchange capacity superior to rounded river gravel and locks into place under compaction. Order 1 cubic yard per 80 square feet of path at 4-inch depth.
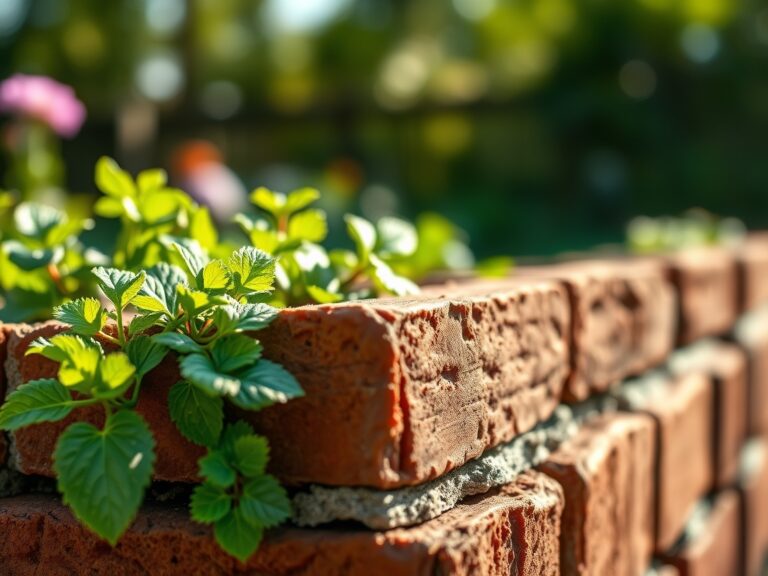
Edging demands rot-resistant materials. Steel landscape edging in 1/8-inch thickness withstands frost heave in Zones 3-7. Cedar or black locust timber cut to 4×4-inch dimensions offers organic alternatives with 15-year longevity. Avoid treated pine, which leaches copper compounds that inhibit mycorrhizal fungi colonization in adjacent planting beds.
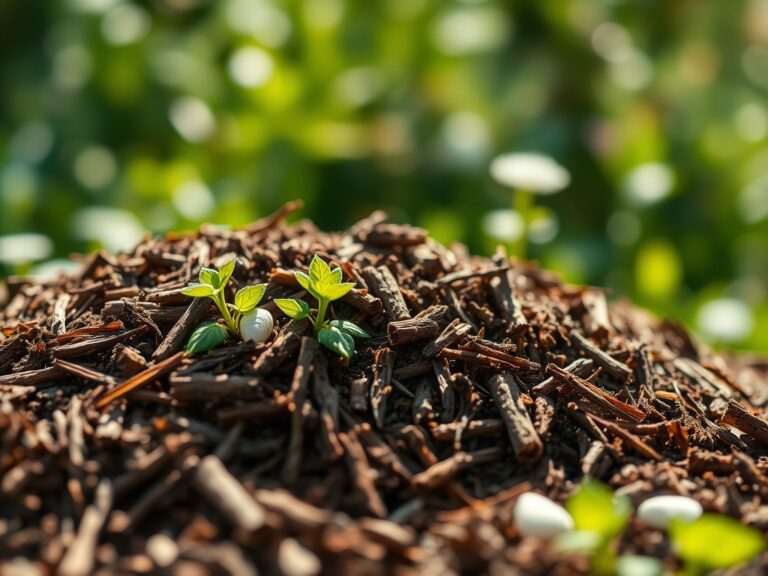
For permeable surfaces, granite fines or decomposed granite in 1/4-inch-minus grade compact to 95% density while maintaining infiltration rates of 20 inches per hour. Top dressing options include pea gravel in 3/8-inch size or hardwood bark in 1-2 inch nuggets. The bark adds organic matter at 0.5% nitrogen content but requires annual replenishment.
Soil amendments for displaced areas include composted pine bark fines at pH 5.5-6.2 and pelleted gypsum to restore calcium without raising pH. A balanced 4-4-4 organic meal derived from feather meal, bone meal, and kelp supports replanting zones with gradual nutrient release over 8-12 weeks.
Timing
Hardiness Zones 3-6 require path installation between May 15 and September 30, after final frost and before ground freezing. The soil temperature must reach 50°F at 6-inch depth for effective compaction. Spring installation allows one full growing season for edge plantings to establish before winter stress.
Zones 7-10 permit year-round installation with optimal windows from October through March. Summer work in these zones risks heat stress to adjacent plants and requires irrigation during soil disturbance. Avoid installation during monsoon periods in Zone 9-10 when soil moisture exceeds 25%, preventing proper base compaction.
Schedule excavation 48 hours after the last rainfall. Soil at field capacity packs poorly and creates anaerobic conditions that persist for months. Test readiness by squeezing a handful: it should form a loose ball that crumbles with light pressure.
Phases

Layout
Mark path boundaries with marking paint or mason's line stretched between stakes at 6-foot intervals. Measure twice to confirm width consistency. Standard garden paths require 36-inch width for single-file traffic or 48-inch for side-by-side passage.
Cut edges vertically with a sharp spade, penetrating 8 inches deep. Clean cuts prevent rhizome invasion from perennial grasses and maintain crisp visual lines for 3-5 years before re-edging. Remove sod in 12-inch-wide strips, shaking roots free of soil that returns to adjacent beds.
Pro-Tip: Apply granular glyphosate alternative containing 20% acetic acid to cut edges of aggressive spreaders like bishop's weed or chameleon plant 72 hours before excavation. This creates a 2-inch chemical barrier without soil residual.
Excavation
Dig to 6-inch depth for pedestrian paths or 8-inch for wheelbarrow traffic. Maintain consistent depth by marking the spade shaft with colored tape as a depth guide. Slope the bottom 2% away from structures, dropping 1/4 inch per linear foot.
Reserve topsoil for redistribution to planting beds. Spread excavated soil in 2-inch layers across beds, avoiding crowns of established perennials. Do not create berms against tree trunks, maintaining the original soil grade within the drip line.
Pro-Tip: Inoculate redistributed soil with endo-mycorrhizal fungi at 1 ounce per 10 square feet, watering immediately to 4-inch depth. This re-establishes symbiotic networks disrupted by excavation within 6-8 weeks.
Base Installation
Spread crushed aggregate in two 2-inch lifts, compacting each layer separately. Rent a plate compactor rated at 3000 pounds force for bases wider than 30 inches. Hand tampers suffice for narrower applications but require 50% more passes.
Test compaction by walking the surface. Footprints deeper than 1/8 inch indicate insufficient compaction and future settling. Add additional aggregate to low spots before proceeding.
Install edging at grade or 1/2 inch above finished surface. Anchor steel edging with 10-inch stakes every 3 feet. Secure timber edging with 12-inch rebar driven through pre-drilled holes at 4-foot spacing.
Pro-Tip: Backfill behind edging with native soil compacted in 1-inch lifts using a hand tamper. This prevents void spaces that become ant nesting sites or water channels causing edge failure.
Surface Application
Spread granite fines or chosen surfacing material in 2-inch depth. Compact to 1.5-inch finished thickness. Mist lightly with water during compaction of granite fines to accelerate binding. The surface should feel firm underfoot but show slight texture.
Crown the path center 1/4 inch higher than edges to shed water. This subtle curve prevents puddle formation while remaining imperceptible during use.
Troubleshooting
Symptom: Path settling creates low spots that hold water after 6-12 months.
Solution: Remove surface material and add crushed aggregate in 1-inch lifts, compacting each layer to 95% density. Settling indicates inadequate initial compaction or installation over wet soil.
Symptom: Weeds emerge through permeable surfaces within first growing season.
Solution: Apply corn gluten meal at 20 pounds per 1000 square feet in early spring when forsythia blooms. This pre-emergent contains 10% nitrogen and inhibits germination for 6 weeks. Hand-pull breakthrough weeds before seed set.
Symptom: Adjacent plant roots lift path edges, creating trip hazards.
Solution: Prune lateral roots with a sharpened spade, cutting vertically 12 inches from path edge annually in dormant season. Paint cuts on trees over 6-inch caliper with wound dressing containing auxin inhibitors to prevent aggressive regrowth.
Symptom: Moss colonizes shaded path sections, creating slippery conditions.
Solution: Apply ferrous sulfate at 3 ounces per gallon of water, spraying to runoff in early spring. This acidifies the immediate surface to pH 4.5, suppressing moss while not affecting deeper soil horizons. Repeat annually.
Symptom: Freeze-thaw cycles heave edging upward in Zones 3-6.
Solution: Install edging below frost line depth for your zone (36 inches in Zone 4) or trench alongside existing shallow edging to 18 inches, backfilling with coarse sand that drains freely and reduces frost pressure.
Maintenance
Apply 1/2 inch of additional surface material annually to compensate for degradation and displacement. Schedule replenishment in early spring before primary growing season.
Rake granite fines or gravel monthly during growing season to redistribute material and disrupt weed seedling establishment. This 10-minute task per 100 linear feet maintains consistent appearance and prevents rutting.
Re-edge boundaries every 3 years by cutting vertically with a spade along the original line. Remove 2 inches of lateral soil to maintain definition. This practice takes 15 minutes per 20 linear feet.
Water adjacent plantings with 1 inch of water weekly during establishment year. Measure by placing tuna cans at path edges and irrigating until filled. Reduce to natural rainfall after 12 months except during drought periods exceeding 14 days without precipitation.
Inspect drainage function after heavy rainfall events exceeding 1 inch. Standing water indicates compaction or grade errors requiring surface removal and base rework.
FAQ
How deep should path excavation extend?
Excavate 6 inches for pedestrian use or 8 inches for wheeled equipment. This depth accommodates 4 inches of compacted base plus 2 inches of surface material while maintaining proper grade relationships.
Can paths be installed over tree roots?
Avoid excavation within the drip line of trees over 10-inch caliper. Install paths at existing grade using permeable materials without excavation, or route paths 5 feet beyond the drip line to protect critical root zones.
What prevents grass from invading path edges?
Vertical edging installed 4 inches deep stops rhizomatous spread. Combined with biannual edge trimming, this creates a maintenance corridor that requires 20 minutes per 50 linear feet twice yearly.
How long before paths support full traffic?
Compacted stone bases support immediate traffic. Granite fines require 72 hours of dry weather to cure and bind. Organic mulch paths need 2 weeks to settle before heavy wheelbarrow use.
Do paths damage soil biology permanently?
Compacted paths create anaerobic conditions that persist indefinitely under traffic. Adjacent soil within 6 inches experiences temporary disruption but recovers 80% of microbial biomass within one growing season when properly amended with compost and mycorrhizal inoculants.