8 Tips to Use a Digging Spade for Hardscaping
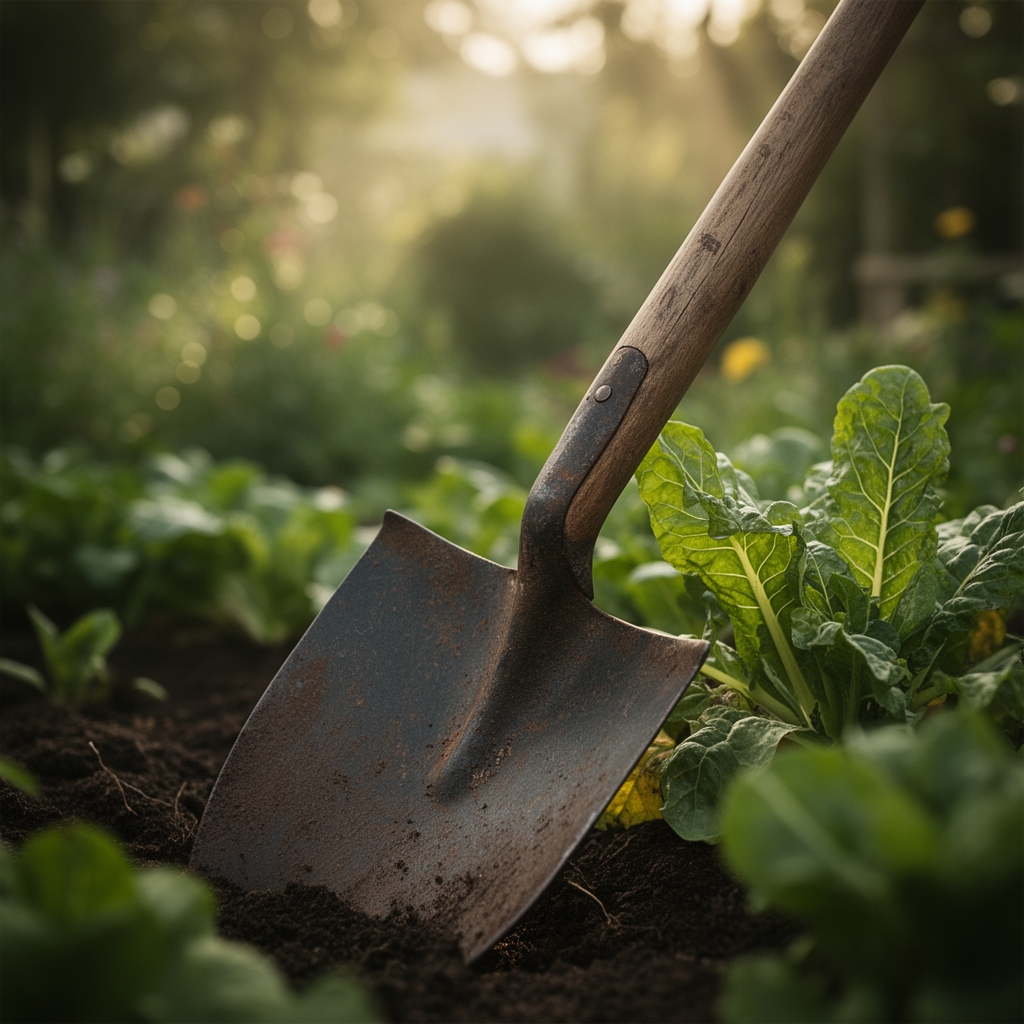
Using a spade for garden digging transforms hardscaping projects from amateur struggles into precise excavations. The blade cuts through compacted clay, slices root-bound perennial clumps, and carves clean edges for paver beds. Steel meets soil with a satisfying resistance that tells you exactly what lies beneath: limestone aggregate, shale layers, or the dense caliche formations common in zones 7 through 9. Professional landscapers know the spade's flat profile and sharp edge outperform rounded shovels when establishing retaining walls, gravel pathways, and stone terraces.
Materials
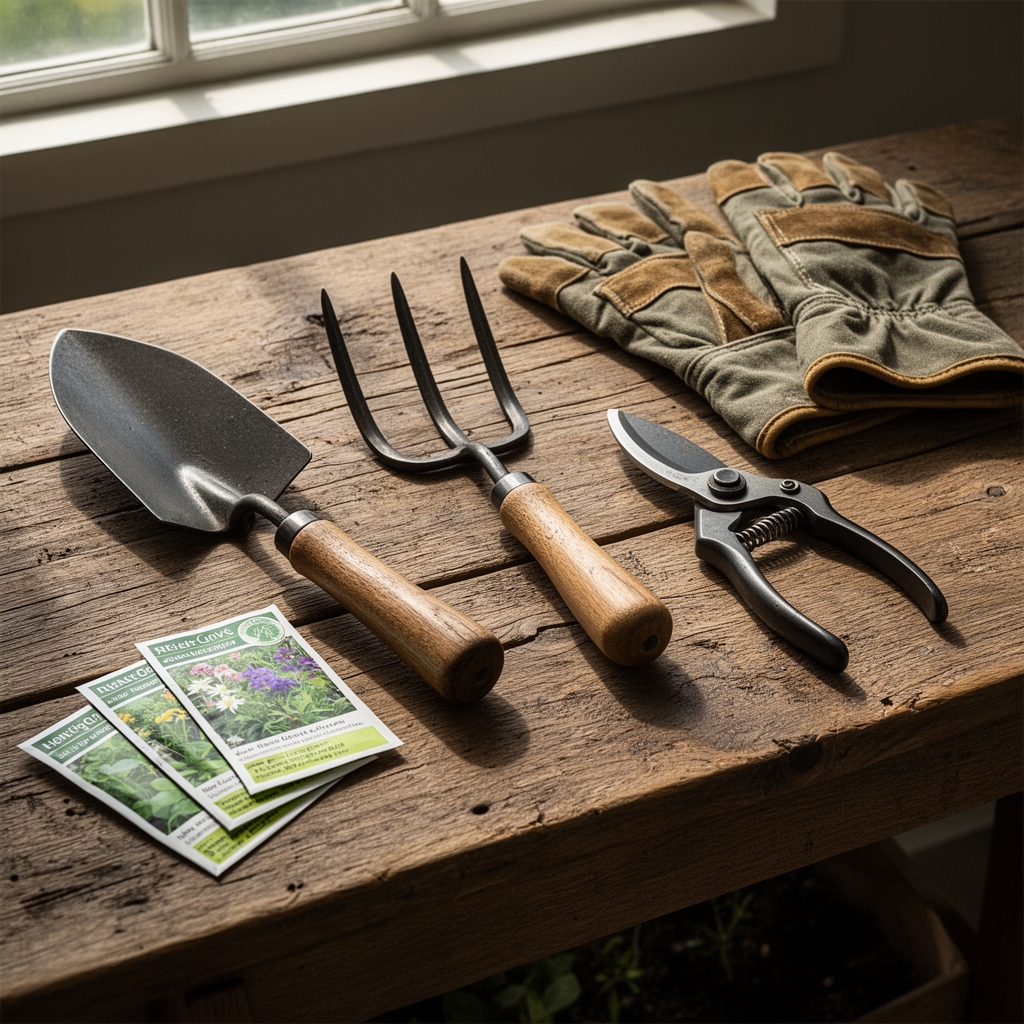
Select a forged steel spade with a blade measuring 7 to 8 inches wide and 11 to 12 inches long. The carbon content should range from 0.6 to 0.8 percent for optimal edge retention without brittleness. D-grip handles provide superior leverage when breaking through root mats or hardpan layers at 8 to 12 inches depth.
Soil amendments differ by project scope. For edging beds adjacent to hardscaping, incorporate compost with an NPK ratio of 1-1-1 at a rate of 2 cubic feet per 10 linear feet. This modest nutrient profile supports cation exchange capacity without promoting excessive growth that disrupts pavers. Mycorrhizal fungi inoculant at 0.5 ounces per cubic foot accelerates root establishment in disturbed soils.
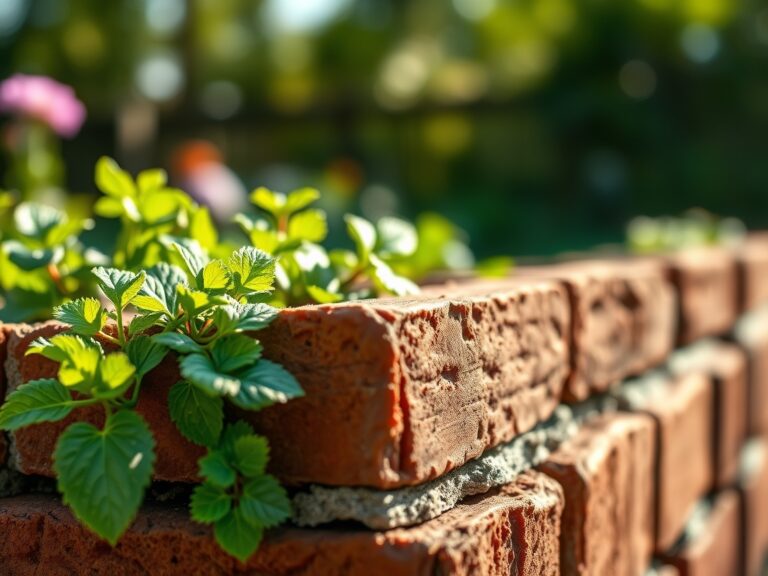
For retaining wall plantings, use composted pine bark fines with a pH of 5.5 to 6.2. Blend in bone meal (3-15-0) at 1 cup per 4 square feet to support root development in compacted backfill. Avoid high-nitrogen amendments like blood meal (12-0-0) that encourage foliar growth over root anchorage.
Stone dust or polymeric sand fills joints between pavers. A 50-pound bag covers approximately 30 square feet at 1-inch depth. Landscape fabric with a permeability rating of 25 gallons per square foot per minute prevents soil migration without impeding drainage.
Timing
Hardscaping excavation aligns with dormant seasons when soil moisture content sits between 15 and 25 percent. In zones 3 through 6, work between mid-September and mid-November after the first light frost. Soil particles separate cleanly without clumping to the blade.
Zones 7 through 9 permit year-round digging except during July and August when soil temperatures exceed 85°F at 6-inch depth. Excessive heat stresses newly transplanted edging plants and makes compaction unavoidable.
Spring excavation must conclude 4 weeks before the last frost-free date. This window allows disturbed soil to settle through freeze-thaw cycles. Clay soils require an additional 2 weeks for adequate consolidation.
Phases

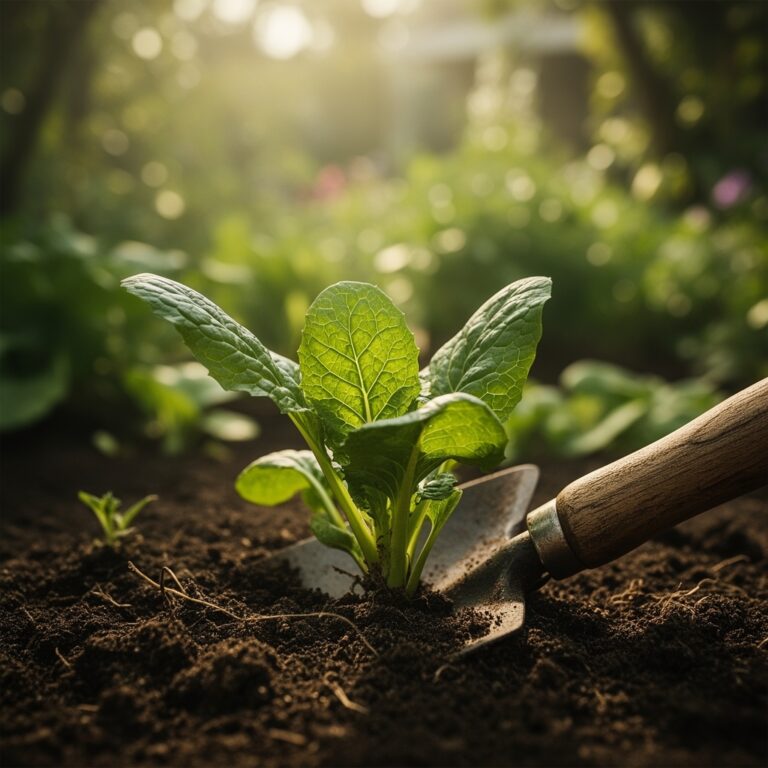
Site Preparation: Mark borders with spray paint or flour. Remove sod in 12-inch-wide strips by driving the spade horizontally 2 inches below the crown. Sever roots with a rocking motion rather than prying, which bends the blade. Excavate to final grade plus 4 inches to accommodate base aggregate.
Pro-Tip: Wet the cutting line 12 hours prior to reduce blade friction by 30 percent in clay soils above 40 percent particle content.
Base Installation: Spread crusher run limestone in 2-inch lifts. Compact each layer to 95 percent Standard Proctor density using a plate compactor at 5,000 pounds per square foot. The spade verifies grade consistency by checking depth at 3-foot intervals.
Edge restraints require trenches 6 inches wide and 8 inches deep. Position the spade vertically and use body weight rather than arm strength. Cut angles of 90 degrees produce stable walls for plastic or aluminum edging.
Pro-Tip: Drive the spade in 4-inch increments to maintain vertical alignment. Full-depth thrusts in rocky soil deflect the blade and create wavy edges.
Planting Pockets: Carve openings in established hardscaping for accent plants by removing individual pavers. Excavate 18 inches deep and amend with 50 percent native soil, 30 percent compost, and 20 percent perlite. This blend supports auxin distribution to lateral roots while maintaining drainage above 2 inches per hour.
Pro-Tip: Score the planting pocket walls vertically at 1-inch intervals. This roughened surface prevents root circling and encourages radial growth into surrounding base material.
Troubleshooting
Symptom: Blade binds in clay at 6 to 8 inches depth.
Solution: Insert the spade at 60-degree angles to fracture soil structure. Avoid forcing vertical penetration, which creates a vacuum seal. Add coarse sand at 1 cubic foot per 5 square feet to improve workability.
Symptom: Gravel base migrates into planting beds within 3 months.
Solution: Install 6-mil polyethylene barrier extending 3 inches above grade. Overlap seams by 6 inches and seal with landscape adhesive rated for UV exposure above 1,000 hours.
Symptom: Paver edges settle unevenly after first winter.
Solution: Insufficient base compaction. Remove affected section and re-compact in 1.5-inch lifts to 98 percent density. Verify with a soil density gauge reading above 135 pounds per cubic foot.
Symptom: Tree roots heave pathway within 18 months.
Solution: Maintain 8-foot clearance from species with aggressive lateral roots (willow, poplar, silver maple). Install root barriers 24 inches deep with HDPE panels of 60-mil thickness.
Maintenance
Sharpen the spade blade every 20 hours of use with a 10-inch mill file at a 30-degree angle. A keen edge reduces penetration force by 40 percent. Apply linseed oil to the blade monthly to prevent rust in humid climates above 60 percent relative humidity.
Clean soil buildup immediately after use. Dried clay forms a 2-millimeter coating that adds 8 ounces to the tool weight and promotes corrosion. Store spades vertically with blade edges protected by edge guards or canvas sleeves.
Inspect handle-to-blade connections quarterly. Tighten socket screws to 15 foot-pounds torque. Replace handles showing compression damage or cracks longer than 0.5 inches.
FAQ
What blade angle works best for hardscaping excavation?
A flat blade with zero dish provides maximum control for straight cuts. Reserve curved blades for moving loose aggregate or mulch.
How deep should I dig for paver patios?
Excavate 10 inches in well-drained soils: 6 inches for aggregate base, 1 inch for bedding sand, and 2.5 inches for standard pavers. Add 2 inches in clay soils with percolation rates below 1 inch per hour.
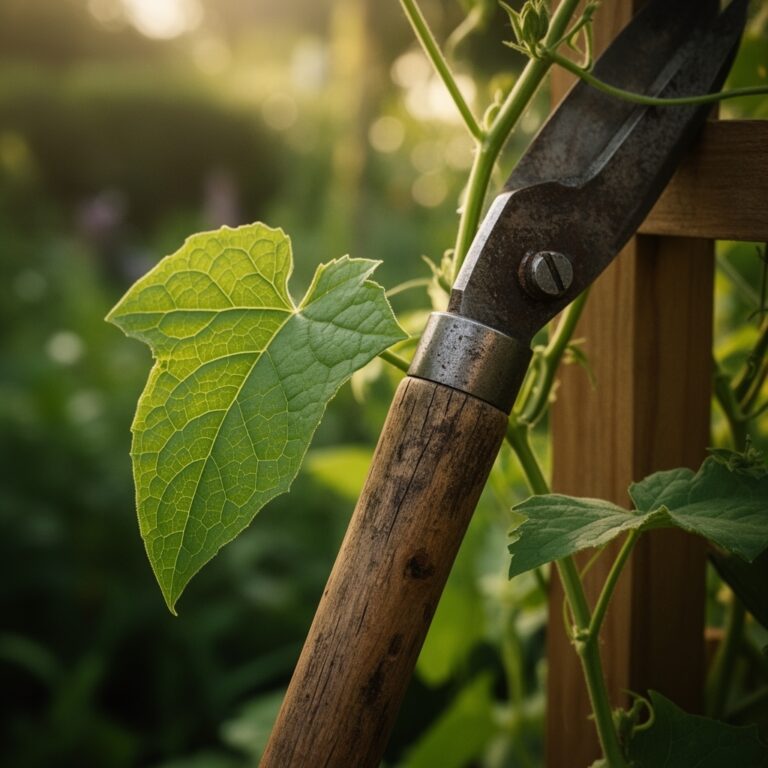
Can I use a spade to cut through thick tree roots?
Roots under 1.5 inches diameter cut cleanly with a sharpened spade. Use loppers or a root saw for larger structural roots to prevent blade damage and tree instability.
What distinguishes a spade from a shovel for hardscaping work?
Spades feature flat, rectangular blades ideal for precise cuts and edging. Shovels have curved, pointed blades suited for moving loose material but create ragged excavation lines.
How do I prevent blisters during extended digging sessions?
Wear leather gloves with reinforced palms. Grip the handle 6 inches from the top with your dominant hand and maintain a loose hold with the lower hand to distribute pressure across both palms.