9 Steps to Prepare a Level Backyard Patio Site
Learning how to prepare a garden for a patio requires understanding soil mechanics, drainage principles, and structural stability before any stone or concrete arrives. The scent of turned earth signals the beginning of transformation. Your hands will grip tools that reshape ground into foundation, converting fertile planting beds into load-bearing platforms that must remain level for decades. This process demands precision in excavation depth, base material selection, and compaction technique.
Materials
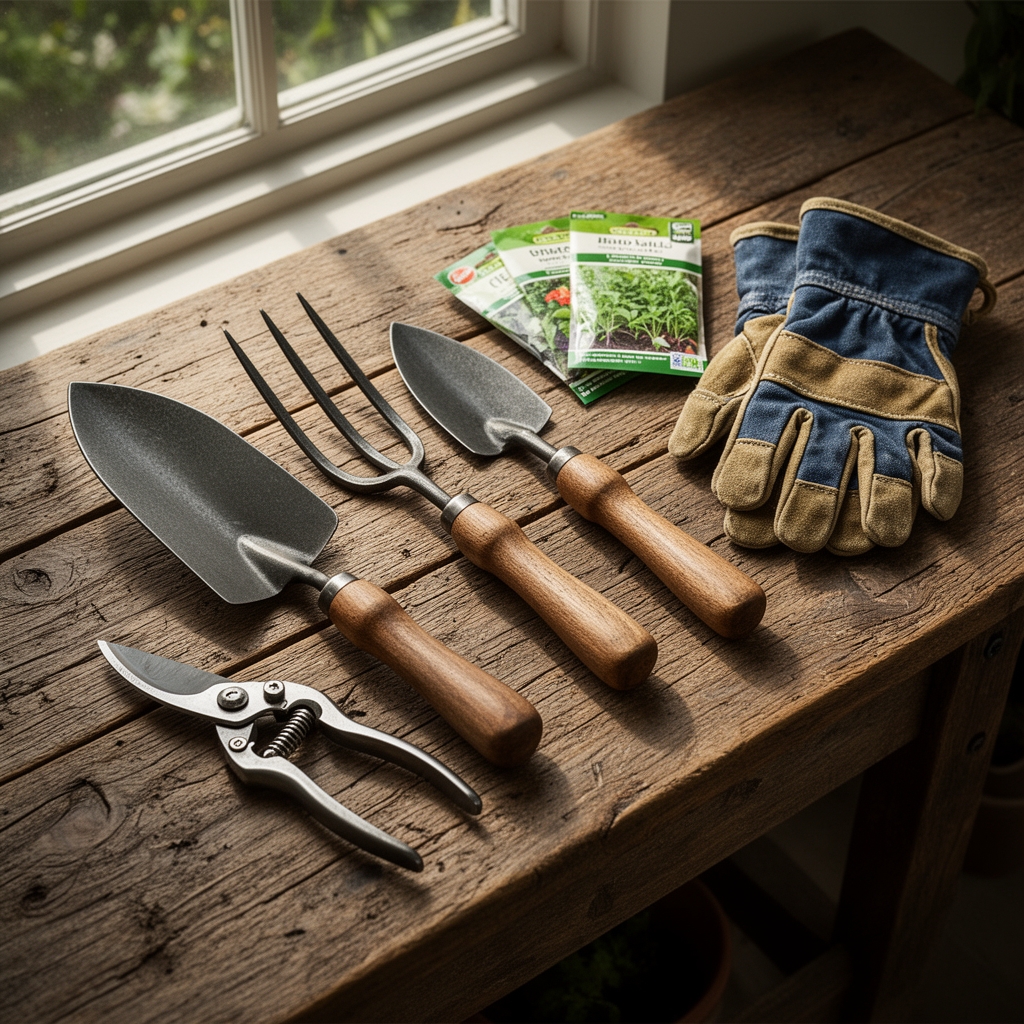
Gather crushed limestone base (0-0-0, pH 8.2) in quantities calculated at 4 inches depth across the entire patio footprint. Purchase coarse sand (0-0-0, pH 7.0) for a 1-inch leveling layer. Acquire landscape fabric with 3-ounce weight per square yard to suppress root intrusion. Rent a plate compactor rated for 5,000 pounds of centrifugal force. Obtain mason's string, wooden stakes, a 4-foot level, and a laser level for precision grading. Secure a sod cutter if existing turf must be removed. Purchase edge restraints in aluminum or composite materials. Acquire crushed stone in 3/4-inch diameter for drainage layers in clay-heavy soils.
Timing
Execute site preparation between May 15 and September 30 in Zones 5-7, when soil moisture content allows proper compaction without creating anaerobic conditions. Avoid winter months when freeze-thaw cycles compromise base stability. In Zones 8-10, work between October and April to prevent heat stress during labor-intensive excavation. Allow 72 hours of dry weather before beginning excavation to reduce soil adhesion to tools. Schedule base layer compaction during periods of 40-60% relative humidity for optimal particle binding.
Phases

Site Marking and Excavation
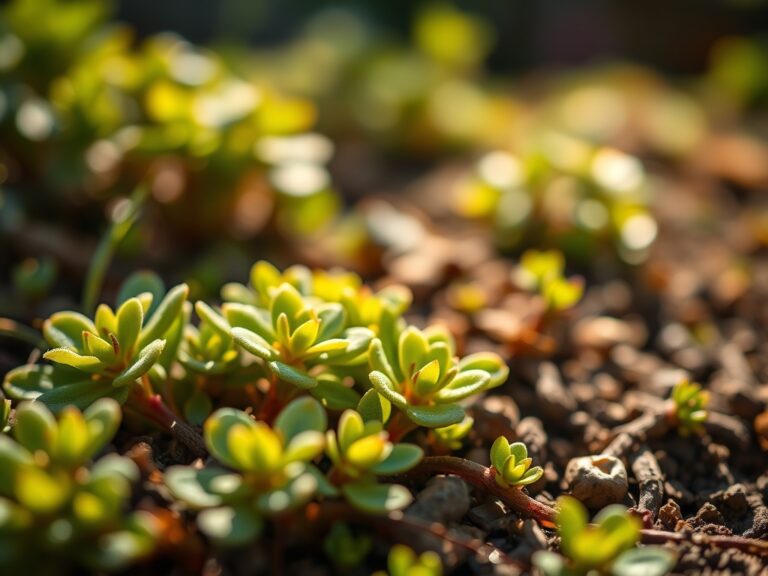
Drive stakes at each corner of the planned patio. Stretch mason's string to create exact perimeter boundaries. Mark a slope of 1/4 inch per linear foot away from structures to ensure water drainage. Remove all vegetation using a sod cutter set to 2-inch depth. Excavate to a total depth of 8 inches in well-draining soils, 10 inches in clay soils with cation exchange capacity above 20 meq/100g. Remove roots exceeding 1/2 inch diameter to prevent future heaving.
Pro-Tip: Test excavation depth by driving a soil probe at five random locations within the footprint. Depth variation must not exceed 1/2 inch across the entire area.
Base Layer Installation
Pour crushed limestone base into the excavation. Rake material to uniform 4-inch depth before compaction. Operate plate compactor in overlapping passes, covering each area three times. The surface should resist thumb pressure without visible depression. Check for level using a 4-foot straightedge placed at 12 different orientations across the site. Add or remove material in 1/2-inch increments to achieve grade specifications.
Pro-Tip: Spray base layer with fine mist before final compaction pass. Moisture content of 8-10% improves particle interlock without creating mud.
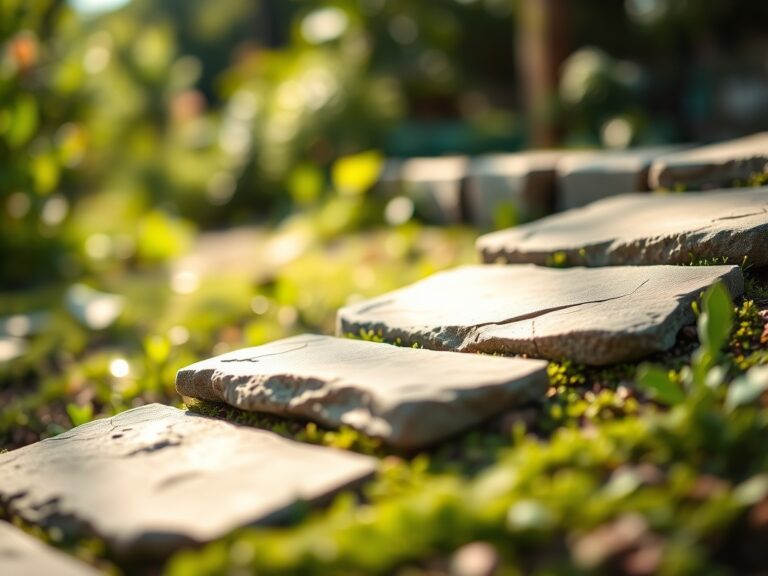
Leveling Layer and Edge Restraint
Install edge restraints along all perimeter lines, securing them with 10-inch galvanized spikes every 18 inches. Spread coarse sand across compacted base in 1-inch layer. Drag a notched screed board across pipe rails to achieve perfect level. Remove pipes and fill voids with additional sand. Compact sand layer with two passes of plate compactor at reduced throttle setting.
Pro-Tip: Place landscape fabric between base and sand layers in gardens with aggressive rhizomatous species like bamboo or mint. This blocks auxin-driven root penetration without impeding drainage.
Troubleshooting
Symptom: Low spots collect standing water after rain
Solution: Remove patio materials. Add crushed limestone in 1/2-inch lifts. Compact each lift separately. Re-establish 1/4-inch-per-foot slope.
Symptom: Edge restraints bow outward under lateral pressure
Solution: Install secondary stakes at 12-inch intervals. Drive stakes to 8-inch depth. Backfill exterior edge with compacted soil.
Symptom: Base layer feels spongy despite compaction
Solution: Excavate an additional 4 inches. Install geotextile fabric rated for 200-pound puncture resistance. Add 4 inches of 3/4-inch crushed stone. Compact before adding limestone base.
Symptom: Pavers settle unevenly within first season
Solution: Inadequate compaction of subgrade. Remove pavers and sand. Re-compact base layer with six passes instead of three. Verify with nuclear density gauge if available.
Symptom: Tree roots penetrate from adjacent plantings
Solution: Install root barrier panels to 24-inch depth along boundary between patio and garden beds. Select polypropylene panels with 40-mil thickness.
Maintenance
Sweep sand into paver joints every six months using silica sand with 0.5-1.0mm particle size. Apply 0.5 inches per application. Inspect edge restraints annually for frost heave displacement. Power wash surface once per year using 1,500 PSI maximum pressure to prevent sand loss. Re-compact areas showing settlement within 48 hours of detection. Monitor perimeter for root intrusion from woody plants within 15 feet of patio edges.
FAQ
How deep must excavation go for patio installation?
Excavate 8 inches in sandy or loamy soils, 10 inches in clay soils with slow percolation rates.
Can existing garden soil support patio base?
Only if soil contains less than 30% clay content and drains completely within 24 hours after saturation.
What prevents weeds from growing through pavers?
Properly compacted base layers eliminate the air pockets necessary for seed germination beneath hardscape.
How long before placing pavers on prepared base?
Install pavers within 48 hours of final sand layer placement to prevent wind displacement or rain damage.
Should fabric go under or over the base layer?
Place fabric directly on subgrade before adding any base material to prevent soil mixing with stone.