7 Steps to Build a Custom Wooden Garden Trellis
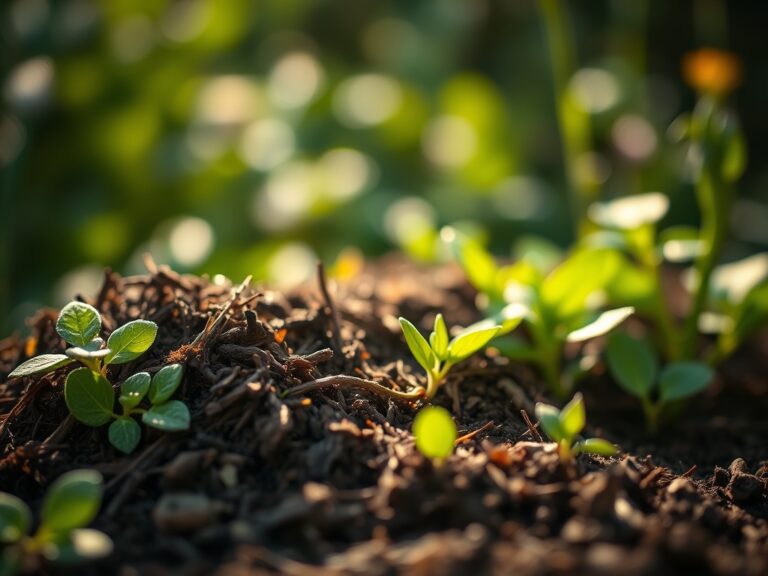
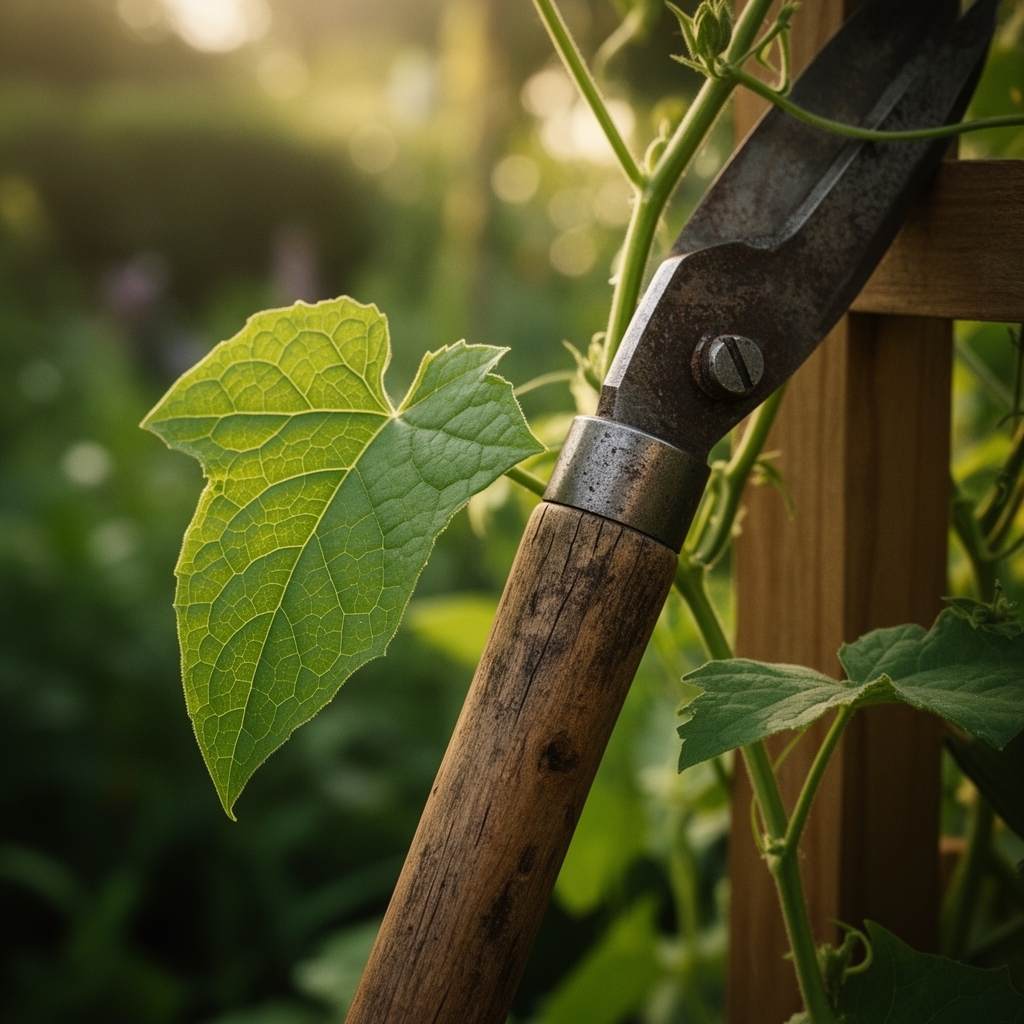
The scent of cedar dust rises as the saw bites through fresh lumber, the first tangible step in creating a vertical framework that will carry the weight of ripening tomatoes, pole beans, or climbing roses through an entire growing season. Steps for building a garden trellis begin with understanding that this structure functions as both architecture and active partner in plant physiology, influencing auxin distribution, light interception angles, and air circulation patterns that determine disease pressure.
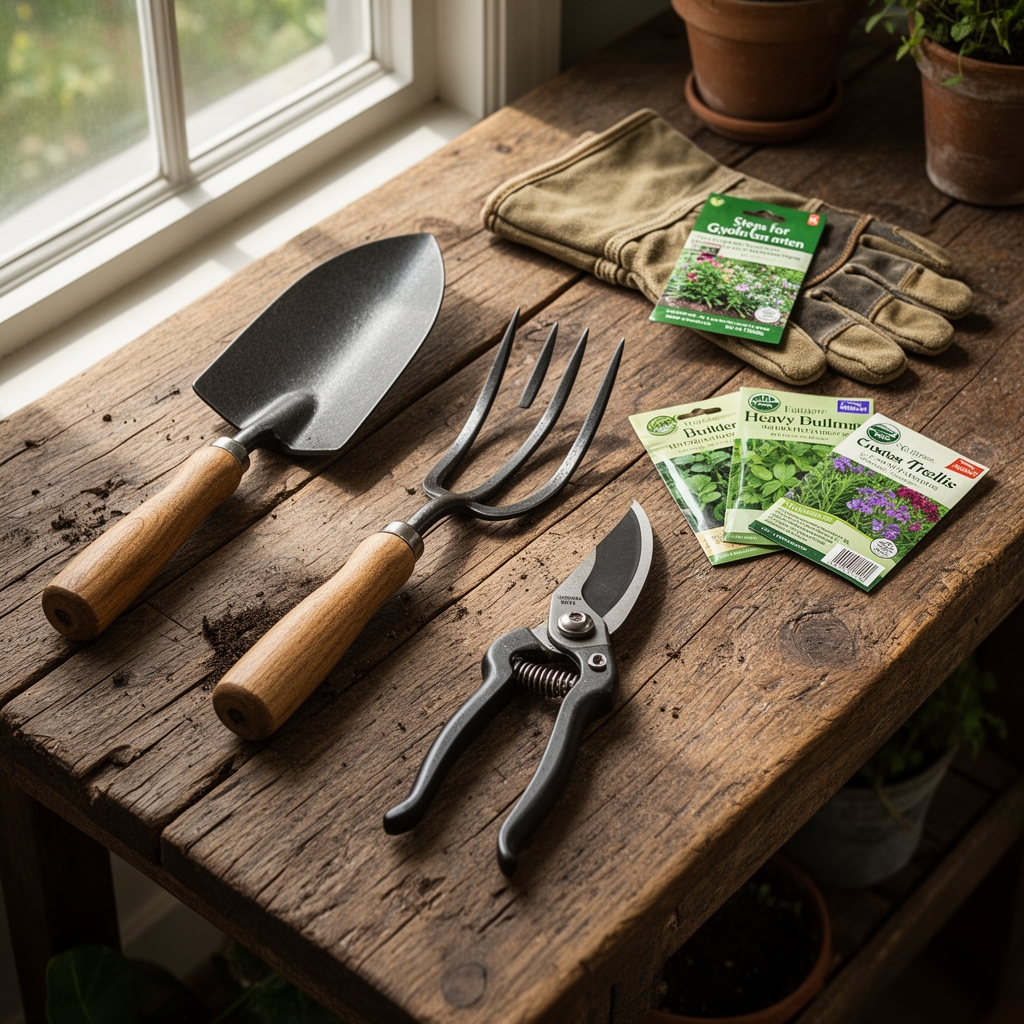
Materials and Tools
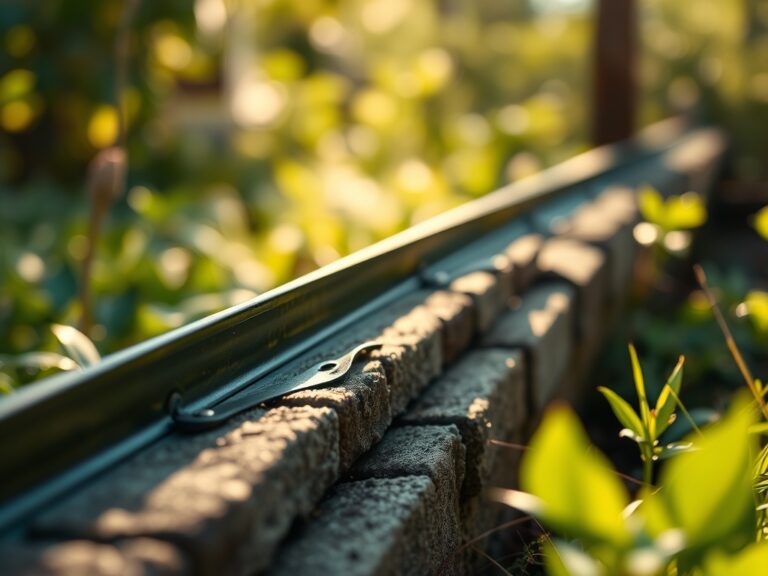
Cedar or redwood lumber provides natural rot resistance through oils that inhibit fungal colonization. Purchase 2×2-inch vertical posts (8 feet length) and 1×2-inch horizontal slats. Pressure-treated pine offers durability but leaches copper compounds that can temporarily raise soil pH to 7.2-7.8 in a 6-inch radius around ground contact points, requiring lime adjustment for acid-loving crops. Galvanized deck screws (2.5 inches) resist corrosion better than nails, which work loose as wood expands during rain absorption.
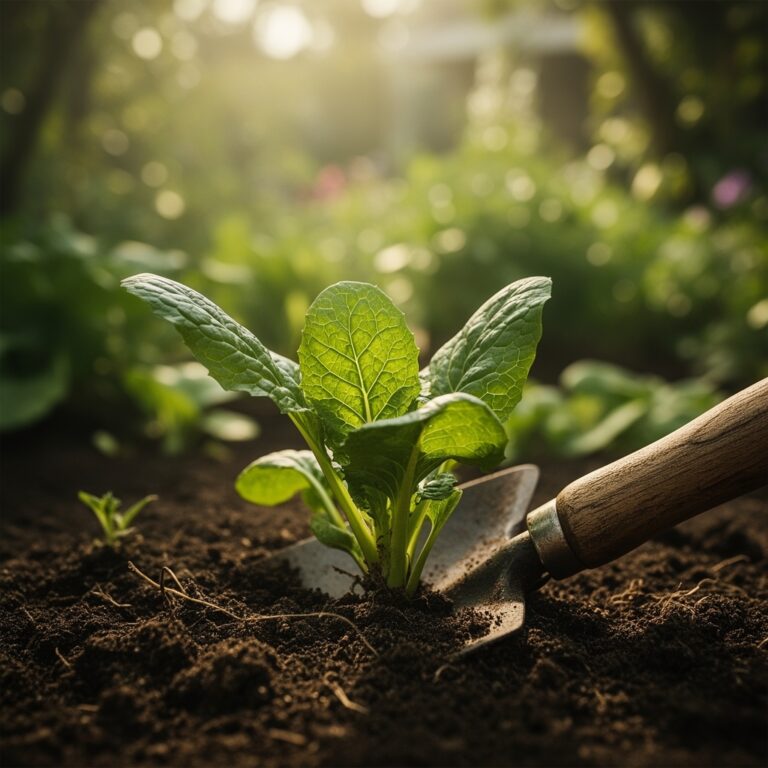
For soil amendment near trellis footings, incorporate 4-4-4 organic fertilizer at 2 pounds per 10 square feet. This balanced NPK ratio supports early vegetative growth without excessive nitrogen that would promote foliage at the expense of flowering. Add mycorrhizal fungi inoculant (Glomus intraradices species) at 1 tablespoon per planting hole. These organisms extend root surface area by 100-1000x, improving phosphorus uptake critical for stem lignification that prevents lodging under crop weight.
Required tools include a miter saw, drill with 1/8-inch pilot bit, carpenter's level, post hole digger, and tape measure. A soil pH meter confirms existing conditions before adjusting with elemental sulfur (lowers pH) or dolomitic limestone (raises pH and adds magnesium, improving cation exchange capacity).
Timing and Climate Considerations
Install trellises 2-3 weeks before last expected frost date in your hardiness zone. USDA Zone 5 gardeners target May 1-15, while Zone 8 installations occur March 15-31. This lead time allows wood to weather slightly, improving paint or stain adhesion if finishing is planned.
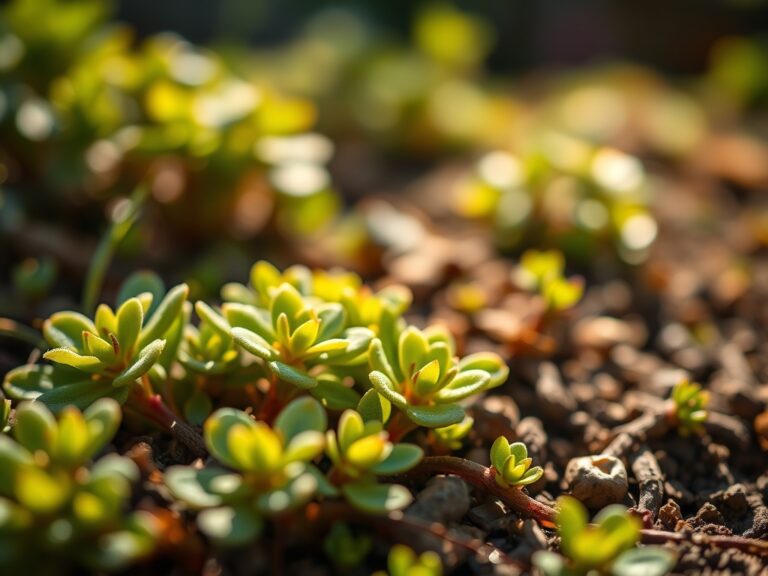
Soil temperature must reach 55°F at 4-inch depth before planting warm-season climbers like cucumbers or beans. Cold-season peas tolerate 45°F soil and benefit from trellis installation in early March (Zone 7) or late February (Zone 9). Wood expands 0.2-0.4% across grain when moisture content rises from 6% (kiln-dried) to 12% (outdoor equilibrium). Account for this by leaving 1/8-inch gaps between horizontal slats.
Construction Phases

Foundation and Vertical Posts
Dig post holes 24 inches deep, extending below frost line to prevent heaving. Space vertical posts 36-48 inches apart for bean or pea varieties, 24-30 inches for tomatoes requiring denser support. Set posts in 4 inches of gravel for drainage, then backfill with native soil tamped every 6 inches. Avoid concrete, which creates moisture differential that accelerates rot at the soil-air interface.
Pro-Tip: Orient the trellis on a north-south axis. This maximizes east-morning and west-afternoon light exposure on both faces, increasing total photosynthetically active radiation by 18-22% compared to east-west orientation.
Horizontal Slat Installation
Attach 1×2-inch slats horizontally at 10-12 inch intervals. Start the first slat 6 inches above soil to reduce splash-borne fungal spores from reaching lower leaves. Drill pilot holes to prevent splitting, especially within 2 inches of board ends. Use two screws per joint for shear strength.
For heavy crops like indeterminate tomatoes (15-20 pounds per plant), add diagonal bracing at 45-degree angles in upper corners. This triangulation distributes load and prevents racking when wind gusts exceed 25 mph.
Pro-Tip: Roughen slat surfaces with 80-grit sandpaper. This increases friction coefficient, helping tendrils grip without the need for additional tying on peas and cucumbers.
Finishing and Curing
Apply linseed oil or exterior wood stain if desired. Avoid creosote or pentachlorophenol preservatives within 18 inches of edible crop root zones. Allow 7 days curing before planting to off-gas volatile organic compounds that can inhibit seed germination by 15-30%.
Pro-Tip: Inoculate transplant holes with Trichoderma harzianum fungi. This biological control agent colonizes root surfaces, excluding Fusarium and Pythium pathogens that exploit transplant stress.
Troubleshooting Common Issues
Symptom: Posts lean after 6-8 weeks.
Solution: Insufficient tamping during backfill. Re-excavate, add 6 more inches of gravel base, and compact soil in 4-inch lifts using a 4×4 tamper.
Symptom: Slats bow outward under crop weight.
Solution: Slat spacing exceeded 12 inches or wood thickness inadequate. Add intermediate vertical supports every 4 feet or replace with 1×3-inch slats.
Symptom: Wood develops black surface mold.
Solution: Insufficient air circulation and morning dew accumulation. Apply copper naphthenate (fungicide) and prune plants to maintain 6-8 inches clearance from wood.
Symptom: Screws rust despite galvanization.
Solution: Zinc coating thickness was under 1.5 mils. Replace with stainless steel screws (304 grade minimum) in coastal or high-humidity zones.
Symptom: Plants grow around rather than up trellis.
Solution: Training began too late. Guide main stems to structure within 4 days of transplanting, when auxin response to directional cues peaks.
Maintenance Protocol
Inspect joints monthly during growing season. Tighten any screws loosened by wood shrinkage. Apply 1 inch of water weekly at the trellis base, delivering 0.62 gallons per square foot. Deep watering encourages roots to anchor at 18-24 inch depth, improving wind resistance.
Remove all plant material within 48 hours of frost kill. Dehydrated vines harbor overwintering pupae of cucumber beetles and squash vine borers. Pressure-wash wood surfaces with a 1:10 bleach solution in late fall to eliminate fungal spores.
Reapply wood preservative every 24-36 months. Sand damaged areas to bare wood before treatment. Replace posts showing structural cracks wider than 1/4 inch or soft spots indicating rot penetration beyond 1/2 inch depth.
Frequently Asked Questions
How deep should trellis posts be set?
Install posts to 1/3 of their above-ground height, minimum 24 inches. A 6-foot visible trellis requires 2 feet below grade.
What spacing prevents overcrowding?
Allow 6-8 inches between plants on shared trellises. This maintains leaf area index of 3-4, optimizing light capture without excess mutual shading.
Can I use treated lumber near vegetables?
Modern ACQ (alkaline copper quaternary) treatment is approved for food gardens. Older CCA (chromated copper arsenate) lumber banned after 2003 should never contact edible crops.
When do I start training plants?
Begin within 5 days of transplanting. Delayed training allows adventitious roots to anchor horizontal growth patterns, requiring corrective pruning that reduces yields 10-15%.
How much weight can a trellis support?
A properly braced 4×8-foot cedar trellis with posts every 4 feet holds 80-120 pounds distributed load. Concentrate weight toward posts rather than mid-span for maximum strength.