6 Division Steps for Repotting a Spider Plant
The moment you tip a root-bound spider plant from its pot, the mass of fleshy white tubers spills like a tangle of pale sausages, and the plantlets—each dangling on a wiry stolon—wobble in your hands. This is the ideal time to execute steps for repotting a spider plant with babies, separating crowded offsets into independent specimens while refreshing the parent's medium. Chlorophytum comosum tolerates division better than most houseplants because its tuberous roots store water and carbohydrates, buffering transplant shock. Mastering these six phases transforms a single crowded pot into a productive nursery.
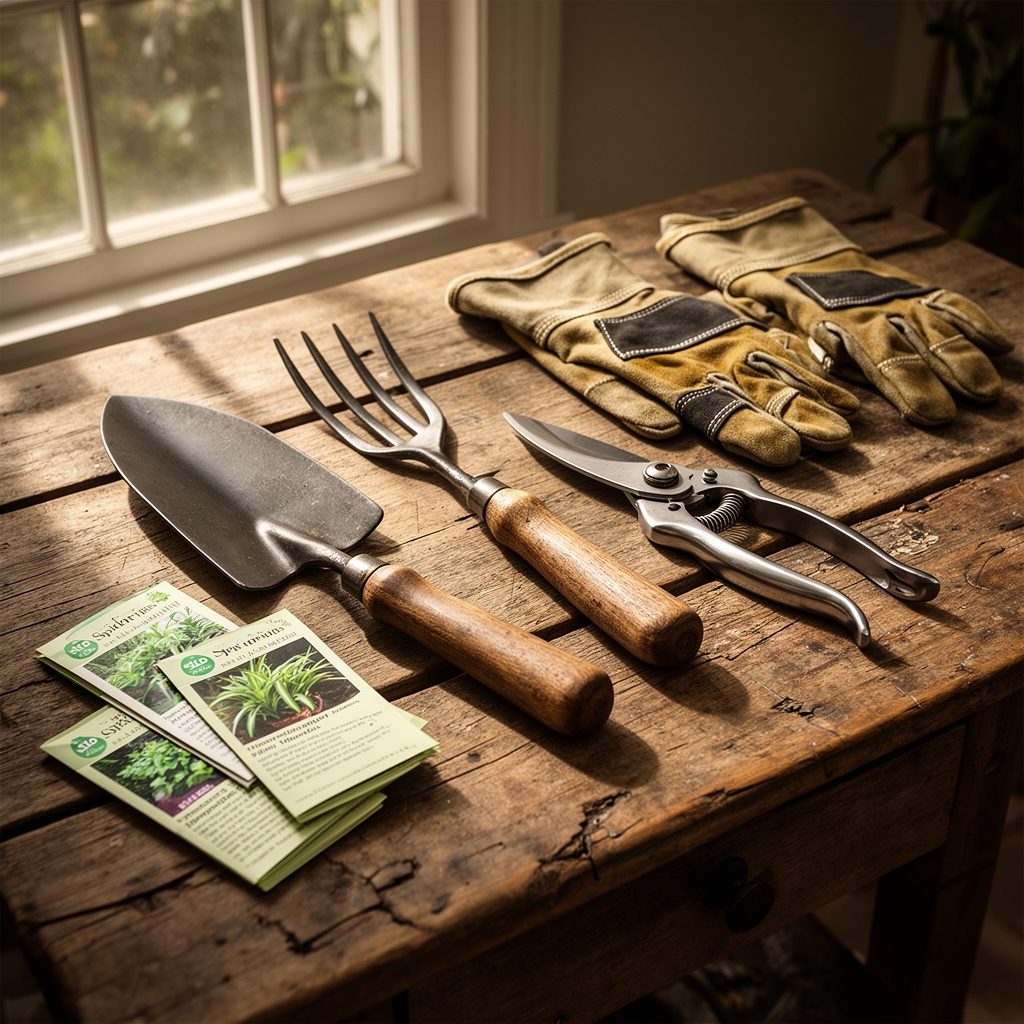
Materials
Gather containers with drainage holes sized 1 to 2 inches wider than each root mass. Use a soilless mix with a pH of 6.0 to 6.5: combine 2 parts peat or coir, 1 part perlite, and 1 part pine bark fines. Amend with a 4-4-4 organic fertilizer at 1 tablespoon per gallon of medium to ensure balanced nitrogen, phosphorus, and potassium during establishment. A clean utility knife or pruning shears disinfected in 10% bleach solution prevents pathogen transfer. Mycorrhizal inoculant powder applied at 1/4 teaspoon per plant colonizes roots within three weeks, increasing phosphorus uptake by 30%. Latex gloves protect hands from soil-borne irritants, and a tarp simplifies cleanup.
Timing
In USDA Hardiness Zones 9 through 11, divide spider plants outdoors from March through May, after the last frost date when nighttime lows stabilize above 50°F. Indoor specimens tolerate year-round division, but spring offers peak auxin distribution and fastest root regeneration. Avoid division during flowering, typically late winter, when the plant allocates energy to producing stolons and babies. Root systems establish in 14 to 21 days under temperatures between 65 and 75°F. Cation exchange capacity in fresh medium peaks within the first month, so time repotting before nutrient depletion becomes visible as chlorotic leaf tips.
Phases
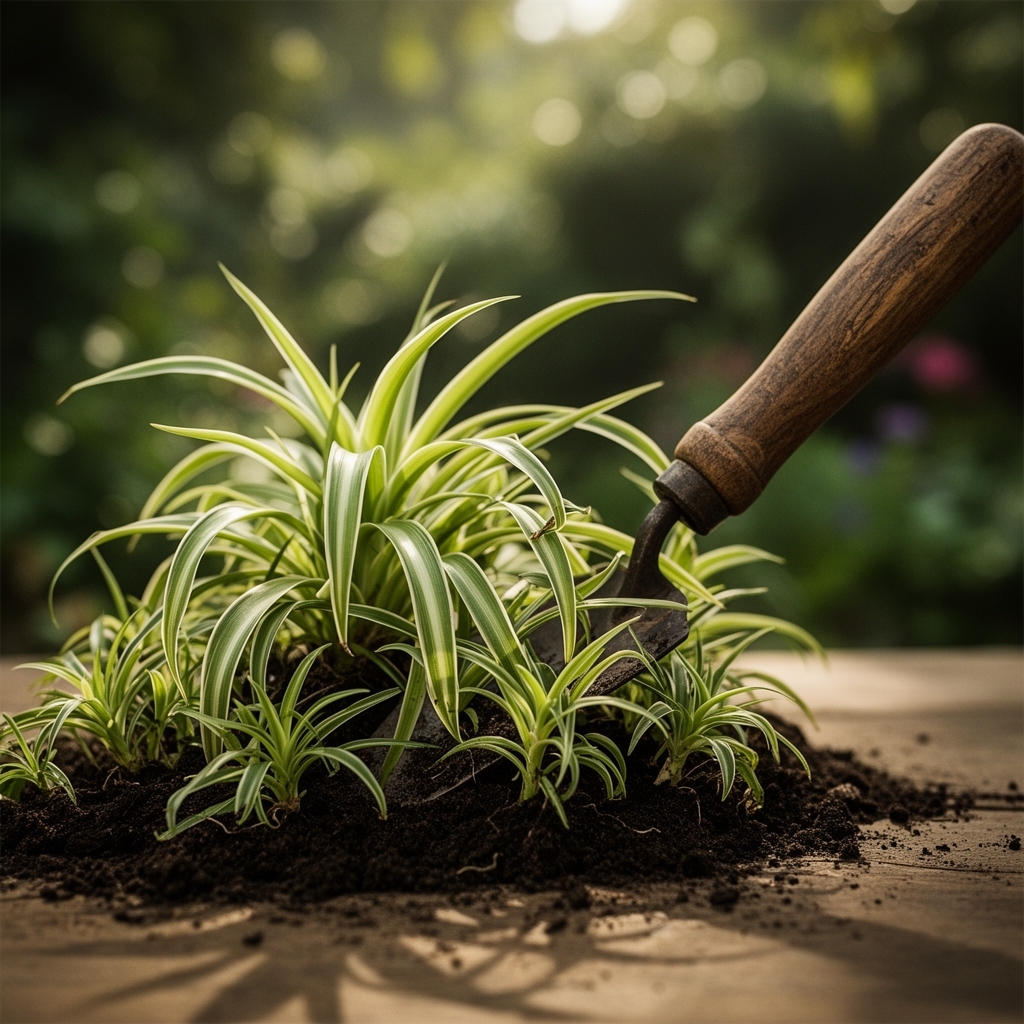
1. Removal and Inspection
Water the parent plant 24 hours before division to hydrate tubers and reduce breakage. Invert the pot, tap the rim against a table edge, and slide the root ball free. Examine for vine weevil larvae, small cream-colored grubs that chew C-shaped notches in tubers. Healthy roots appear white to tan, while brown, mushy tissue indicates Pythium root rot. Trim compromised roots with sterilized shears at a 45-degree angle to maximize surface area for new growth.
Pro-Tip: Dust cut surfaces with cinnamon powder, a natural antifungal that inhibits Fusarium without altering soil pH.
2. Separating Babies
Locate the stolon connecting each plantlet to the mother. Trace it to the base, then sever with a clean blade 1/2 inch from the baby's root crown. Mature offsets display root initials—white nubs 1/4 inch long—at their base. Immature babies without roots will not establish; return them to water propagation for 10 days until roots reach 1 inch. Each viable offset should carry three to five leaves and a compact crown.
Pro-Tip: Dip severed stolon ends in rooting hormone powder containing 0.1% indole-3-butyric acid to accelerate lateral root formation by 40%.
3. Dividing the Parent
If the parent crown exceeds 8 inches, split it into two or three sections. Insert two hand forks back-to-back into the center of the root mass, then pry apart. Each division requires at least four leaves and a tuber cluster 2 inches wide. Shake loose soil from roots to identify natural separations along the rhizome. Forced splits through dense tissue invite infection.
Pro-Tip: Soak divided sections in a kelp solution diluted to 1 tablespoon per gallon for 15 minutes. Cytokinin compounds in kelp reduce wilting and stimulate crown budding.
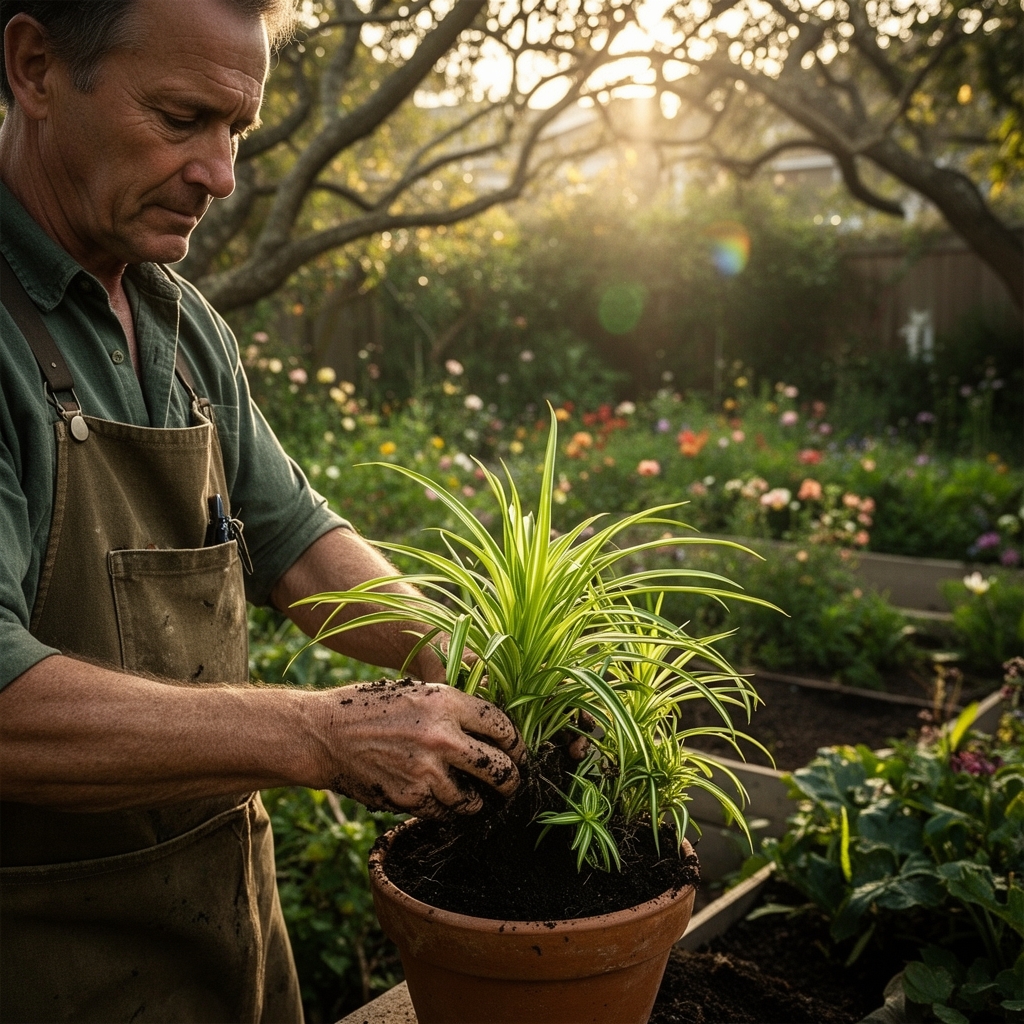
4. Potting
Fill containers one-third full with prepared mix. Center each division so the crown sits 1/2 inch below the rim. Backfill around roots, tamping gently to eliminate air pockets without compressing the medium. The tuberous roots should be fully buried; exposed tubers desiccate and halt growth. Water until drainage begins, then allow the top inch to dry between irrigations.
5. Hardening
Place newly potted divisions in bright indirect light at 200 to 400 foot-candles for seven days. Direct sun causes leaf scorch when root systems cannot yet support full transpiration. Maintain humidity above 50% by grouping plants or misting once daily. Avoid fertilizer during this period; residual nutrients in the medium suffice until roots colonize the new substrate.
6. Establishment
After root tips reach the pot perimeter—evident when fine white threads emerge from drainage holes—increase light to 400 to 800 foot-candles. Resume feeding with half-strength 10-10-10 liquid fertilizer every two weeks. Prune any yellowing lower leaves at the base to redirect energy into new growth. Mature plants produce babies within 8 to 12 weeks.
Troubleshooting
Symptom: Brown leaf tips extending 1/4 inch inward.
Solution: Reduce fluoride exposure by using distilled water or rainwater. Flush pots monthly with three times the container volume to leach salts.
Symptom: Stolons abort before producing babies.
Solution: Increase photoperiod to 14 hours. Spider plants require short-day conditions to initiate flowering but long days to complete stolon development.
Symptom: Soft, water-soaked crowns with gray mold.
Solution: Botrytis thrives above 70% humidity. Space plants 6 inches apart and improve air circulation with a low-speed fan.
Symptom: Yellowing between veins on new leaves.
Solution: Iron deficiency in alkaline substrates. Apply chelated iron at 1 teaspoon per gallon or amend mix with sulfur to lower pH by 0.5 units.
Maintenance
Water when the top 1 inch of medium feels dry, typically every 5 to 7 days in 70°F interiors. Provide 1/2 inch of water per application, measured by placing the pot on a scale and adding 8 ounces per 6-inch container. Fertilize March through September with 10-10-10 at quarter-strength every three weeks. Repot annually in spring to refresh the medium and prevent salt accumulation. Prune spent stolons at the base to concentrate resources in the crown.
FAQ
How long do spider plant babies take to root?
Offsets with 1-inch root initials establish in 14 days. Immature babies without roots require 10 days in water before potting.
Can I divide spider plants in winter?
Yes, but root regeneration slows by 50% below 60°F. Supplement with bottom heat at 70 to 75°F to match spring growth rates.
Why do my divisions wilt after repotting?
Severed roots cannot support full transpiration. Reduce light to 200 foot-candles and maintain 60% humidity for one week.
Should I remove all babies before repotting the parent?
Not essential. Detach only offsets with visible roots; leave immature babies attached to mature naturally over four weeks.
What NPK ratio accelerates baby production?
Balanced 10-10-10 supports vegetative growth. Avoid high-nitrogen formulas above 20-10-10, which suppress flowering and stolon initiation.