6 Lighting Steps to Prepare a Grow Light Plant Shelf
Growing leafy greens and herbs indoors transforms a dormant corner into a productive zone that operates year-round, independent of weather. Learning how to prepare a plant shelf with integrated lights begins with understanding photon delivery, thermal management, and the spatial arrangement of reflective surfaces. A properly configured shelf channels photosynthetically active radiation to every leaf surface while maintaining air exchange rates that prevent fungal colonization.
Materials
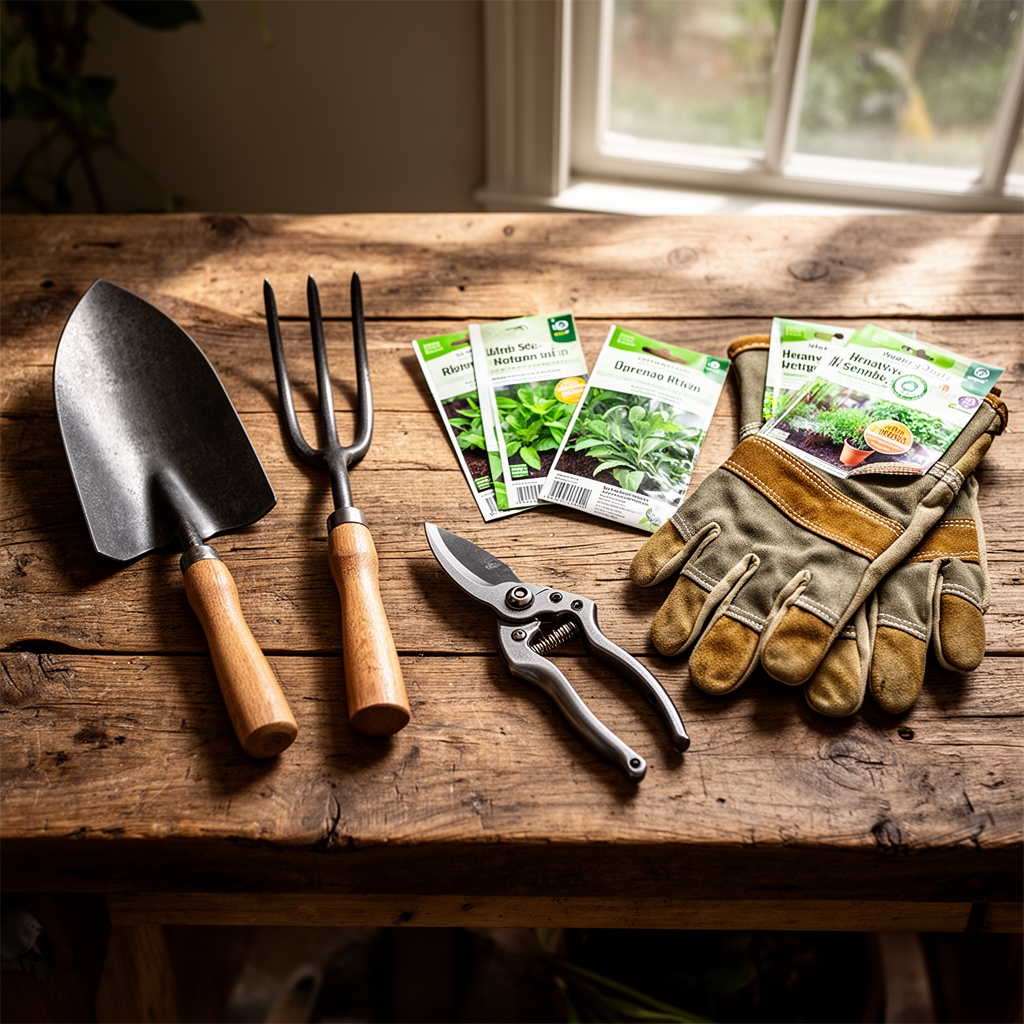
Select a metal or reinforced hardwood shelf unit capable of bearing 80 pounds per linear foot. The frame must accommodate full-spectrum LED bars rated at 100-150 watts per 4-foot tier. Choose fixtures with a CRI of 90 or higher and a color temperature between 5000K and 6500K for vegetative growth.
For the growing medium, combine peat moss or coir (pH 5.5-6.5) with perlite at a 3:1 ratio. Amend each cubic foot with two tablespoons of a balanced 4-4-4 organic fertilizer containing blood meal, bone meal, and kelp. This blend provides slow-release nitrogen for chlorophyll synthesis, phosphorus for root development, and potassium for stomatal regulation. Add one tablespoon of dolomitic lime per gallon to stabilize pH and supply calcium and magnesium, both critical for cell wall integrity.
Install timers with 15-minute increment control. Analog models fail after six months of continuous cycling; digital units with battery backup maintain schedule accuracy. Purchase reflective mylar sheeting with 95% reflectance to line the back and side walls. Avoid aluminum foil, which creates hotspots and reduces uniform photon distribution. A small oscillating fan rated at 20 CFM per square foot ensures adequate boundary layer disruption and stem caliper development.
Acquire trays with drainage holes, nursery pots in 4-inch and 6-inch diameters, and a pH meter accurate to 0.1 units. A handheld PAR meter measuring micromoles per square meter per second allows precise light placement. Kelp extract and mycorrhizal inoculant complete the biological toolkit.
Timing
Indoor shelf systems override traditional hardiness zones, yet understanding your USDA zone informs which crops tolerate lower supplemental heat. Zones 3-5 gardeners benefit most from winter shelves, as outdoor growing windows span only 90-120 days. Initiate setup in late September before heating costs peak and indoor humidity stabilizes.
Start seeds six weeks before the last expected frost if planning a spring transition outdoors. For continuous indoor harvest, stagger plantings every two weeks. Leafy greens reach harvest size in 28-35 days under optimal light. Basil and parsley require 45-60 days. Photo-period-sensitive crops like lettuce perform best with 14-16 hours of daily illumination.
Phases
Sowing Phase
Fill trays with pre-moistened medium to within half an inch of the rim. Broadcast tiny seeds like lettuce at 15 seeds per square inch. Larger seeds such as basil require quarter-inch depth and two-inch spacing. Cover with clear humidity domes and position lights 2 inches above the dome surface. Set timers for 18 hours of continuous light. Germination occurs within 3-10 days depending on species. Remove domes at first true leaf emergence to prevent damping-off caused by Pythium and Rhizoctonia fungi.
Pro-Tip: Water germination trays from below by pouring into outer catch trays. Bottom watering encourages downward root exploration and prevents surface crusting that traps emerging cotyledons.
Transplanting Phase
Transfer seedlings when two sets of true leaves develop and root tips emerge from drainage holes. Fill nursery pots with the same medium blend supplemented with an additional tablespoon of 4-4-4 per gallon. Handle seedlings by leaves, never by stems, to avoid crushing vascular tissue. Bury stems up to the cotyledon node to promote adventitious root formation.
Raise lights to 6-8 inches above canopy. Measure light intensity with a PAR meter; target 200-400 micromoles per square meter per second for greens, 400-600 for herbs. Reduce photoperiod to 16 hours to simulate natural day length and moderate internode stretch.
Pro-Tip: Apply mycorrhizal inoculant at transplant by dusting root balls. Glomus intraradices colonizes within 10 days and increases phosphorus uptake efficiency by 40%, reducing fertilizer requirements.
Establishing Phase
Maintain consistent moisture without saturation. The medium should feel like a wrung-out sponge at one-inch depth. Water when top quarter-inch dries, typically every 48-72 hours. Feed bi-weekly with half-strength liquid kelp solution to supply auxins, cytokinins, and trace minerals. Monitor leaf color; pale green indicates nitrogen deficiency, while dark green with purple undersides signals phosphorus lock-out from improper pH.
Pro-Tip: Prune herbs at 45-degree angles just above node pairs when plants reach 6 inches. Angled cuts shed water, preventing pathogen entry. This stimulates lateral branching and doubles yield over eight weeks.
Troubleshooting
Symptom: Yellowing lower leaves with green veins.
Solution: Iron deficiency caused by pH above 7.0. Flush medium with pH-adjusted water at 6.0 and apply chelated iron at 5 ppm.
Symptom: White powdery coating on leaf surfaces.
Solution: Powdery mildew from stagnant air. Increase fan speed and reduce humidity below 50%. Spray with one teaspoon baking soda per quart of water weekly.
Symptom: Leggy stems with pale, elongated leaves.
Solution: Insufficient light intensity. Lower fixtures to achieve target PAR readings or add supplemental bars.
Symptom: Brown leaf margins and tip burn.
Solution: Excess salts from over-fertilization. Leach pots with three times their volume of plain water. Resume feeding at quarter strength.
Symptom: Tiny white flies rising when foliage is disturbed.
Solution: Whitefly infestation. Apply insecticidal soap at labeled rates every five days for three cycles. Yellow sticky traps monitor population rebound.
Maintenance
Provide 1 inch of water weekly, adjusted for pot size and plant density. Six-inch pots typically require 10-12 ounces per watering. Clean light fixtures monthly with isopropyl alcohol to maintain photon output. Replace LEDs when intensity drops below 80% of initial measurement, usually after 30,000-40,000 hours.
Rotate trays 180 degrees weekly to equalize light exposure and prevent phototropic leaning. Prune dead leaves immediately to reduce fungal spore reservoirs. Test pH monthly and adjust with sulfur to lower or lime to raise values. Refresh top inch of medium every three months to restore cation exchange capacity.
FAQ
How far should lights sit above plants?
Position fixtures 6-8 inches above mature canopy for greens and 8-12 inches for taller herbs. Measure and adjust based on PAR readings rather than distance alone.
Can I use standard shop lights instead of grow lights?
No. Standard fluorescent or LED shop lights lack sufficient red and blue spectrum wavelengths required for photosynthesis. Grow-specific fixtures deliver targeted photon wavelengths between 400-700 nanometers.
What causes tips to brown despite regular watering?
Tip burn results from calcium deficiency or salt accumulation. Leach pots and verify water hardness. Add calcium via dolomitic lime if growing in soft water regions.
How many plants fit per shelf?
A 4-foot by 18-inch shelf accommodates twelve 4-inch pots or six 6-inch pots with adequate air circulation. Overcrowding invites disease and reduces individual plant yield.
Should I adjust light duration seasonally?
No. Indoor systems maintain consistent 16-hour photoperiods regardless of outdoor season. Stable light schedules optimize photosynthetic efficiency and prevent bolting in day-length-sensitive crops like lettuce.