9 Integration Steps on How to Prepare a Prairie Vegetable Garden
The first handful of prairie soil crumbles between your fingers with a texture somewhere between clay and sand, releasing the earthy scent of decomposed grass roots and ancient organic matter. This heavy, nutrient-rich earth built up over millennia presents both opportunity and challenge for vegetable cultivation. Learning how to prepare a garden for a prairie vegetable garden means working with this unique soil structure rather than fighting against it. The dense clay component holds moisture and minerals but compacts easily, while the deep root systems of native grasses have created remarkable fertility at depths most annual vegetables never reach.
Materials & Supplies
Soil Amendment Materials:
- Aged compost (3-4 cubic yards per 100 square feet)
- Coarse sand or perlite for clay-heavy sites (1-2 cubic yards)
- Agricultural sulfur if pH exceeds 7.5
- Mycorrhizal fungi inoculant for establishing beneficial soil networks
Testing & Analysis Tools:
- Soil test kit measuring pH, nitrogen, phosphorus, potassium (target pH 6.0-7.0)
- Penetrometer or metal rod for compaction assessment
- Moisture meter
Fertilizers & Amendments:
- Balanced organic fertilizer 5-5-5 NPK for initial preparation
- Blood meal (12-0-0) for nitrogen-hungry crops
- Bone meal (3-15-0) for root development
- Greensand (0-0-3) for potassium and trace minerals
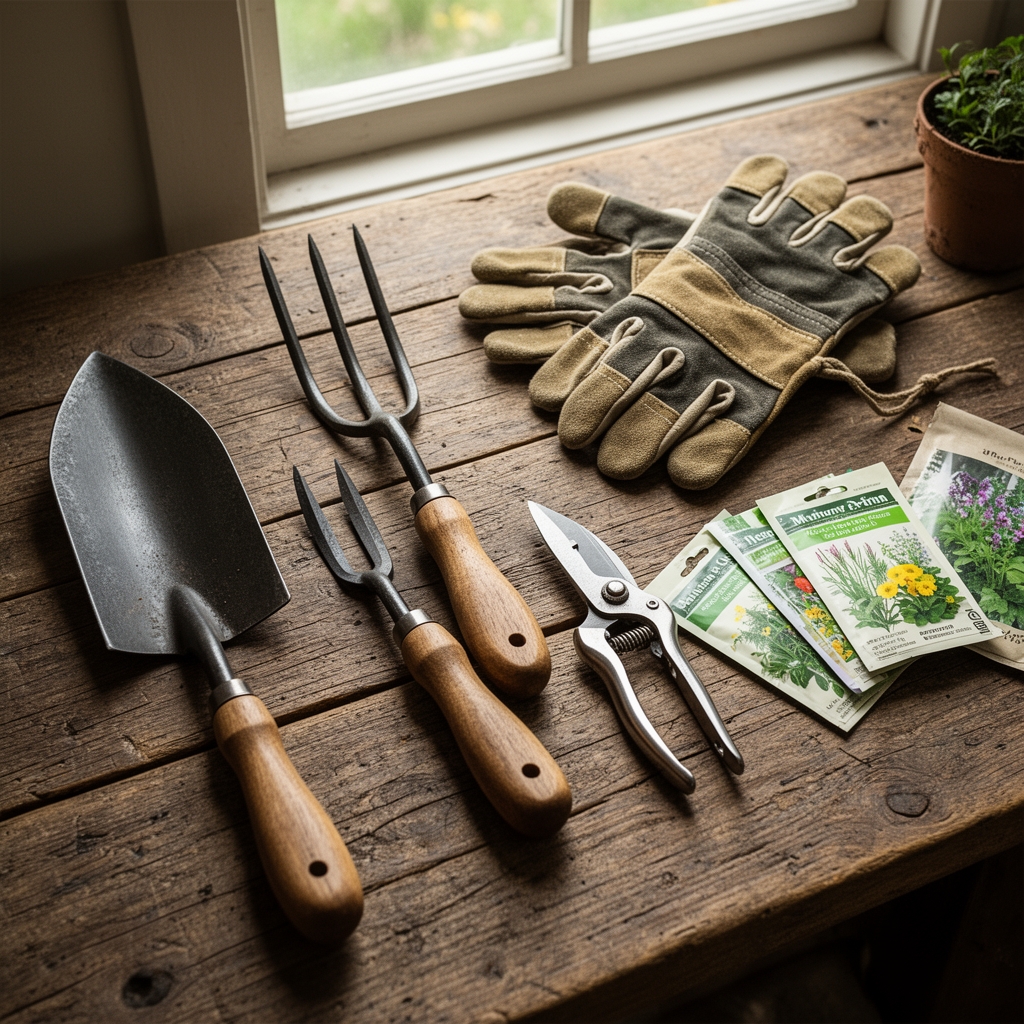
Equipment:
- Broadfork or spading fork (avoid rototilling initially)
- Garden hose with adjustable nozzle
- Mulch materials (straw, shredded leaves, 3-4 inches deep)
Timing & Growing Schedule
Prairie vegetable gardens span USDA Hardiness Zones 3-5 across most regions, with Zone 4 representing the sweet spot for cool-season crops. Last frost dates typically fall between May 1-20, while first fall frosts arrive September 15-October 10.
Spring Cool-Season Window:
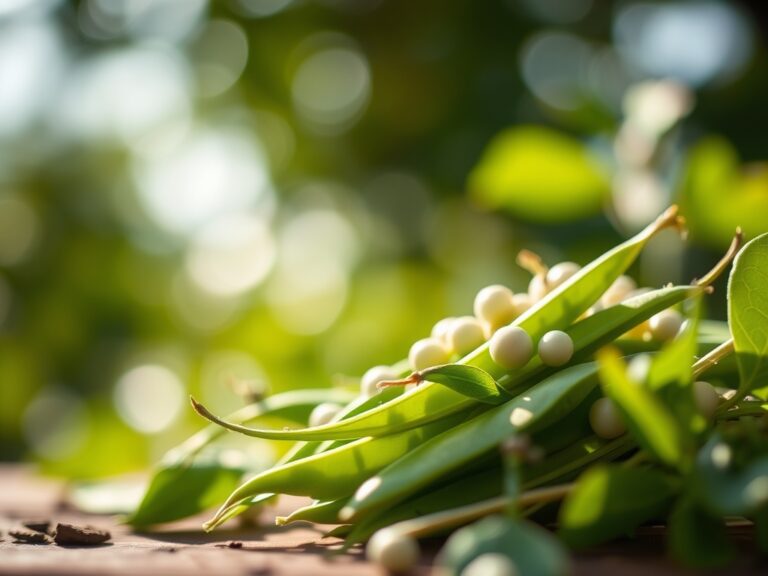
- Direct seed peas, spinach, radishes 4-6 weeks before last frost
- Transplant broccoli, cabbage 2-3 weeks before last frost
- Days to Maturity: 45-65 days for most spring crops
Summer Warm-Season Window:
- Transplant tomatoes, peppers 1-2 weeks after last frost when soil reaches 60°F
- Direct seed beans, squash when soil temperature exceeds 65°F
- Days to Maturity: 70-90 days for fruiting crops
Fall Extension Window:
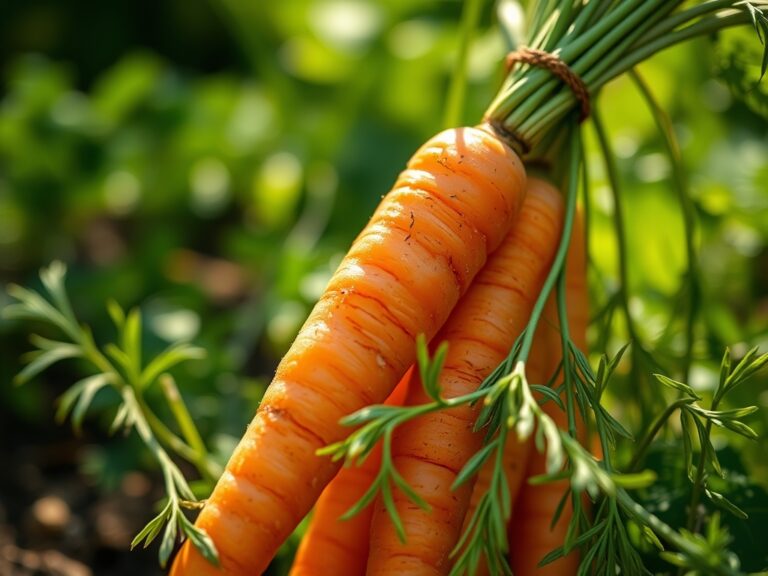
- Direct seed carrots, beets 10-12 weeks before first frost
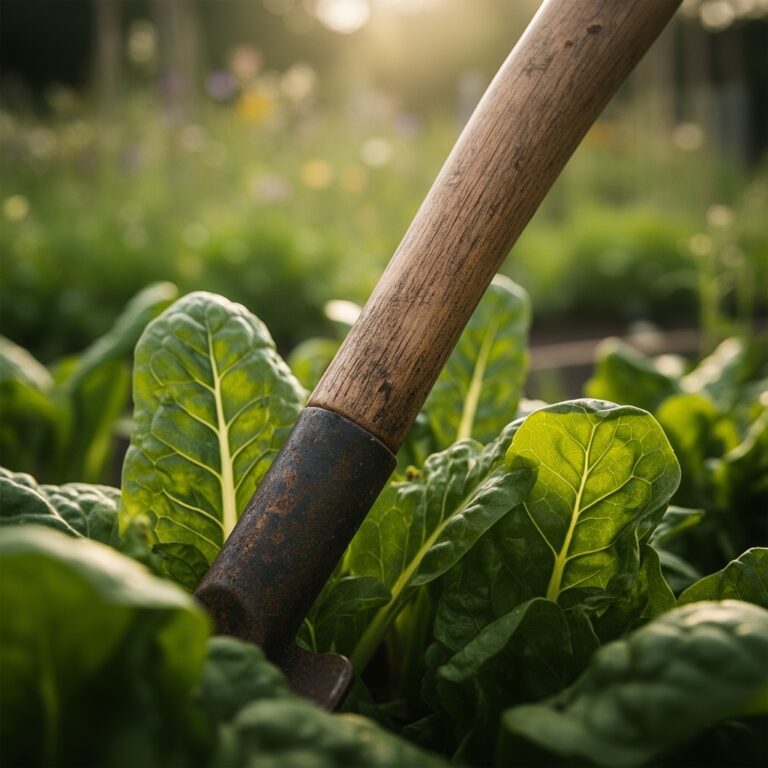
- Transplant kale, chard 8 weeks before first frost
Step-by-Step Instructions

Step 1: Assess Existing Vegetation
Remove sod in 2-inch strips using a flat spade. Stack grass-side-down in compost pile where it will break down over 6-8 months. Test the exposed soil for compaction by pushing a metal rod into the ground. Resistance beyond 6 inches indicates hardpan requiring intervention.
Pro-Tip: Sod removal in fall allows winter freeze-thaw cycles to naturally break up clay particles.
Step 2: Break Compaction Layers
Use a broadfork to penetrate 12-14 inches deep, rocking handles back to create air channels without inverting soil horizons. Work in a grid pattern with 8-inch spacing between penetrations. This preserves nitrogen fixation bacteria and soil structure.
Pro-Tip: Broadforking when soil is slightly moist (not wet or dry) requires 40% less effort and prevents structural damage.
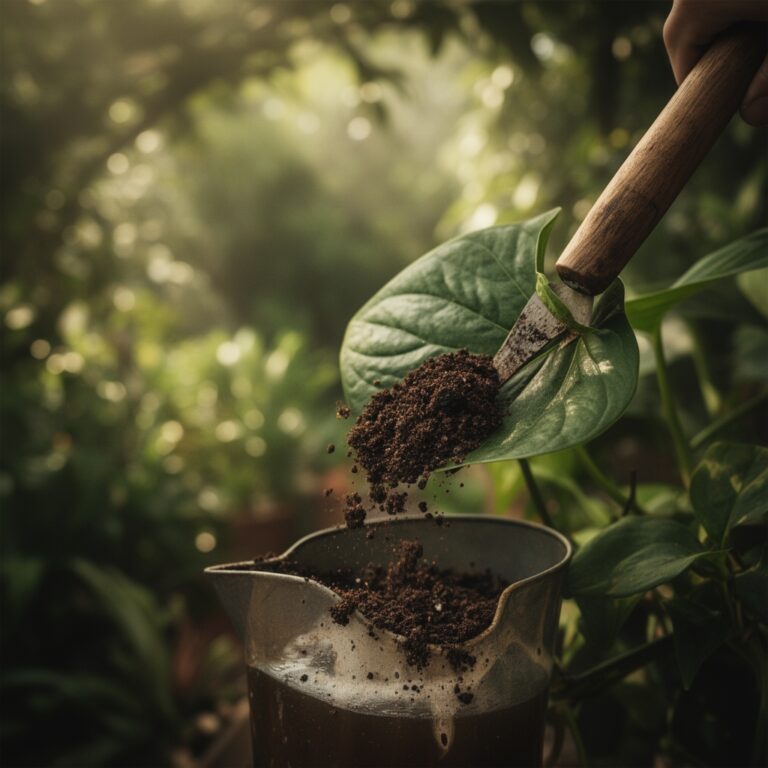
Step 3: Incorporate Organic Matter
Spread 3-4 inches of aged compost across the entire bed surface. Add coarse sand (1 inch layer) only if clay content exceeds 40%. Work amendments into top 8 inches using a spading fork, mixing thoroughly without pulverizing soil aggregates.
Pro-Tip: Leave 1-inch chunks of organic matter visible on surface to feed earthworms and beneficial insects.
Step 4: Adjust Soil Chemistry
Apply amendments based on soil test results. Prairie soils commonly register pH 7.0-8.0; add agricultural sulfur at 1 pound per 100 square feet to lower pH one full point. Incorporate bone meal (5 pounds per 100 square feet) for phosphorus, which binds in alkaline conditions.
Pro-Tip: Sulfur conversions take 3-4 months, so adjust pH the season before planting acid-loving crops like potatoes.
Step 5: Build Permanent Bed Structure
Create raised beds 4 feet wide, 8-12 inches tall using the soil from 18-inch pathways. This dimension allows access from both sides without compacting growing areas. Mycorrhizal fungi networks establish faster in undisturbed bed interiors.
Pro-Tip: Orient beds north-south for even sun exposure on both sides throughout the growing day.
Step 6: Install Irrigation Infrastructure
Lay soaker hoses or drip lines before mulching. Prairie winds accelerate evapotranspiration, making efficient water delivery critical. Position emitters 12 inches apart for vegetable rows, 6 inches for intensive plantings.
Pro-Tip: Bury drip lines 2 inches deep to prevent prairie vole damage and UV degradation.
Step 7: Apply Mulch Layer
Spread 3-4 inches of organic mulch (straw, shredded leaves) after soil warms to 60°F. Mulch moderates temperature swings, suppresses weeds, and feeds soil organisms. Keep mulch 2 inches away from plant stems to prevent rot.
Pro-Tip: Chopped straw from local grain farms often contains beneficial microorganisms adapted to your specific climate.
Step 8: Transplant Hardened Seedlings
Plant starts at same depth as container soil line. Firm soil gently around root balls, creating a slight depression to capture water. Water immediately with 1 cup per plant containing diluted fish emulsion (half-strength).
Pro-Tip: Transplant on overcast days or in evening to minimize transplant shock from intense prairie sunlight.
Step 9: Establish Maintenance Routine
Monitor soil moisture at 4-inch depth, irrigating when top 2 inches feel dry. Side-dress nitrogen feeders (tomatoes, corn) with blood meal (1/4 cup per plant) when flowering begins. Remove weeds by hand weekly before they establish deep roots.
Pro-Tip: Record planting dates, varieties, and harvest yields in a garden journal to optimize crop rotation planning.
Nutritional & Environmental Benefits
Prairie vegetable gardens produce nutrient-dense food while supporting regional ecology. Tomatoes grown in mineral-rich prairie soil contain 18% more lycopene than conventional produce. Leafy greens accumulate calcium, magnesium, and iron from deep soil reserves established by native grass roots.
Vegetable gardens provide critical foraging habitat for Mason bees and native pollinators displaced by monoculture agriculture. A 100-square-foot garden with flowering vegetables supports 200-300 beneficial insects throughout the season. Nitrogen fixation from companion-planted legumes (peas, beans) adds 2-4 pounds of nitrogen per 100 square feet annually, reducing synthetic fertilizer dependence.
Root crops like carrots and parsnips break up residual compaction, creating channels for water infiltration that prevent runoff during heavy prairie thunderstorms. Organic mulch decomposes into humus, increasing soil carbon sequestration by 0.5-1.0 tons per acre yearly.
Advanced Methods
Small Space Optimization:
Vertical trellising doubles yields in compact gardens. Train indeterminate tomatoes, pole beans, and cucumbers on 6-foot stakes or cattle panel arches. Interplant quick-maturing radishes between slower crops like peppers.
Organic & Permaculture Integration:
Establish permanent pathways seeded with low-growing white clover. Clover fixes atmospheric nitrogen (50-150 pounds per acre yearly) and tolerates foot traffic. Plant perennial herbs (chives, oregano) as bed edges to attract beneficial predatory insects.
Practice sheet mulching in new garden areas. Layer cardboard over existing grass, top with 6 inches of compost and mulch. Plant directly through decomposing cardboard in spring. This no-till method preserves soil biology while suppressing weeds.
Season Extension Techniques:
Install low tunnels using 10-foot sections of 1/2-inch PVC bent over beds, covered with 6-mil greenhouse plastic. These structures extend spring planting 3-4 weeks earlier and fall harvest 4-6 weeks later. Vent tunnels when interior temperature exceeds 75°F.
Cold frames built from straw bales and old windows protect lettuce, spinach, and Asian greens through winter in Zones 4-5. Position frames on south-facing slopes for maximum solar gain.
Troubleshooting
Symptom: Seedlings emerge then wilt within days, stems show constriction at soil line.
Solution: Damping-off fungus thrives in cold, wet conditions. Improve drainage, reduce watering frequency, and apply thin layer of sand around stems. Transplant into warmer soil (minimum 60°F for warm-season crops).
Symptom: Plants exhibit stunted growth, leaves show purple or red discoloration.
Solution: Phosphorus deficiency common in cold prairie soils (below 55°F) where nutrient uptake slows. Apply bone meal (3-15-0) at 3 pounds per 100 square feet. Warm soil with black plastic mulch before planting.
Symptom: Lower leaves yellow progressively upward, plants lack vigor despite adequate water.
Solution: Nitrogen deficiency in sandy-amended soils. Side-dress with blood meal (12-0-0) at 1/4 cup per plant or apply compost tea (1:5 dilution) weekly.
Symptom: Tomato blossom end rot appears as dark, sunken spots on fruit bottoms.
Solution: Calcium deficiency exacerbated by irregular watering. Maintain consistent moisture (1-1.5 inches weekly). Add crushed eggshells or gypsum (2 pounds per plant) to root zone.
Symptom: Cabbage family plants form loose heads or bolt prematurely.
Solution: Heat stress or nitrogen excess. Provide afternoon shade using row covers. Reduce nitrogen applications after transplanting. Plant heat-tolerant varieties for summer harvests.
Storage & Maintenance
Watering Protocol:
Deliver 1-1.5 inches of water weekly through rainfall and irrigation combined. Water deeply twice weekly rather than frequent shallow applications to encourage root depth. Check soil moisture at 4-inch depth using finger test or moisture meter. Clay-amended prairie soils retain water longer than sandy loam; adjust frequency accordingly.
Feeding Schedule:
Apply balanced organic fertilizer (5-5-5) at planting. Side-dress heavy feeders (tomatoes, peppers, squash) every 3-4 weeks with compost or blood meal (1/4 cup per plant). Foliar feed micronutrient-deficient crops with kelp extract (following package directions) every 2 weeks.
Seasonal Maintenance:
Remove spent crops immediately after final harvest to prevent pest overwintering. Cut plant material at soil line rather than pulling roots, which disturbs mycorrhizal fungi networks. Apply 2-inch compost layer each fall after frost kills annuals.
Post-Harvest Storage:
Cure winter squash and pumpkins in warm, dry location (75-85°F) for 10-14 days before cool storage. Store root vegetables (carrots, beets, potatoes) in perforated plastic bags at 32-40°F with 90-95% humidity. Freeze excess tomatoes whole or process into sauce within 48 hours of harvest.
Conclusion
Successful prairie vegetable gardens begin with understanding your soil's unique structure and working incrementally to improve it. The nine integration steps transform compacted grassland into productive growing space that feeds families while supporting native pollinators and beneficial insects. Start with a manageable 100-square-foot plot, master these fundamentals, then expand your garden annually as experience and confidence grow. Share surplus harvests with neighbors, food banks, or community meal programs to strengthen local food security networks.
Expert FAQs
How deep should I prepare prairie soil for vegetable roots?
Prepare the top 12 inches thoroughly with amendments and break any hardpan layers down to 18 inches using a broadfork. Most vegetable roots concentrate in the upper 12 inches, though tomatoes and carrots benefit from deeper preparation (18-24 inches).
Can I prepare a prairie garden in one season or does it take years?
Basic preparation takes one season (fall amendment, spring planting), but optimal soil development requires 2-3 years of continuous organic matter addition and cover cropping. Expect 60% productivity in year one, reaching full potential by year three.
What's the best way to deal with extremely heavy clay prairie soil?
Avoid rototilling, which creates concrete-like hardpan. Use broadfork aeration combined with 4-6 inches of compost worked into the top 8 inches. Add coarse sand (not fine beach sand) at 1:1 ratio with compost only in areas where clay exceeds 50% composition.
How do I protect vegetables from intense prairie winds?
Install 4-foot snow fencing or plant windbreak rows of tall crops (corn, sunflowers) on prevailing wind sides (typically northwest). Space fence or plantings 10-15 feet from main garden beds to reduce turbulence while blocking wind.
Should I remove all native prairie plants before starting a vegetable garden?
Remove vegetation from cultivation areas, but preserve native prairie strips as buffer zones. These natives support beneficial predatory insects that migrate into gardens to control aphids, beetles, and caterpillars. Maintain at least a 3-foot native border around garden perimeters.