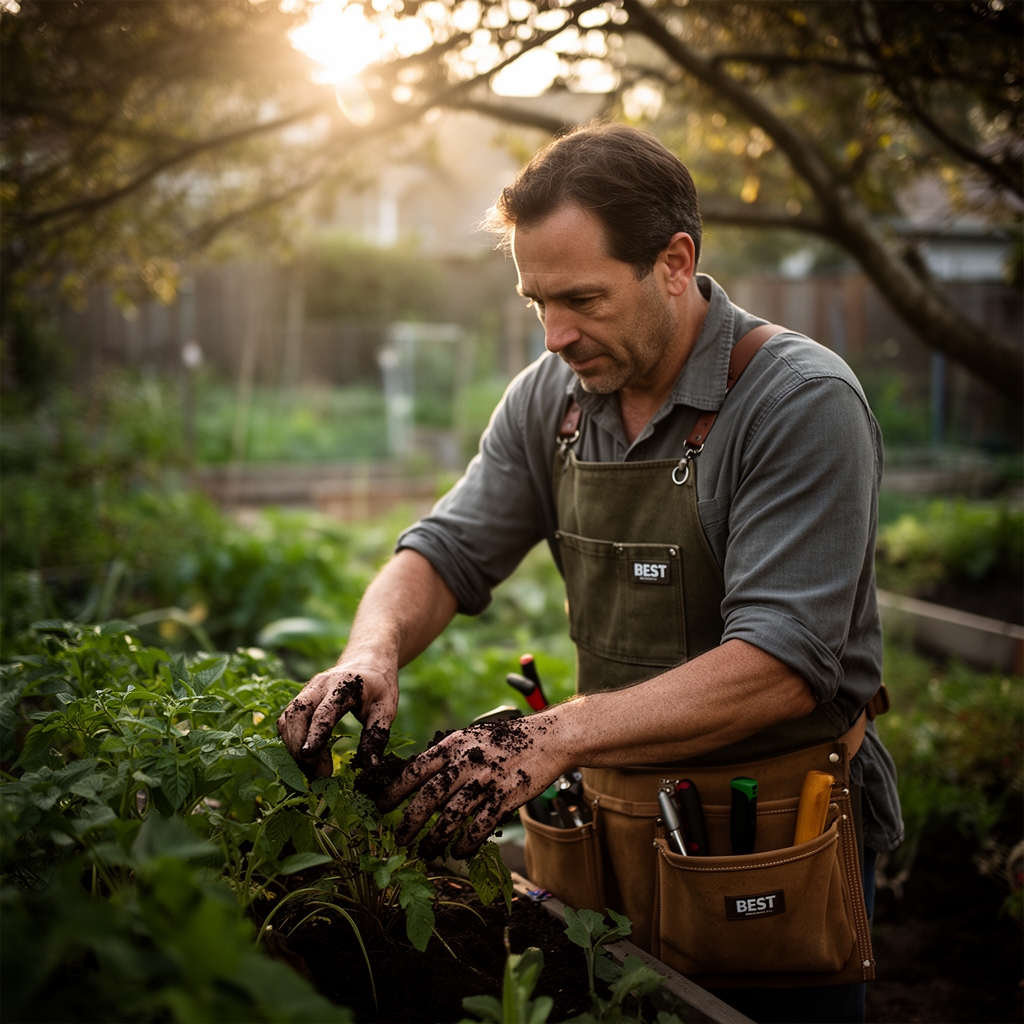
8 Best Vegetable Garden Tool Pouches for On-the-Go Maintenance
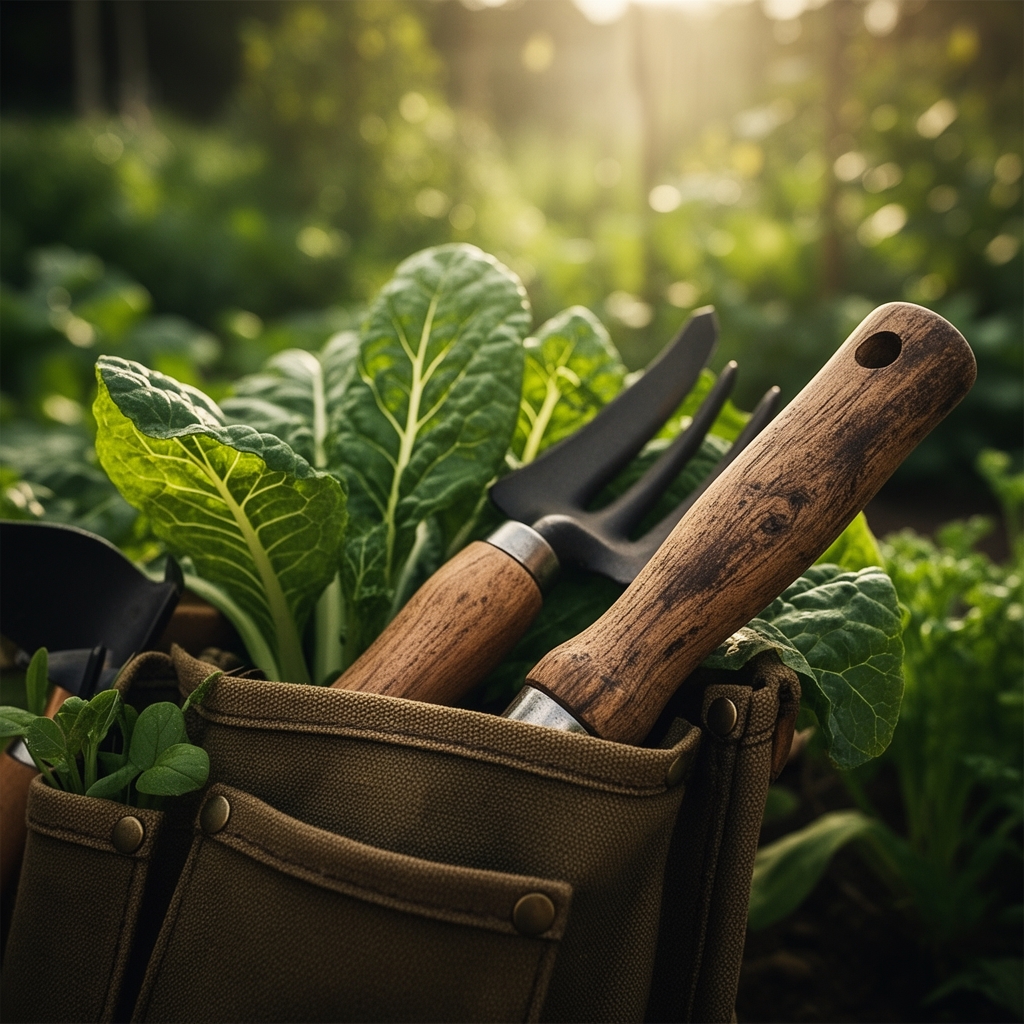
When you sink your hands into loamy spring soil, the scent of awakened earth fills your nostrils while moisture clings to your fingertips. That moment of connection demands tools within arm's reach, not scattered across the garden bed or left on the potting bench. The best vegetable garden tool pouches transform chaotic maintenance sessions into efficient workflows by keeping pruners, twine, and dibbers exactly where you need them. These portable organizers have evolved from basic canvas belts into specialized systems designed for the unique demands of intensive vegetable cultivation.
Materials & Supplies
Essential Pouch Categories:
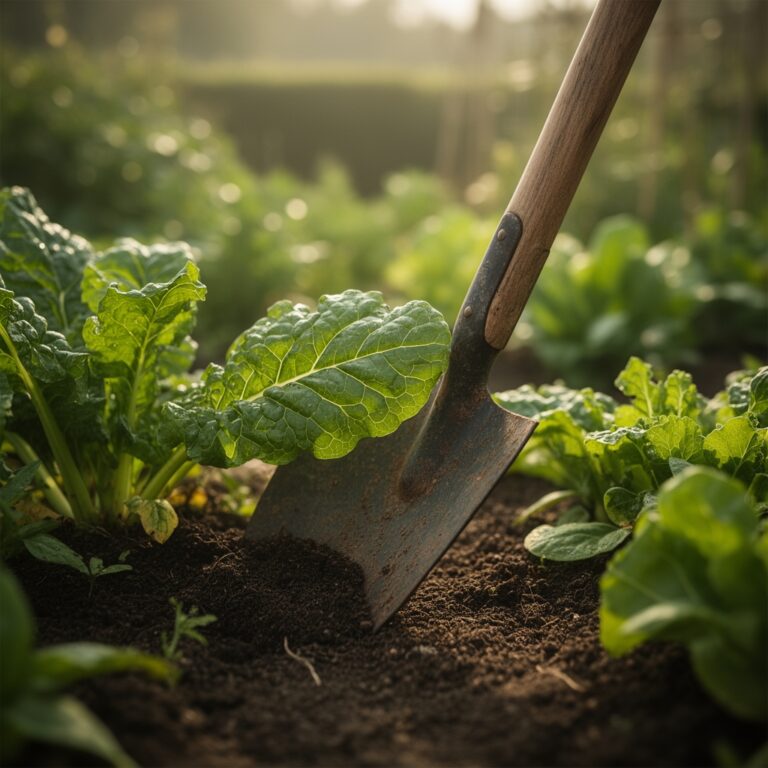
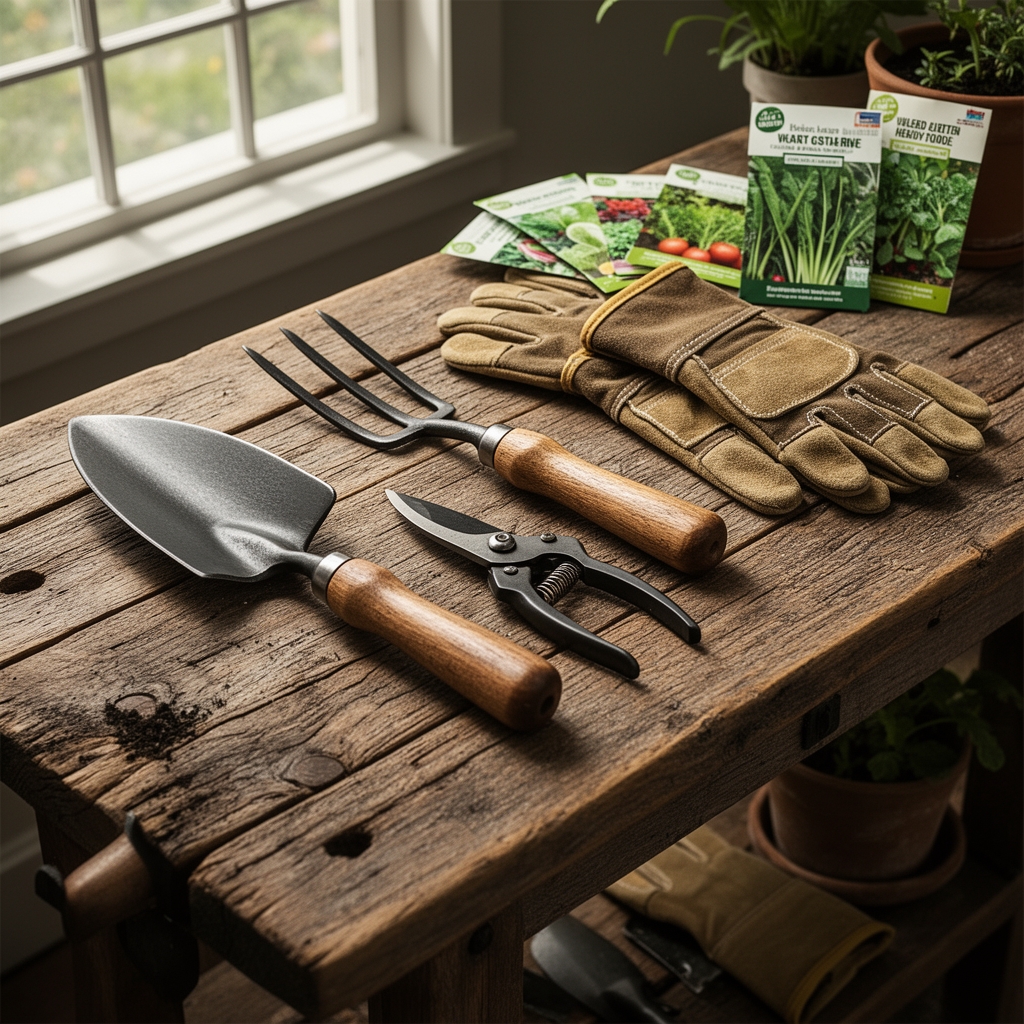
Hand Tools: Hori hori knife with depth markings, bypass pruners (rated for 3/4-inch stems), soil pH probe, dibber for transplanting.
Amendments & Testing: Small containers of kelp meal (1-0.1-2 NPK), dolomitic lime for pH adjustment, mycorrhizal fungi inoculant packets.
Fastening Materials: Jute twine spools, soft plant ties, biodegradable stakes (bamboo or untreated cedar).
Monitoring Equipment: Soil thermometer (accurate to 0.5 degrees), moisture meter, hand lens for pest identification.
Pouch Features to Prioritize: Water-resistant canvas or recycled polyester, reinforced stitching at stress points, dedicated loops for long-handled tools, exterior drainage holes.
Soil Requirements: Most vegetables thrive in 6.0 to 7.0 pH range with 5-10-10 NPK baseline. Adjust with sulfur (lowers pH) or lime (raises pH) based on quarterly soil tests.
Timing & Growing Schedule
Hardiness Zone Considerations: Zones 3 through 5 require tool pouches with insulated pockets for early spring work when soil temperatures hover at 40 to 50 degrees Fahrenheit. Zones 7 through 10 benefit from UV-resistant materials that withstand intense summer sun exposure.
Seed-Starting Windows: Cool-season crops (lettuce, spinach, peas) tolerate soil temperatures of 40 degrees and above. Start seeds indoors 6 to 8 weeks before last frost. Warm-season varieties (tomatoes, peppers, cucumbers) demand 60-degree minimum soil temps, transplanting 2 weeks post-frost.
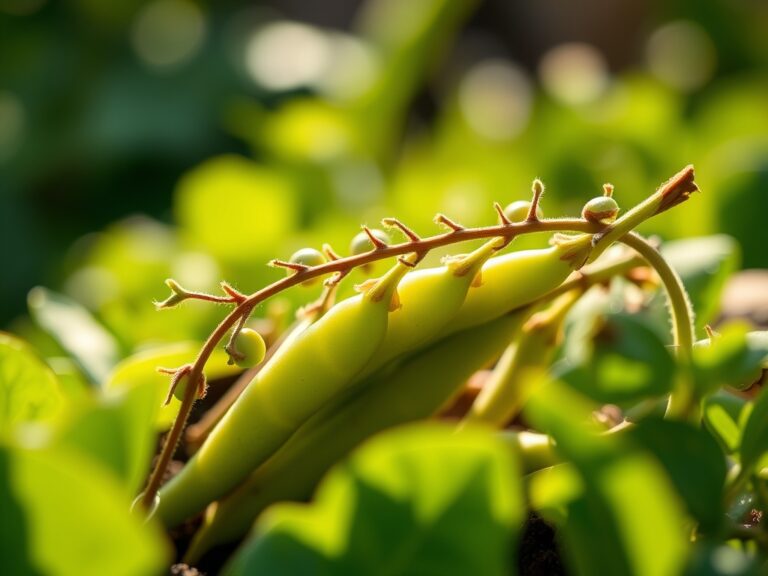
Days to Maturity: Radishes reach harvest in 25 to 30 days. Bush beans mature in 50 to 60 days. Determinate tomatoes need 70 to 80 days. Indeterminate varieties produce until first frost. Track planting dates on waterproof tags stored in pouch pockets.
Tool Maintenance Schedule: Clean soil from metal tools daily to prevent rust. Oil pivot points on pruners weekly during peak season. Replace worn twine monthly to avoid stem damage.
Step-by-Step Instructions
Phase One: Sowing
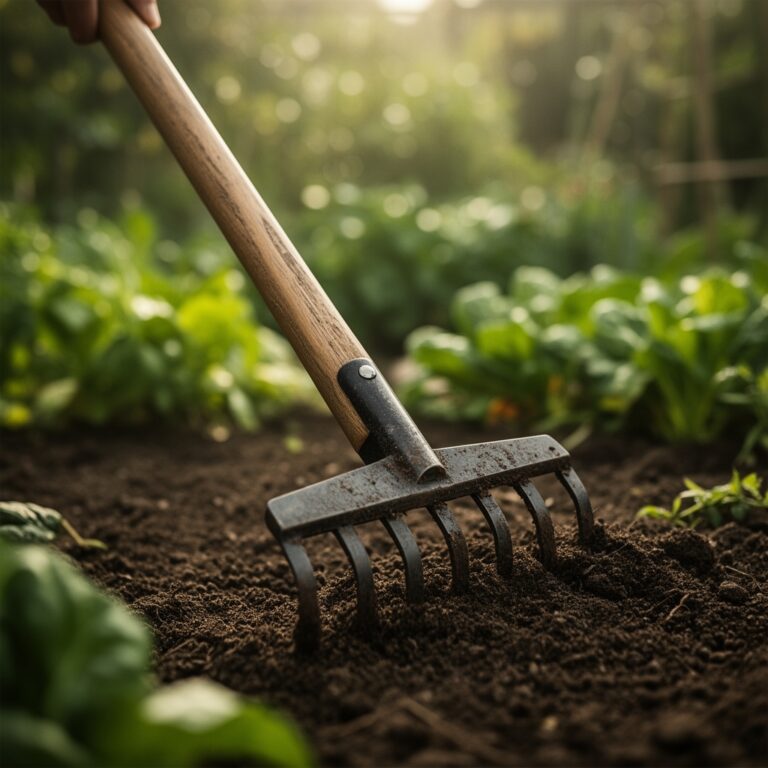
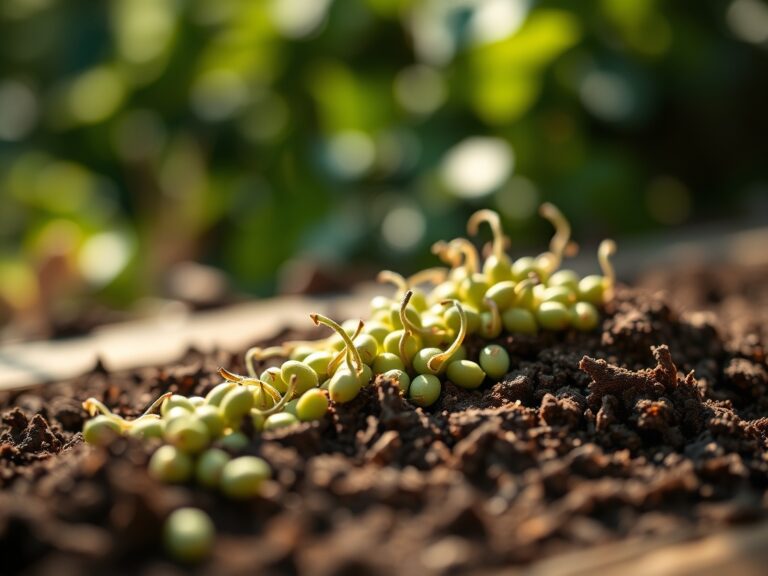
Prepare beds by incorporating 2 to 3 inches of aged compost. Test soil temperature at 4-inch depth using your probe. Mark rows with stakes and jute twine stored in your pouch's side pocket. Space seeds according to packet directions, typically 1 to 2 inches for small seeds, 4 to 6 inches for large.
Pro-Tip: Coat large seeds (beans, squash) with mycorrhizal fungi powder before planting. This symbiotic relationship increases phosphorus uptake by 300 percent and establishes beneficial networks faster than untreated seeds.
Phase Two: Transplanting
Water seedlings thoroughly 2 hours before moving them. Dig holes twice the root ball width using your hori hori. Plant at same depth as container, except tomatoes (bury stem up to first true leaves for adventitious root development). Firm soil gently, creating a slight depression for water retention.
Pro-Tip: Sprinkle 1 tablespoon of bone meal (3-15-0 NPK) in transplant holes for brassicas and nightshades. Slow-release phosphorus supports root establishment without stimulating excessive vegetative growth.
Phase Three: Establishing
Monitor soil moisture daily for first week, then transition to every 3 days. Apply 1 inch of water weekly through drip irrigation or soaker hoses. Side-dress with compost tea (diluted 1:10 ratio) every 14 days once plants show active growth. Prune suckers from tomatoes using sharp bypass pruners kept in your dominant-hand pocket.
Pro-Tip: Harvest herbs and leafy greens in morning hours after dew evaporates but before midday heat. Plant cells contain maximum turgor pressure, extending post-harvest freshness by 48 hours compared to afternoon picking.
Nutritional & Environmental Benefits
Mineral Content: Homegrown vegetables contain 30 to 50 percent higher mineral content than store-bought equivalents due to harvest timing and soil quality. Tomatoes deliver lycopene, an antioxidant concentrated in garden-ripened fruit. Leafy greens provide iron, calcium, and folate when picked at peak maturity.
Nitrogen Fixation: Legumes (peas, beans) host rhizobia bacteria in root nodules, converting atmospheric nitrogen into plant-available forms. Leave roots in soil post-harvest to decompose and enrich beds naturally.
Pollinator Support: Open-flowered vegetables (squash, cucumber) attract mason bees and native pollinators. These solitary bees pollinate more efficiently than honeybees, visiting 2,000 blossoms daily versus 700 for their social cousins.
Soil Carbon Sequestration: Intensive vegetable gardens with 4 to 6-inch mulch layers capture atmospheric carbon, storing it in stable humus compounds. This process improves water retention by 25 percent while reducing irrigation needs.
Advanced Methods
Small Spaces: Vertical trellising increases yields by 200 percent in confined areas. Train vining crops (pole beans, indeterminate tomatoes, cucumbers) on 6-foot cattle panels. Install drip irrigation on timers to maintain consistent moisture.
Organic Practices: Implement companion planting with nitrogen-fixing clovers between rows. Apply neem oil (0.5 percent concentration) for pest management. Rotate crop families annually to disrupt disease cycles and prevent soil nutrient depletion.
Permaculture Integration: Create polyculture guilds combining deep-rooted dynamic accumulators (comfrey, yarrow) with shallow-rooted vegetables. These assemblies mine subsoil minerals while providing living mulch.
Season Extension: Use row covers (0.5-ounce floating fabric) to gain 4 to 6 weeks of additional growing time. Cold frames extend harvests through November in zones 5 and 6. Low tunnels protect crops to 28 degrees Fahrenheit.
Troubleshooting
Symptom: Yellowing lower leaves with green veins (interveinal chlorosis).
Solution: Indicates iron deficiency in alkaline soils. Apply chelated iron at 1 tablespoon per gallon of water. Incorporate sulfur to lower pH to 6.5 over 60-day period.
Symptom: Blossom end rot on tomatoes and peppers (dark, sunken spots on fruit bottoms).
Solution: Calcium deficiency caused by inconsistent watering. Maintain even moisture with drip irrigation delivering 1 to 1.5 inches weekly. Side-dress with gypsum (calcium sulfate) at 2 pounds per 10 square feet.
Symptom: Stunted growth with purple-tinged leaves.
Solution: Phosphorus deficiency common in cold soils below 55 degrees. Delay transplanting until soil warms. Apply rock phosphate (0-3-0 NPK) at 5 pounds per 100 square feet in fall for spring availability.
Symptom: Wilting despite adequate soil moisture.
Solution: Root damage from overworking wet soil or soilborne pathogens (fusarium, verticillium). Improve drainage with 3-inch compost layer. Rotate crops to different beds. Remove affected plants immediately to prevent spread.
Symptom: Hole-riddled leaves with visible insects.
Solution: Flea beetles or cucumber beetles. Apply diatomaceous earth (food grade) around plant bases. Use floating row covers during vulnerable seedling stage. Introduce beneficial nematodes for larval control.
Storage & Maintenance
Watering Protocols: Deliver 1 to 1.5 inches of water weekly through deep, infrequent irrigation. Water at soil level to prevent foliar diseases. Morning watering allows foliage to dry, reducing fungal pressure.
Feeding Schedule: Apply balanced organic fertilizer (5-5-5 NPK) every 4 weeks for heavy feeders (tomatoes, peppers, squash). Light feeders (root vegetables, herbs) require half-strength applications every 6 weeks. Foliar feed with fish emulsion (5-1-1 NPK) diluted to 2 tablespoons per gallon during vegetative growth.
Mulching Requirements: Maintain 3 to 4-inch layer of organic mulch (straw, shredded leaves, grass clippings). Pull mulch 2 inches from plant stems to prevent crown rot. Replenish monthly as decomposition occurs.
Tool Care: Remove soil from metal surfaces after each use. Sharpen pruner blades monthly with diamond file. Disinfect cutting tools between plants using 10 percent bleach solution to prevent disease transmission. Store pouches in dry location with drainage holes facing down.
Post-Harvest Storage: Cool harvested vegetables immediately to slow respiration. Store root vegetables at 32 to 40 degrees with 90 to 95 percent humidity. Keep tomatoes at room temperature (never refrigerate). Cure winter squash at 80 to 85 degrees for 10 days before long-term storage.
Conclusion
The best vegetable garden tool pouches function as mobile command centers, keeping essential implements within immediate reach during critical maintenance windows. Proper organization reduces time wasted searching for tools while increasing responsiveness to pest pressure, nutrient deficiencies, and harvest readiness. Master gardeners understand that efficiency in tool management directly correlates to garden productivity and crop quality. Share your pouch setup and favorite tool combinations in the comments to help fellow growers optimize their workflows.
Expert FAQs
What size tool pouch works best for intensive vegetable gardens?
Choose pouches with 8 to 12 pockets measuring 100 to 150 square inches of total storage. This capacity accommodates hand tools, ties, and amendment samples without excess bulk that restricts movement between beds.
How do I prevent soil contamination when carrying amendment samples?
Use separate sealed containers (small glass jars or food-grade plastic) for amendments like kelp meal and lime. Label containers clearly and store in exterior pouch pockets with drainage holes to prevent moisture accumulation.
Should I carry different tools for different garden zones?
Maintain zone-specific pouches for specialized tasks. Tomato pruning requires sharp bypass pruners and twine. Root vegetable harvesting needs a digging fork and hori hori. This approach prevents cross-contamination and maintains tool sharpness.
What material offers the best durability for daily garden use?
Waxed canvas combines water resistance with breathability, lasting 5 to 7 years with proper care. Recycled polyester provides lighter weight and faster drying but typically lasts 3 to 4 years under intensive use.
How often should I clean my garden tool pouch?
Empty and brush out soil debris daily. Wash monthly with mild soap and water, allowing 24 hours drying time. Annual deep cleaning with vinegar solution (1:4 ratio) prevents mold growth and extends pouch lifespan.