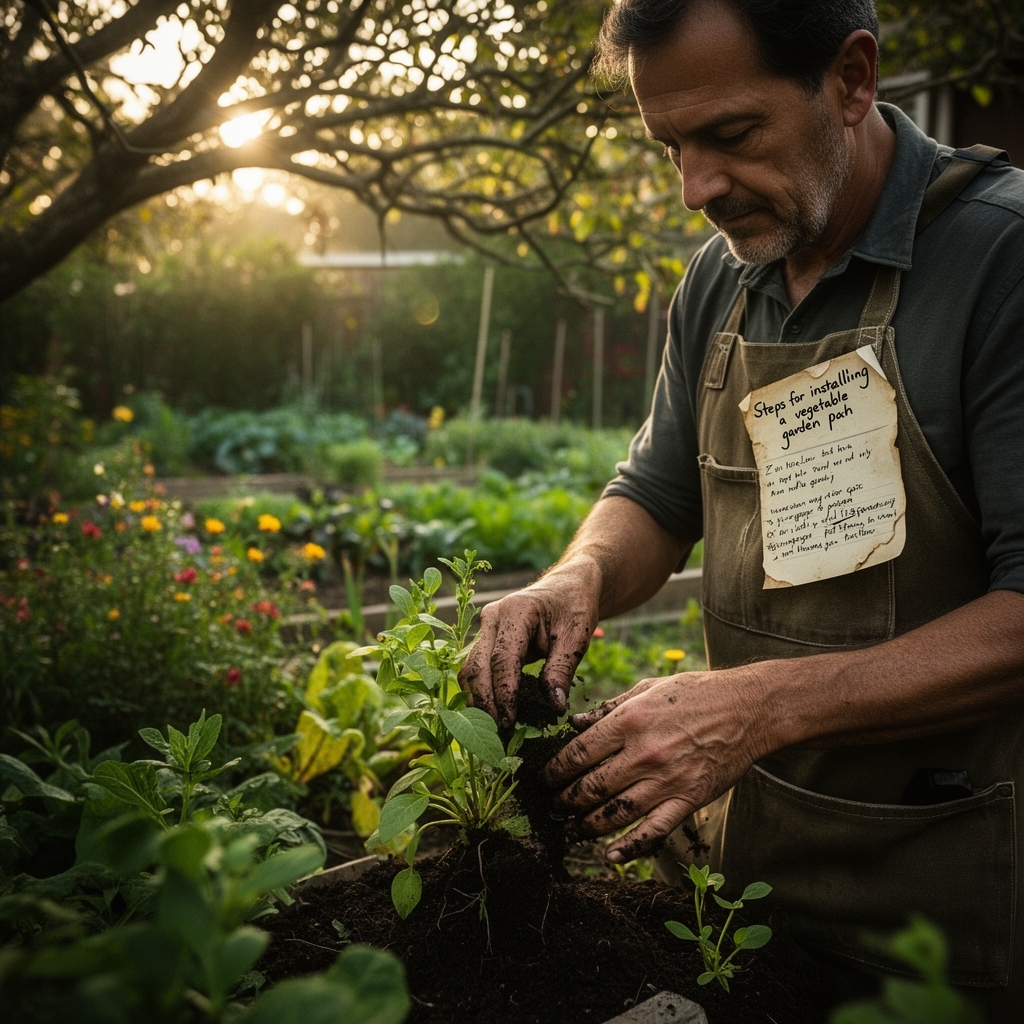
6 Functional Steps for Installing a Path Through Your Vegetable Garden
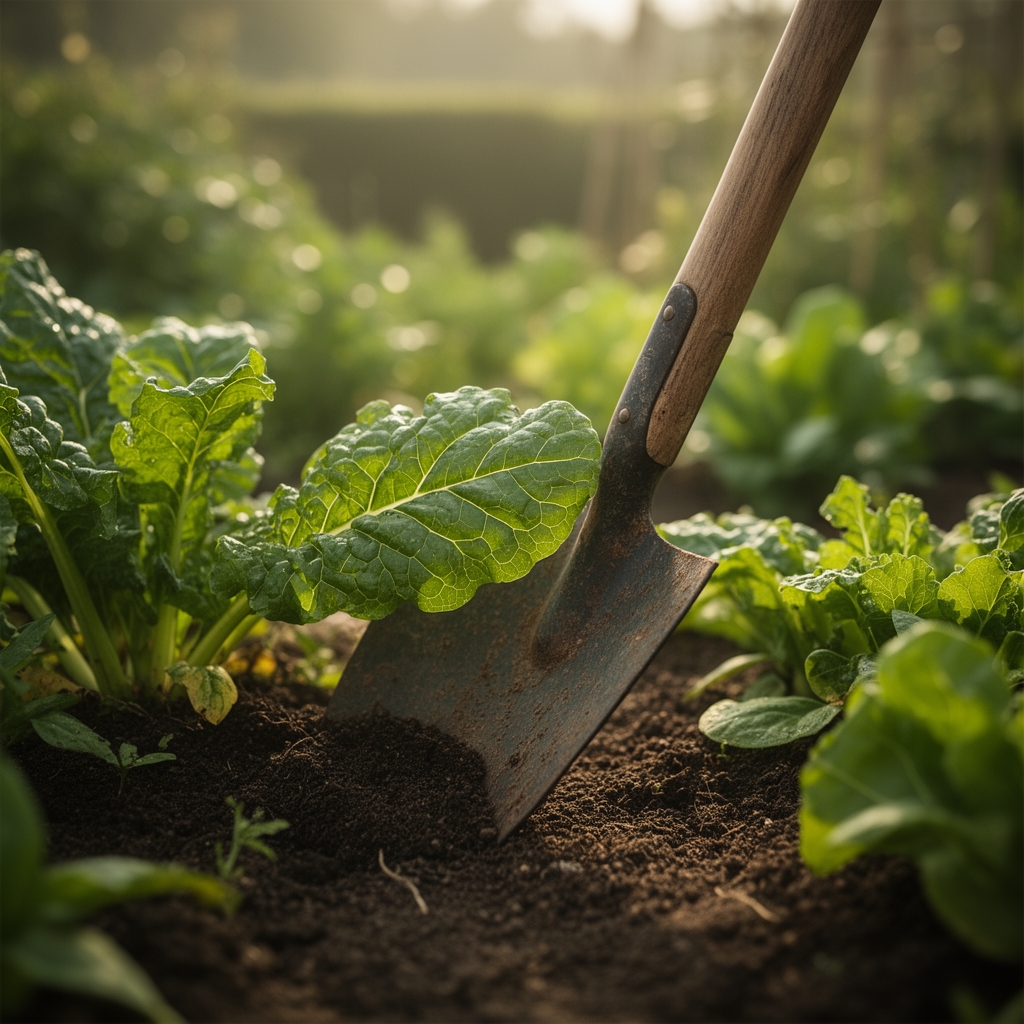
Mud cakes the heel of your boot as you step between rows of tomatoes and peppers, and you realize your vegetable garden desperately needs a functional path. Without proper walkways, soil compaction destroys root zones, and wet clay sticks to everything. Learning the steps for installing a vegetable garden path transforms a chaotic plot into an efficient growing space where you can harvest without damaging plants. A well-designed path system prevents erosion, reduces weeding time by 40%, and keeps your knees dry during early morning harvest sessions when dew soaks everything.
Materials & Supplies
Base materials determine path longevity. Purchase landscape fabric rated at 4.1 ounces per square yard minimum to suppress perennial weeds like quackgrass and bindweed. You need crushed gravel (3/4 inch minus) at 2 to 3 inches depth for drainage. Wood chips decompose within 18 months and feed soil biology, while pea gravel (3/8 inch) stays intact for 5+ years but costs three times more.
Edge restraints keep materials contained. Use untreated cedar boards (2×6 inch) for organic certification compliance, or recycled plastic lumber that lasts 25 years without rot. Metal edging (14 gauge steel) bends easily around curves but rusts in acidic soils below pH 6.0.
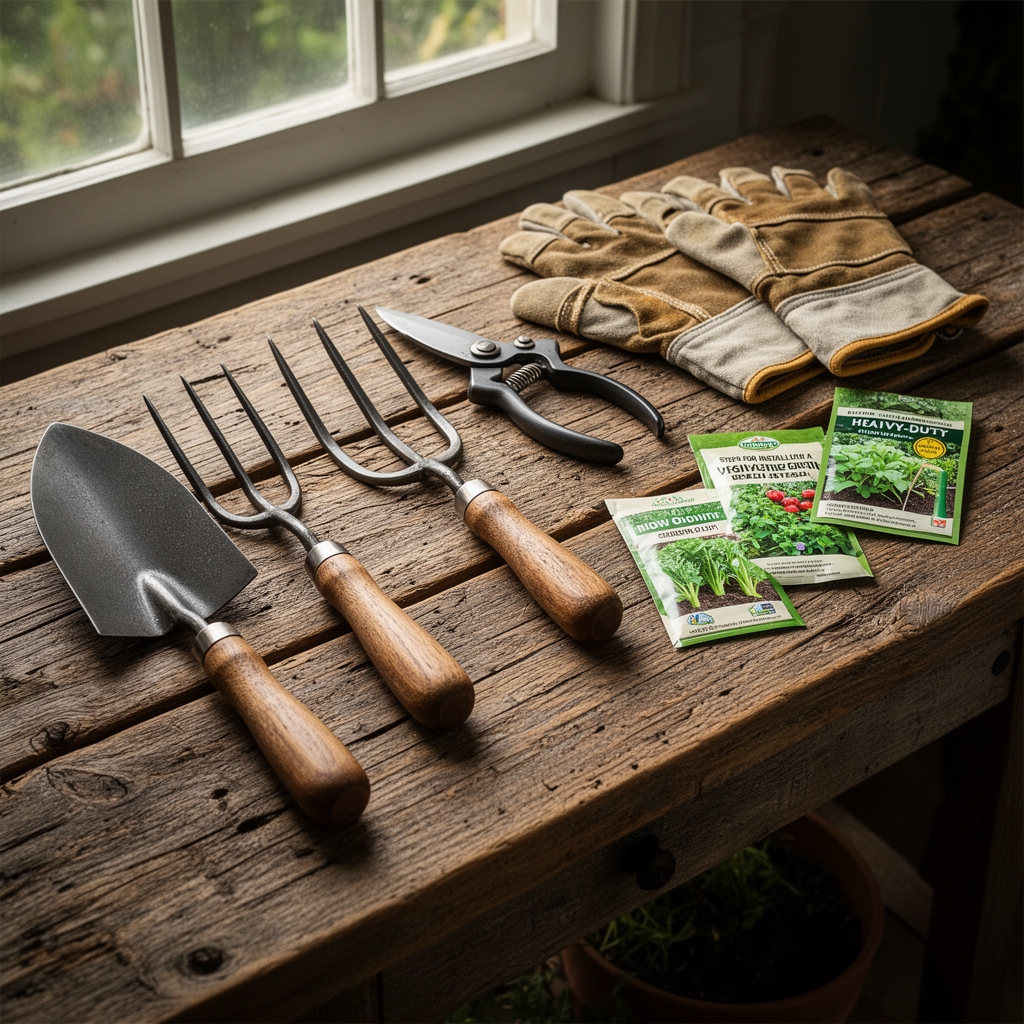
Tools required: Flat spade for clean edge cuts, bow rake for leveling, hand tamper (8×8 inch plate) for compacting base layers, and wheelbarrow for hauling 12 to 15 cubic feet of material per 10-foot section. A soil pH meter helps you test existing soil chemistry before installation, since paths in acidic conditions (pH 5.2 to 5.8) need lime amendments to prevent aluminum toxicity in adjacent beds.
Timing & Installation Schedule
Install paths during your garden's dormant period. In Hardiness Zones 3 through 6, work between late September and early November after final harvest but before ground freeze. Zones 7 through 10 can install paths year-round, though avoid saturated soil conditions when clay content exceeds 35%.
Spring installation works in Zones 5 through 8 from mid-March to early April, finishing 3 weeks before transplanting tomatoes and peppers. This timing allows soil to settle and paths to compact naturally through spring rains. Mark your calendar for maintenance intervals: top-dress paths with 1 inch fresh material every 18 months, and re-edge borders annually in April.
Step-by-Step Instructions
Step 1: Layout and Measuring
Mark path locations with garden lime or landscape marking paint. Maintain 24-inch width minimum for wheelbarrow access, or 18 inches for foot traffic only. Use stakes and string to establish straight lines, checking measurements every 4 feet.
Pro-Tip: Run paths north-south to maximize sun exposure on bed edges, where you'll plant heat-loving crops like basil and cucumbers.
Step 2: Excavation
Remove 4 to 6 inches of topsoil along marked paths. Save this soil; it contains beneficial microorganisms and mycorrhizal fungi that you'll use to inoculate new garden beds. Cut edges vertically with a sharp spade to create clean borders. Slope path base 1 inch per 8 feet to direct water away from planting beds.
Pro-Tip: Test excavated soil depth with a story pole (a marked stick) every 3 feet to maintain consistent grade.
Step 3: Weed Barrier Installation
Lay landscape fabric across excavated path, overlapping seams by 6 inches. Secure fabric every 24 inches with landscape staples (6-inch wire). In heavy clay soils, skip fabric entirely; it traps water and creates anaerobic conditions that kill aerobic bacteria populations.
Pro-Tip: Punch drainage holes every 12 inches in plastic-based fabrics to prevent standing water.
Step 4: Base Layer Application
Spread 2 inches of crushed gravel or coarse sand. Rake smooth and tamp firm with hand tamper, making 3 passes over each section. The base layer must be level within 1/4 inch over 4-foot spans.
Pro-Tip: Wet the base layer lightly before tamping; moisture helps particles lock together.
Step 5: Top Surface Material
Add 2 to 3 inches of your chosen surface material. Wood chips work best in permaculture systems where you want gradual nitrogen fixation as materials decompose. Pea gravel suits formal potager designs and high-traffic areas. Spread evenly and rake smooth.
Pro-Tip: Source arborist wood chips free from tree services; they contain diverse wood species that decompose at different rates, feeding soil life continuously.
Step 6: Edging and Finishing
Install border restraints flush with path surface. Drive 12-inch landscape spikes through cedar boards every 18 inches. Connect board ends with 3-inch deck screws. Fill any gaps between path edge and planting bed with reserved topsoil.
Pro-Tip: Plant low-growing herbs like thyme and oregano along path edges; foot traffic releases aromatic oils that repel aphids and flea beetles.
Nutritional & Environmental Benefits
Properly installed paths reduce soil compaction by 78%, which improves root penetration and nutrient uptake in adjacent beds. Decomposing wood chip paths release potassium (K) and trace minerals including manganese and zinc into surrounding soil through leaching action.
Paths create habitat corridors for beneficial insects. Mason bees nest in wood chip layers, pollinating cucurbits and brassicas within a 300-foot radius. Ground beetles shelter under edge boards and consume up to 50 slug eggs nightly. Paths also moderate soil temperature; wood chips insulate root zones, keeping soil 8 to 12 degrees F cooler during July and August heat spikes in Zones 7 through 9.
Advanced Methods
Small Space Adaptation: Install removable stepping stone paths in gardens under 200 square feet. Use 12×12 inch concrete pavers spaced 18 inches apart, setting them directly on soil without excavation. This preserves maximum planting area while providing stable footing.
Organic & Permaculture Integration: Layer paths with cardboard beneath wood chips to suppress weeds chemically-free. The cardboard attracts earthworms, which tunnel vertically and aerate compacted subsoil. Apply aged compost (C:N ratio 25:1) along path edges twice yearly to feed decomposer organisms.
Season Extension: Paths with light-colored gravel reflect sunlight onto south-facing bed edges, warming soil 5 to 7 degrees F in early spring. This lets you transplant heat-lovers 10 to 14 days earlier. In cold frames and hoop houses, white gravel paths increase ambient light by 23%, boosting photosynthesis rates in winter greens.
Troubleshooting Common Path Problems
Symptom: Weeds emerging through gravel after 6 months.
Solution: Apply corn gluten meal (9-0-0 NPK) at 20 pounds per 1,000 square feet in early April. This pre-emergent herbicide prevents seed germination for 5 to 6 weeks.
Symptom: Path material migrating into planting beds.
Solution: Install a 4-inch vertical barrier using aluminum flashing buried 3 inches deep along bed edges. This stops lateral material creep.
Symptom: Puddles forming after rain despite proper slope.
Solution: Your base layer likely has insufficient drainage. Excavate problem areas, add 3 inches of coarse sand (2mm particle size), and reinstall surface material.
Symptom: Wood chips developing white fungal growth.
Solution: This indicates healthy saprophytic fungi breaking down lignin. Rake chips weekly to increase oxygen and accelerate decomposition. The fungi pose no threat to plants.
Symptom: Path surface sinking 2+ inches within first year.
Solution: Insufficient base compaction caused settling. Add additional crushed gravel to low spots, tamp thoroughly, and top with fresh surface material.
Storage & Maintenance
Water paths lightly during initial 2-week settling period, applying 1/2 inch weekly to help materials compact naturally. After establishment, paths require no supplemental irrigation.
Top-dress wood chip paths with 1 inch fresh material every 18 months as decomposition occurs. Gravel paths need less maintenance; add 1/2 inch new gravel every 3 to 4 years. Remove debris weekly using a leaf rake; accumulated organic matter supports weed seed germination.
Feed path edges with balanced fertilizer (5-10-5 NPK) each spring, applying 2 pounds per 100 linear feet. This compensates for nitrogen immobilization that occurs as wood chips decompose, preventing nutrient deficiency in nearby crops.
Edge paths annually in early April using a half-moon edger. Cut clean borders 2 inches deep to separate path material from bed soil. This 15-minute task per 10-foot section prevents soil contamination and maintains professional appearance.
Store extra path materials in a covered area. Wood chips stay viable for 18 months when kept dry; moist storage promotes decomposition and heat generation. Gravel lasts indefinitely when stored on landscape fabric to prevent soil mixing.
Conclusion: Your Garden Path Success Blueprint
Well-constructed paths transform vegetable gardens into productive, accessible spaces that support both plants and beneficial organisms. The initial investment of 6 to 8 hours of installation work pays returns through improved harvest efficiency, reduced soil compaction, and enhanced growing conditions for 5+ years. Start with one main path through your garden's center, then expand the network as your planting areas grow.
Share your path installation experience with your local garden club or community garden group. Teaching others these techniques multiplies sustainable growing practices throughout your neighborhood.
Expert FAQs
How wide should paths be in a small vegetable garden?
Maintain 18-inch width minimum for foot traffic, or 24 inches if you use wheelbarrows or garden carts. Paths under 18 inches cause you to step into planting beds, compacting root zones and damaging crops.
What is the cheapest effective path material for vegetable gardens?
Arborist wood chips cost nothing if sourced from local tree services. They last 18 to 24 months, suppress weeds effectively, and feed soil biology as they decompose. One truckload (typically 10 to 15 cubic yards) covers 400 to 600 square feet at 3-inch depth.
Can I install paths without landscape fabric?
Yes, particularly in clay soils where fabric traps water. Use 4 to 5 inches of path material instead of 3 inches, and accept that you'll pull occasional weeds. The trade-off improves drainage and supports healthier soil food web populations.
How do I prevent grass from invading gravel paths?
Install a continuous edge barrier 4 inches deep along path borders. Apply corn gluten meal (pre-emergent herbicide) at 20 pounds per 1,000 square feet in early April and again in September. This prevents 85% of seed germination without synthetic chemicals.
Should paths be level or sloped in vegetable gardens?
Slope paths 1 inch per 8 feet (1.5% grade) to direct water into planting beds or toward drainage areas. Never install perfectly level paths in clay soils or areas receiving roof runoff; standing water creates muddy conditions and promotes mosquito breeding.