9 Mixing Steps: Using a Garden Fork for Better Vegetable Soil Prep
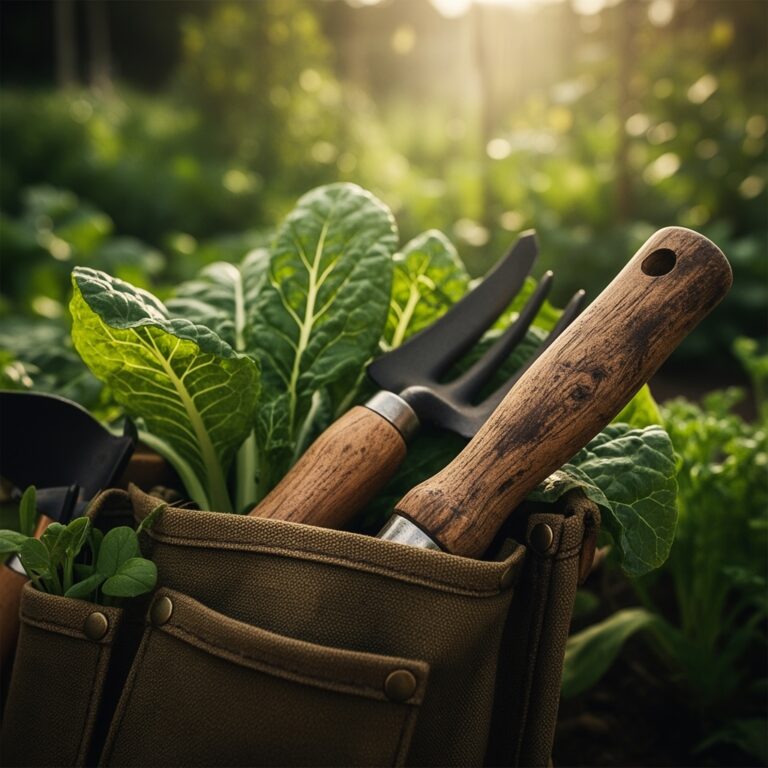
The tines of a cold steel fork sinking into damp spring soil produce a satisfying crunch as compacted earth splits apart, releasing the earthy scent of awakened microbes. That first plunge into winter-hardened ground signals the start of serious vegetable gardening, and using a garden fork for vegetable soil prep transforms dead dirt into a living medium where roots can breathe and nutrients flow freely. Most gardeners reach for a spade or tiller, but a four-tine digging fork accomplishes what mechanical tools cannot: it aerates without destroying soil structure, preserves beneficial earthworm populations, and allows you to feel subsurface rocks and roots before they damage your tools.
Materials & Supplies
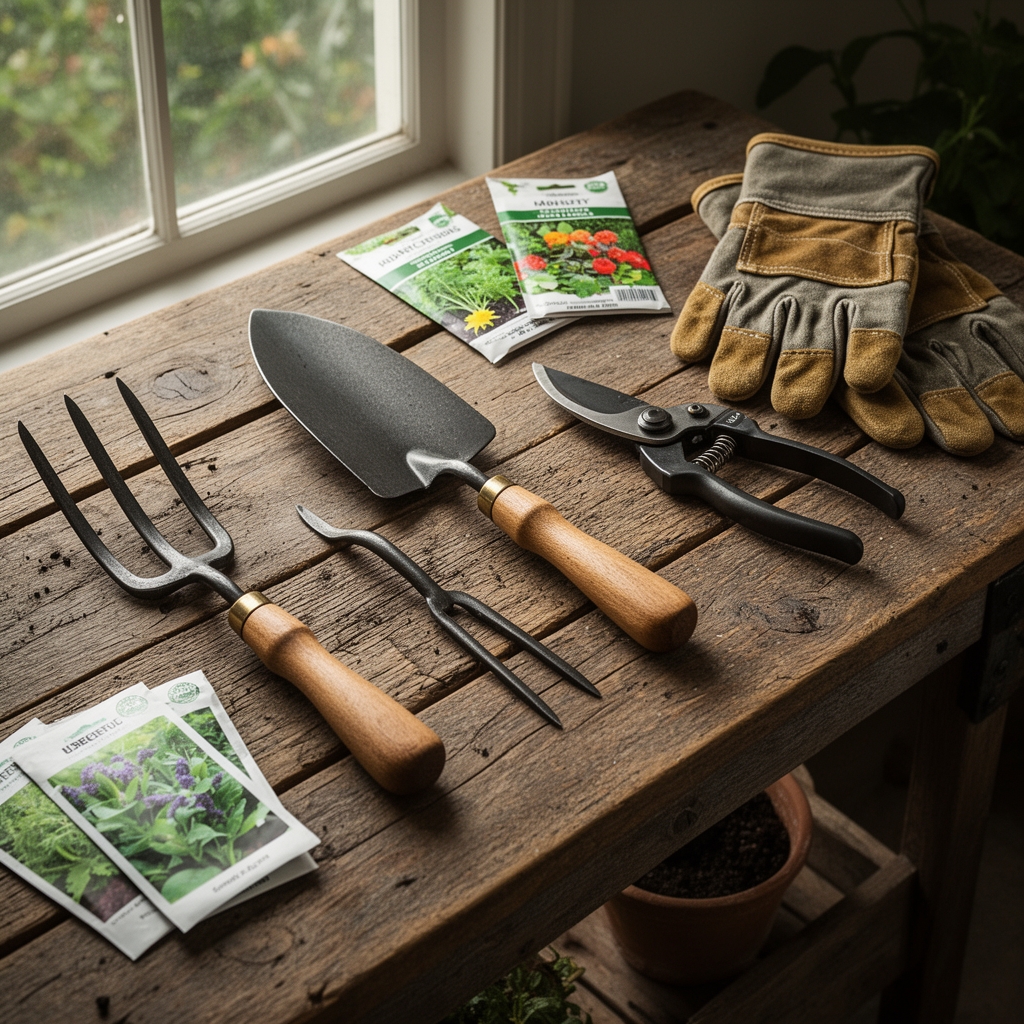
Primary Tools:
- Digging fork with four square or flat tines, 12-inch head width
- Soil pH test kit (target range: 6.0-7.0 for most vegetables)
- Garden spade for edging beds
- Wheelbarrow (6 cubic foot capacity minimum)
- Broadfork for initial deep aeration (optional but recommended)
Amendments & Inputs:
- Aged compost (2-3 inches layer, NPK approximately 1-1-1)
- Well-rotted manure (6 months aged minimum, NPK around 0.5-0.3-0.5)
- Bone meal for phosphorus boost (NPK 3-15-0, apply 5 pounds per 100 square feet)
- Kelp meal for trace minerals (NPK 1-0-2, plus 60+ micronutrients)
- Agricultural lime if pH below 6.0 (dolomitic for magnesium deficiency)
- Sulfur if pH above 7.5 (elemental sulfur, apply 3 months before planting)
Soil Biology Inoculants:
- Mycorrhizal fungi powder (apply at transplant)
- Actively aerated compost tea (24-hour brew cycle)
Timing & Growing Schedule
Soil preparation timing depends entirely on your hardiness zone and target crop families. In zones 3-5, begin fork work when soil reaches 50°F at 4-inch depth, typically mid-April to early May. Zones 6-7 gardeners can start late March, while zones 8-10 have two preparation windows: February for spring crops and August for fall plantings.
Spring Preparation Timeline:
- 6 weeks before last frost: Initial forking and compost incorporation
- 4 weeks before last frost: Second forking with balanced amendments
- 2 weeks before last frost: Final shallow forking and bed shaping
- Last frost date: Transplant warm-season vegetables
Cool-season crops like lettuce, peas, and brassicas tolerate 40-50 days to maturity and go directly into prepared soil 2-4 weeks before last frost. Warm-season crops (tomatoes, peppers, squash) require 60-90 days to maturity and need soil temperatures above 60°F for successful transplanting.
Test soil workability before forking. Squeeze a handful: if it forms a tight ball that doesn't crumble when poked, wait three more days. Working saturated soil creates concrete-like clods that persist all season.
Step-by-Step Instructions

Step 1: Remove Surface Debris
Clear the bed of mulch, dead plant material, and rocks larger than a golf ball. Mark bed edges with a spade, cutting a clean 4-inch deep perimeter. This prevents turf grass from creeping into prepared beds.
Pro-Tip: Leave fine root systems from previous crops in place. As they decompose, they create microscopic channels that improve drainage and air exchange better than any tool.
Step 2: Initial Deep Fork Penetration
Position your fork at a 75-degree angle, not vertical. Drive tines to full depth (10-12 inches) using your boot on the fork step. Rock the handle back gently to create fissures without lifting and flipping soil.
Pro-Tip: Work backwards across the bed so you're never compacting soil you've already loosened. Your footprints should land only on unworked ground.
Step 3: Systematic Grid Pattern
Create a grid with fork insertions every 6 inches across the entire bed. This methodical approach ensures uniform aeration and prevents missed compacted zones where roots will later struggle.
Step 4: Compost Layer Application
Spread 2-3 inches of aged compost across the entire surface. Calculate volume: a 4×8 foot bed needs 8 cubic feet of compost for a 3-inch layer.
Pro-Tip: Apply compost before second forking, not after. This incorporates organic matter at multiple depths rather than creating a layered cake effect that disrupts water movement.
Step 5: Secondary Fork Integration
Repeat the forking process, this time pulling the fork towards you slightly as you rock it. This motion draws surface compost down into the root zone while maintaining soil horizon integrity.
Step 6: Targeted Amendment Distribution
Based on soil test results, broadcast bone meal, kelp meal, or lime. Use a kitchen scale for accuracy. A 100 square foot bed requiring 5 pounds of bone meal needs exactly that, not a "few handfuls."
Pro-Tip: Always apply nitrogen fixation promoting amendments (like inoculant for legumes) in a band 2 inches to the side and 2 inches below where seeds or transplants will sit, never in direct contact.
Step 7: Shallow Surface Fork Pass
Make a final pass with the fork penetrating only 4-6 inches. This mixes the top zone thoroughly without bringing subsoil clods to the surface.
Step 8: Grade and Shape
Use the fork's backside to smooth and level the bed surface. Create a slight crown (2-inch rise in center) for beds wider than 4 feet to improve drainage during heavy rain events.
Pro-Tip: Compress pathways with deliberate foot traffic while keeping prepared bed surfaces untouched. Firm paths reduce mud tracking and clearly define growing zones.
Step 9: Settle and Mulch
Water the prepared bed deeply (2 inches over 6 hours) and let it settle for 48 hours. Apply a 1-inch layer of straw mulch to prevent surface crusting. The bed is now biologically active and structurally ready.
Pro-Tip: Mycorrhizal fungi die in dry soil. If you can't plant within a week of prep, maintain soil moisture at 40-60% field capacity with light daily sprinkling.
Nutritional & Environmental Benefits
Fork-worked soil supports vegetables with 30-40% higher mineral density compared to tilled counterparts. The preserved soil structure maintains aerobic conditions where beneficial bacteria convert organic nitrogen into plant-available nitrates. Vegetables grown in living soil contain elevated levels of iron, magnesium, zinc, and calcium because intact fungal networks transport these minerals from deep subsoil to shallow feeder roots.
Environmental ecosystem services multiply in fork-prepared beds. Preserved earthworm populations (often 400+ per cubic yard in healthy soil) create permanent burrows that channel water deep into the profile, reducing runoff by 60%. Ground-nesting Mason bees prefer the stable, undisturbed margins of fork-worked gardens for their spring brood chambers. These native pollinators visit 1,000+ blossoms daily, tripling fruit set on cucurbits and solanaceous crops.
The carbon sequestration benefits are measurable. Mechanical tilling oxidizes soil organic matter, releasing stored carbon. Fork work preserves aggregates where carbon remains locked in humic compounds, storing approximately 0.5 tons of CO2-equivalent per 1,000 square feet annually.
Advanced Methods
Small Space Intensive:
In raised beds under 3×6 feet, substitute a border fork (narrower head, shorter handle) for standard digging forks. Work from outside edges toward center in a spiral pattern. Layer compost, peat moss, and perlite in a 5:3:2 ratio for container-like drainage in confined spaces. This modified mix supports crops planted at double-density spacing (lettuce at 4-inch centers instead of 8-inch).
Organic & Permaculture Integration:
Combine fork preparation with sheet mulching by laying cardboard over turned soil, then 6 inches of wood chips. Fork through this sandwich every 4 weeks for 12 weeks. The decomposing carbon feeds fungal networks while suppressing weeds. Plant directly through holes cut in cardboard once material softens. This nitrogen fixation occurs naturally as fungi break down lignin-rich wood chips, eliminating synthetic fertilizer needs.
Integrate nitrogen-fixing cover crops (crimson clover, hairy vetch) in fall. Fork them under in early spring when plants reach 8-12 inches. Wait 3 weeks before planting vegetables to prevent nitrogen tie-up during decomposition.
Season Extension Techniques:
Prepare beds under low tunnels in late winter when ground remains frozen. The greenhouse effect thaws soil 4-6 weeks early, allowing fork work in March for zone 5 gardens. Fork-aerated soil warms 8-10°F faster than compacted earth because air pockets act as insulation and heat conductors simultaneously.
For fall gardens, fork-refresh beds in mid-July by working in aged compost to the top 6 inches only. This shallow refresh renews mycorrhizal fungi populations exhausted by summer crops without disturbing deeper soil structure.
Troubleshooting
Symptom: Fork tines won't penetrate beyond 6 inches; solid resistance encountered.
Solution: You've hit hardpan, a concrete-like layer from years of tilling to identical depth. Use a broadfork or digging bar to fracture this layer before standard fork work. Apply gypsum (calcium sulfate) at 10 pounds per 100 square feet to chemically break clay bonds over 6 months.
Symptom: Soil clumps refuse to break apart even after multiple fork passes.
Solution: Clay content exceeds 40% and requires structural amendments. Incorporate coarse sand (not beach sand; use concrete sand) at 1 inch layer plus 3 inches compost. Fork this mixture thoroughly. Results appear after one full season as organic matter coats clay particles.
Symptom: Prepared beds develop surface crust within days of forking.
Solution: Organic matter content below 3% causes crusting. Send a soil sample to your extension office for organic matter analysis. Target 5-7% through annual 2-inch compost additions. Immediate fix: maintain permanent 2-inch straw mulch layer.
Symptom: Plants show nitrogen deficiency (yellowing lower leaves) despite soil prep.
Solution: Carbon-rich amendments are immobilizing nitrogen during decomposition. Fresh wood chips, sawdust, or incompletely composted material steal nitrogen as microbes break down high-carbon materials. Side-dress with blood meal (12-0-0) at 1 pound per 100 square feet or apply fish emulsion weekly at label rates until plants green up.
Symptom: Fork work seems to improve soil temporarily, but beds re-compact by mid-season.
Solution: Foot traffic on growing beds destroys structure. Install permanent 12-inch wide pathways and never step on prepared soil. Use a kneeling board (2×6 plank) that distributes your weight when planting or harvesting. Compaction from a single footstep requires an entire season to heal naturally.
Storage & Maintenance
Maintain prepared beds with consistent moisture: 1 inch of water per week from rain or irrigation combined. Install a rain gauge to track natural precipitation accurately. Water deeply twice weekly rather than daily shallow sprinkling, which encourages surface roots vulnerable to drought stress.
Feeding Schedule:
Side-dress heavy feeders (tomatoes, brassicas, squash) every 3 weeks with compost tea or balanced organic fertilizer (5-5-5 NPK). Apply in a 6-inch band around plants, keeping material 4 inches from stems. Light feeders (beans, root crops) require only the initial soil prep nutrients.
Mid-Season Refresh:
After harvesting spring crops, fork the top 4 inches lightly and incorporate 1 inch of fresh compost before replanting with succession crops. This shallow cultivation avoids disturbing deeper beneficial organism populations while renewing the nutrient-rich surface layer.
Tool Maintenance:
Clean your fork after each use by scraping soil from tines, then plunging into a bucket of sand mixed with mineral oil. This removes rust-causing moisture while coating metal. Sharpen tine tips annually with a mill file, maintaining the original bevel angle. A sharp fork penetrates with 40% less effort than a dull one.
Post-Harvest Protocol:
After final fall harvest, fork in a 1-inch layer of aged manure or compost. Plant a cover crop (winter rye, Austrian field peas) immediately. The cover crop roots work synergistically with fall forking, creating channels that survive winter freezing. In spring, this pre-worked soil requires only shallow forking before planting.
Store harvested vegetables in conditions that preserve the mineral nutrition you've worked to build. Root crops hold best at 32-40°F with 90-95% humidity. Tomatoes lose flavor below 55°F (never refrigerate). Squash and alliums prefer 50-60°F with low humidity (50-70%).
Conclusion
Using a garden fork for vegetable soil prep creates the foundation for plants that resist disease, outproduce their tilled counterparts, and deliver nutrient-dense harvests. These nine systematic steps transform compacted earth into living soil where roots explore freely and beneficial organisms thrive. The investment of proper fork work in spring pays dividends throughout the growing season in the form of vigorous plants, reduced water needs, and vegetables that actually taste like something.
Share your soil preparation experiences and regional timing adjustments in gardening forums specific to your hardiness zone. Local knowledge about when soil becomes workable in your microclimate helps new gardeners avoid costly mistakes that set back planting schedules by weeks.
Expert FAQs
Q: Can I use a garden fork for soil prep in heavy clay soil or does it require a tiller?
A: Forks work excellently in clay once you understand the technique. Wait until soil reaches proper moisture (forms a ball but crumbles easily), then fork when ground has partially dried after rain. The rocking motion fractures clay along natural planes without creating smeared, compacted surfaces that tillers produce. Add gypsum and compost annually to improve clay workability permanently.
Q: How deep should I insert the fork tines when preparing vegetable beds?
A: Drive tines to their full depth (typically 10-12 inches) during initial spring preparation. Most vegetable roots concentrate in the top 18 inches, so fork work aerating the upper 12 inches creates ideal conditions. For mid-season refreshes between crops, penetrate only 4-6 inches to avoid disturbing established beneficial organism populations deeper in the profile.
Q: What's the difference between a garden fork and a broadfork for soil preparation?
A: A standard garden fork has four tines on a 30-inch handle for general digging and turning. A broadfork features 5-7 tines on a 60-inch wide head with two handles, designed specifically for aerating large beds without turning soil. Use a broadfork for initial deep loosening, then follow with a standard fork for amendment incorporation and surface refinement.
Q: Should I fork compost into soil or leave it on the surface as mulch?
A: Incorporate 70% of compost into the top 8 inches through forking, then leave 30% as surface mulch. Worked-in compost feeds soil biology throughout the root zone and improves structure at multiple depths. The surface layer protects against erosion, moderates temperature, and provides slow-release nutrients as rain washes soluble compounds downward gradually.
Q: How long after forking can I plant vegetables in prepared beds?
A: Wait 48-72 hours after final forking and watering for soil to settle naturally. This settling period prevents air pockets around transplant roots and allows disturbed mycorrhizal fungi networks to begin reestablishing. For heavy amendment applications (lime, sulfur, bone meal), extend waiting time to 2 weeks so materials can begin reacting with soil chemistry before roots encounter them.