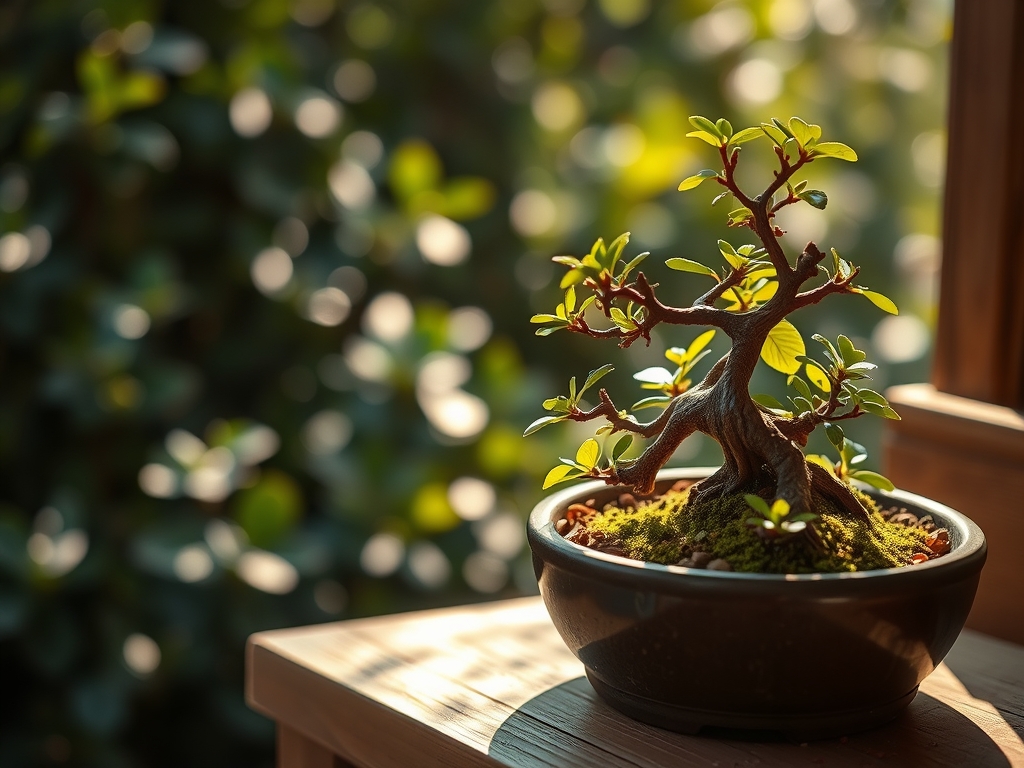
9 Training Steps to Prepare an Indoor Bonsai Plant Shelf
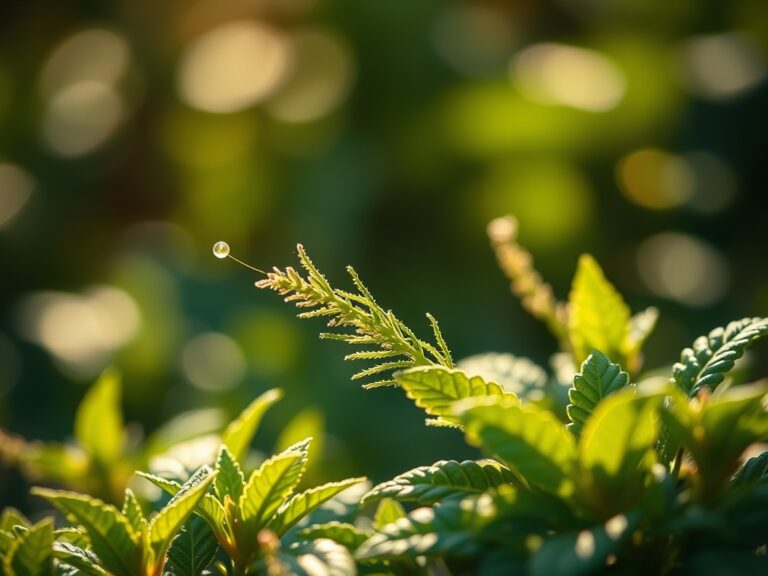
Success in indoor arboriculture begins with the scent of damp akadama and the tactile snap of a leaf with high turgor pressure. When you understand how to prepare a plant shelf for bonsai, you are not merely organizing furniture; you are engineering a microclimate. A shelf must sustain a controlled rhizosphere while managing the intense light requirements of species like Ficus retusa or Juniperus procumbens. Most indoor environments suffer from stagnant air and low humidity, which triggers rapid transpiration and leaf scorch. You must calibrate the shelf to maintain a consistent 70 to 80 percent humidity level while ensuring the structural integrity can support heavy ceramic pots and saturated substrate. Precision in the early setup prevents the physiological stress that leads to premature needle drop or vascular collapse. Every centimeter of shelf space must be optimized for light penetration and airflow to ensure the tree maintains its compact internodal spacing and vigorous health throughout the winter months.
Materials:
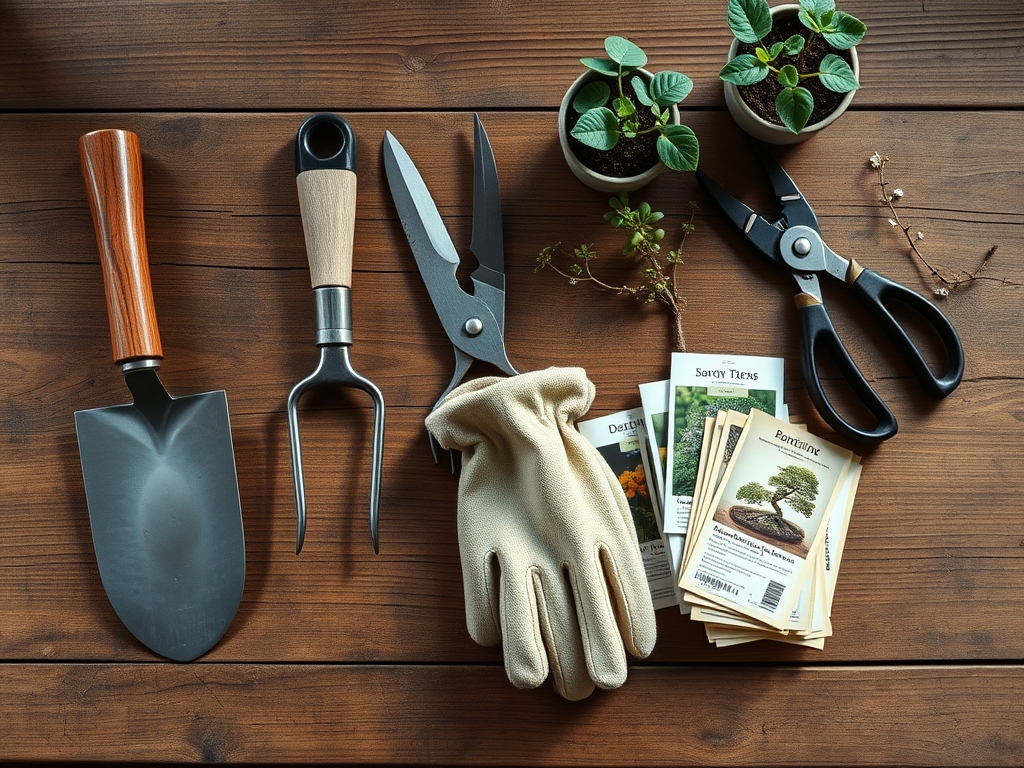
The foundation of any bonsai shelf is the substrate. For most temperate and tropical species, you require a friable loam or a gritty mix with a **pH between 5.5 and 6.5**. This acidity level ensures optimal nutrient availability. The Cation Exchange Capacity (CEC) of your soil determines how well it retains essential ions. Use a mix of **2 parts akadama, 1 part pumice, and 1 part lava rock** to achieve high aeration.
Nutrient management requires specific NPK ratios depending on the growth stage. During the spring flush, utilize a 10-10-10 balanced fertilizer to support overall cellular development. For woody development and root strength in the autumn, transition to a 0-10-10 ratio. The shelf itself should be constructed from powder-coated steel or sealed cedar to resist the constant moisture and prevent fungal colonization. Ensure each tier has a waterproof catchment tray filled with expanded clay pebbles to elevate humidity without drowning the root systems.
Timing:
Indoor bonsai do not follow the external frost-date windows of Hardiness Zones 4 through 8, but they remain sensitive to the biological clock dictated by the photoperiod. Even indoors, plants sense the reduction in daylight hours. You must initiate your shelf preparation in late summer to ensure the transition from the vegetative stage to the dormant or slow-growth stage is seamless.
Tropical species require a consistent temperature above 65 degrees Fahrenheit. If your shelf is near a window in Zone 5, the ambient temperature at the glass can drop significantly below the room average. Use a digital hygrometer to monitor these fluctuations. The transition from vegetative to reproductive stages is often suppressed in bonsai to maintain foliage density, so your timing must focus on the "Spring Push" where nitrogen demand is highest, and the "Autumn Hardening" where potassium is vital for cell wall thickening.
Phases:

Sowing and Seedling Development
Starting bonsai from seed requires a sterile, fine-grained medium. Maintain a constant bottom heat of 75 degrees Fahrenheit using a germination mat. Use a 20-20-20 water-soluble fertilizer at quarter strength once the first set of true leaves appears.
Pro-Tip: Monitor for phototropism. Seedlings will lean toward the light source as auxins concentrate on the shaded side of the stem, causing cell elongation. Rotate your trays 90 degrees every 24 hours to ensure a vertical, sturdy trunk base.
Transplanting and Root Training
When the seedling develops a lignified stem, move it to a training pot. Use a hori-hori knife to tease out the roots, removing the downward-growing taproot to encourage a radial root system (nebari). This increases the surface area for nutrient uptake in the rhizosphere.
Pro-Tip: Inoculate the new substrate with mycorrhizal fungi. This symbiotic relationship expands the root's reach, allowing the fungi to exchange phosphorus for plant sugars, which significantly increases the tree's drought resistance.
Establishing the Shelf Environment
Once the trees are potted, arrange them on the shelf based on light intensity requirements. Deciduous trees like Japanese Maples require dappled light, while conifers need high-intensity discharge (HID) or full-spectrum LED lighting for 12 to 14 hours per day.
Pro-Tip: Use a small oscillating fan to create "mechanical stress." This mimics wind, which triggers the plant to produce more lignin and ethylene, resulting in a thicker, more tapered trunk over time.
The Clinic:
Physiological disorders often manifest through foliage discoloration. You must diagnose these based on the location and type of chlorosis.
- Nitrogen Deficiency: Symptom: Older leaves turn pale yellow while new growth remains green. Solution: Apply a high-nitrogen organic liquid fertilizer. Fix-It: Ensure the soil pH is not above 7.0, as this locks out nitrogen.
- Iron Chlorosis: Symptom: Interveinal yellowing on new leaves; veins remain dark green. Solution: Apply chelated iron foliar spray. Fix-It: Lower the soil pH using elemental sulfur or acidic water.
- Edema: Symptom: Small, corky bumps on the underside of leaves. Solution: Reduce watering frequency and increase airflow. Fix-It: This is caused by high turgor pressure when roots take up more water than the leaves can transpire.
- Spider Mite Infestation: Symptom: Fine webbing and stippling on leaves. Solution: Increase local humidity and use a forceful water spray. Fix-It: Maintain a consistent misting schedule to disrupt the dry conditions mites prefer.
Maintenance:
Precision maintenance is the difference between a stunted tree and a masterpiece. Use a soil moisture meter daily; do not water on a set schedule. Most bonsai require watering when the top 0.5 inches of soil feels dry. When you water, apply enough so that it drains freely from the bottom holes, flushing out accumulated salts.
Pruning requires sharp bypass pruners to ensure clean cuts that heal without scarring. For structural changes, use aluminum or copper wire, ensuring it does not bite into the bark as the branch thickens. Check the wire every 15 days. If the wire becomes tight, remove it immediately to prevent permanent vascular damage. Clean your tools with isopropyl alcohol between every tree to prevent the cross-contamination of pathogens.
The Yield:
While bonsai are rarely grown for edible harvest, the "yield" is measured in the refinement of the canopy and the development of the trunk. For flowering species like Satsuki Azaleas, deadheading is essential. Remove the spent blooms along with the ovule to prevent the plant from diverting energy into seed production. This preserves the plant's carbohydrate reserves for next year's bud set. Handle the delicate branches with care post-pruning; apply a wound sealant to any cut larger than 3 millimeters to prevent desiccation of the cambium layer.
FAQ:
How often should I water bonsai on a shelf?
Water only when the top half-inch of substrate is dry. Use a soil moisture meter to verify. Most indoor shelves require watering every 1 to 3 days depending on the ambient humidity and pot size.
What is the best light for an indoor bonsai shelf?
Use full-spectrum LED grow lights positioned 6 to 12 inches above the canopy. Aim for a photoperiod of 12 to 16 hours to simulate peak growing season conditions and maintain high photosynthetic rates.
How do I prevent my bonsai from leaning toward the window?
Rotate the pots 90 degrees every week. This counteracts phototropism, ensuring that auxins are distributed evenly across the trunk, which prevents lopsided growth and encourages a symmetrical, healthy canopy.
Why are the tips of my bonsai leaves turning brown?
This usually indicates low humidity or salt buildup. Increase humidity to above 50 percent and flush the soil with distilled water to leach out excess minerals from fertilizers or hard tap water.