9 Drainage Steps for Repotting an Aloe Vera for Root Health
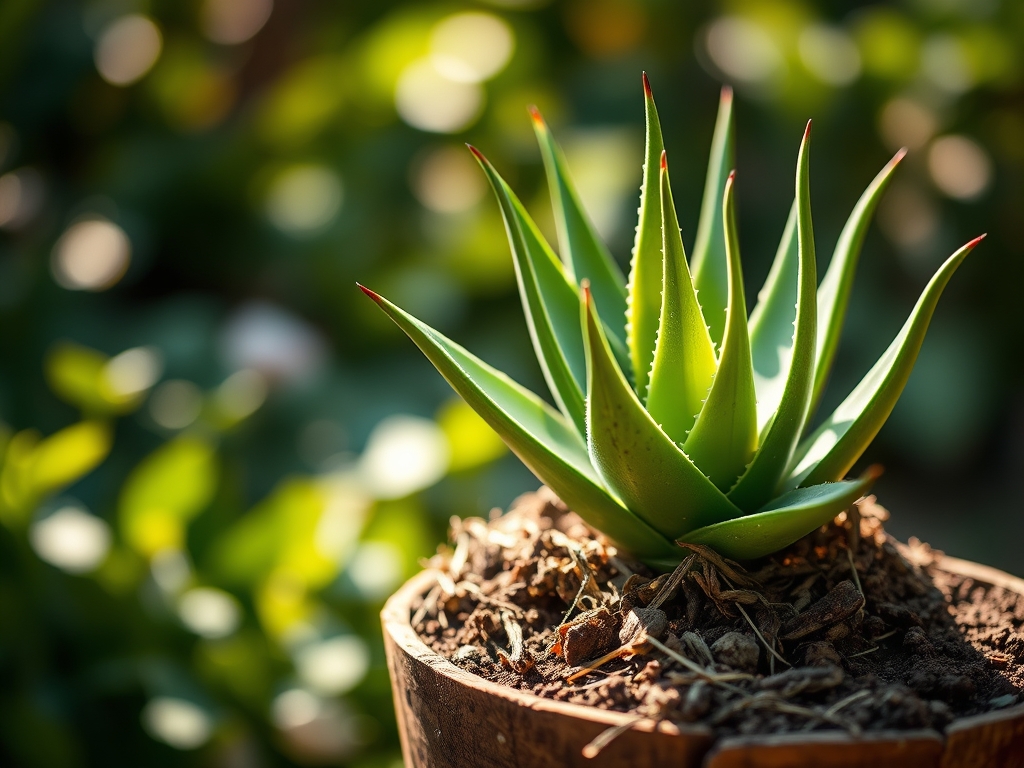
Crush a healthy Aloe barbadensis leaf and you will feel the immediate resistance of high turgor pressure; the mucilaginous gel within should be clear and odorless. If the root zone smells of sulfur or anaerobic decay, the rhizosphere has failed. Maintaining this cellular integrity requires precise drainage. Mastering the steps for repotting an aloe vera ensures the plant avoids the cellular collapse associated with over-saturation. Succulents operate on a CAM (Crassulacean Acid Metabolism) cycle; they require a substrate that breathes as much as it anchors. A successful transplant relies on the transition from a cramped, salt-encrusted pot to a porous environment where oxygen can reach the root hairs. This process is not merely a change of scenery; it is a critical intervention to reset the Cation Exchange Capacity (CEC) of the soil and prevent the onset of fungal pathogens that thrive in stagnant water.
Materials:
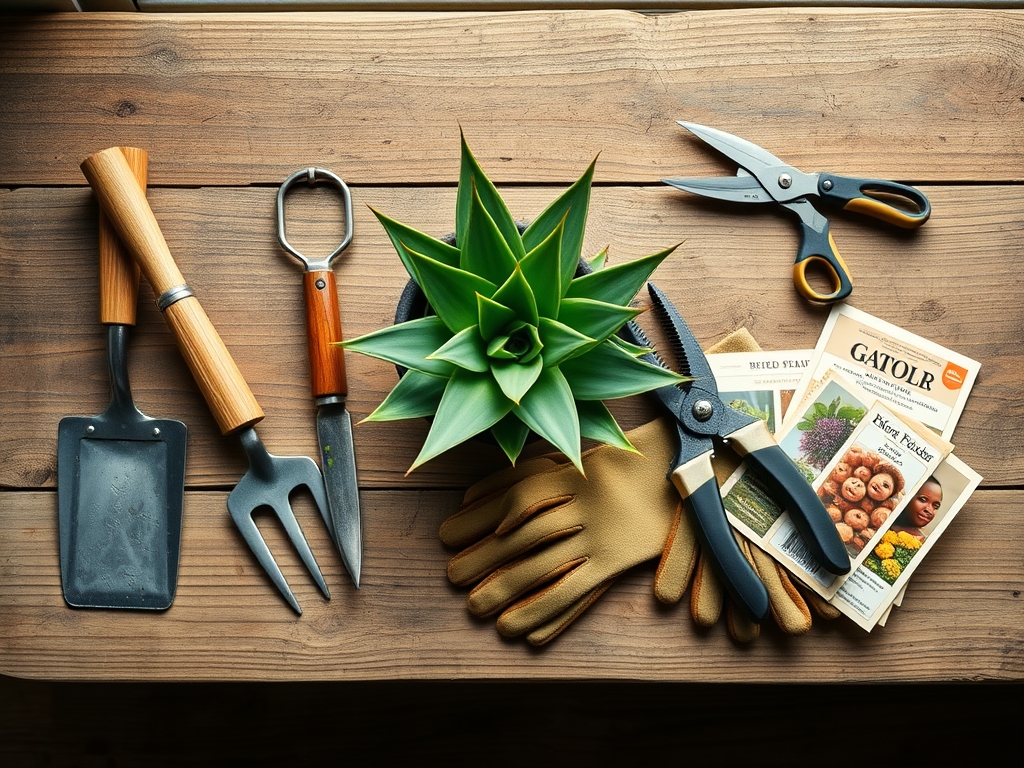
The substrate is the most critical component of drainage. You require a medium with a **pH between 6.0 and 8.5**. The ideal mix is a friable loam consisting of **40% coarse perlite or pumice, 30% sandy loam, and 30% composted organic matter**. Avoid peat moss; it becomes hydrophobic when dry and retains too much moisture when wet.
For nutrition, integrate a low-nitrogen fertilizer with an NPK ratio of 10-40-10 or 15-30-15. High phosphorus levels encourage robust root development without triggering leggy, weak vegetative growth. The pot must be unglazed terracotta to allow for lateral evaporation through the porous walls. Ensure the container has at least one drainage hole with a minimum diameter of 0.5 inches.
Timing:
Aloe vera thrives in Hardiness Zones 9 through 11. In these regions, the biological clock dictates that repotting should occur in late winter or early spring, specifically between February and April. This window aligns with the end of the plant's semi-dormant state and the beginning of its active vegetative stage.
Attempting these steps for repotting an aloe vera during the high heat of mid-summer can induce transplant shock due to excessive transpiration rates. Conversely, repotting too close to the first frost date in colder zones (if kept in a three-season room) prevents the roots from establishing before the metabolic rate slows. Monitor the photoperiod; when daylight exceeds 11 hours, the plant's hormonal balance shifts toward root elongation, making it the optimal time for disturbance.
Phases:
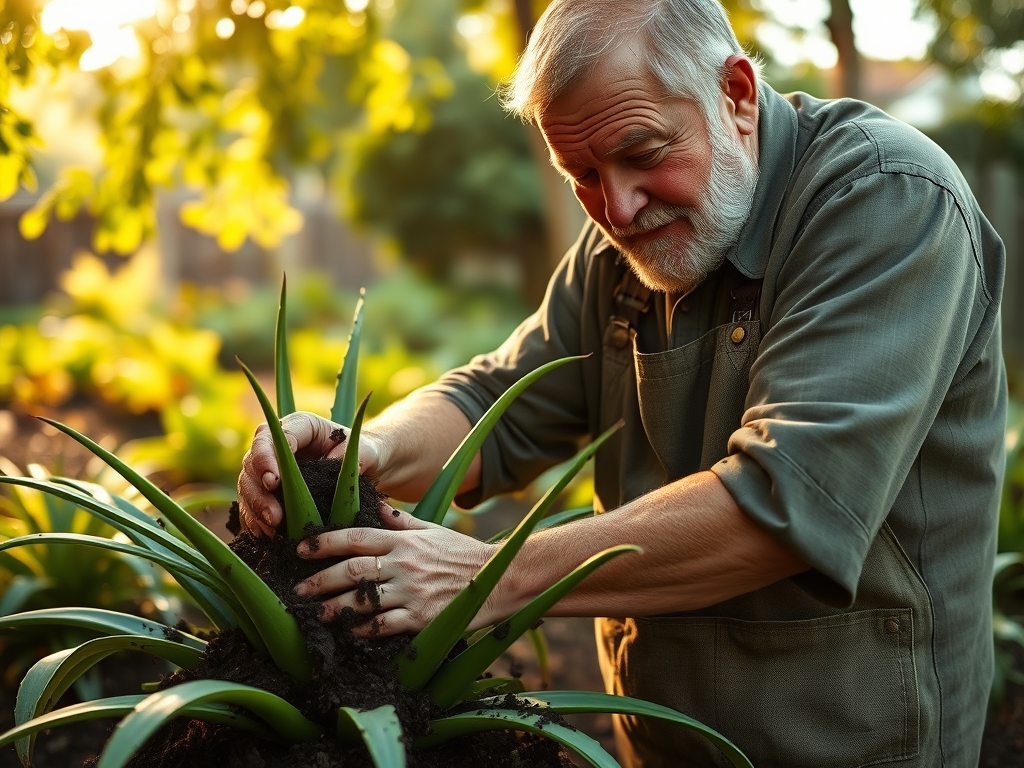
Sowing and Extraction
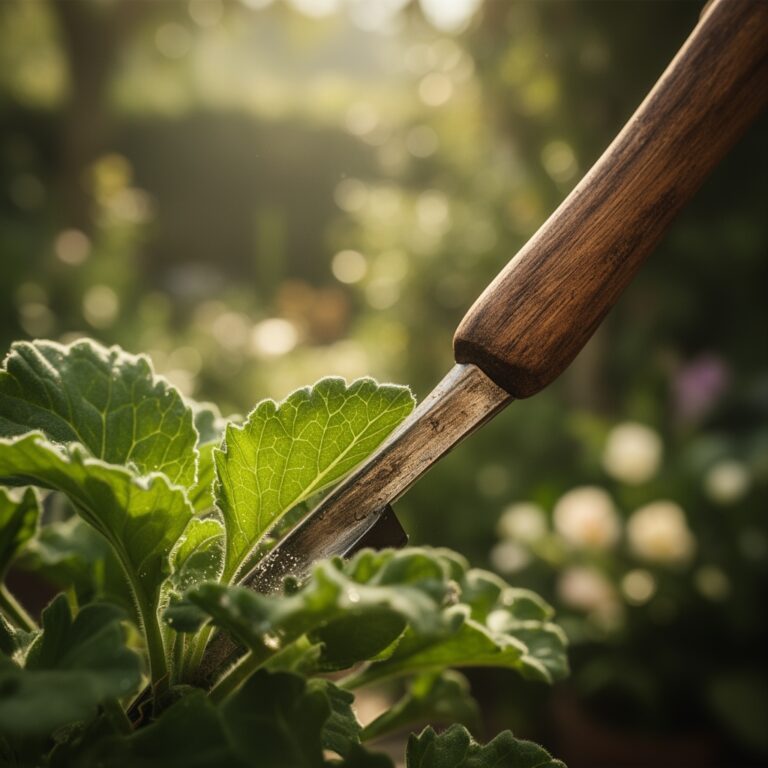
Begin by withholding water for 7 to 10 days prior to the procedure. Dry soil is less heavy and less likely to cling to the root architecture, reducing the risk of mechanical damage. Use a hori-hori knife to trace the inner circumference of the pot, severing any roots that have adhered to the clay. Gently invert the plant, supporting the base of the rosette with your palm.
Pro-Tip: Minimizing root disturbance preserves the existing mycorrhizal symbiosis. These fungal networks extend the reach of the root system; preserving them ensures the plant can continue absorbing phosphorus and micronutrients immediately after the move.
Transplanting and Root Pruning
Once the plant is removed, examine the root ball. Healthy roots are tan or white and firm to the touch. Use sterilized bypass pruners to remove any black, slimy, or shriveled roots. If the plant is root-bound, make three to four shallow vertical incisions in the root mass to break the "circling" habit. This encourages lateral branching into the new substrate.
Pro-Tip: Pruning dead tissue triggers the release of auxins at the cut site. This hormonal response stimulates new cellular division, allowing the plant to colonize the new soil volume more aggressively.
Establishing the New Environment
Place a small piece of mesh over the drainage hole to prevent substrate loss. Fill the bottom third of the pot with your prepared mix. Position the aloe so the "crown" (where the leaves meet the roots) sits 1 inch below the rim but remains above the soil line. Backfill the perimeter, tamping the soil lightly with your fingers to eliminate large air pockets without compacting the loam.
Pro-Tip: Keeping the crown above the soil line prevents moisture from collecting in the leaf axils. This avoids "crown rot," a condition where stagnant water facilitates the entry of soft-rot bacteria into the plant's vascular system.
The Clinic:
Physiological disorders in aloe are usually a direct result of improper drainage or mineral imbalances.
Symptom: Soft, translucent leaves (Edema)
- Solution: This is caused by high turgor pressure where cells rupture from over-hydration. Reduce watering frequency and increase the inorganic fraction (perlite) in your soil mix.
Symptom: Reddish-brown leaf tint (Photo-inhibition/Stress)
- Solution: While often caused by sudden sun exposure, it can also indicate a lack of magnesium. Apply a solution of 1 tablespoon of Epsom salts per gallon of water to restore chlorophyll production.
Symptom: Tip burn or yellowing (Nitrogen Chlorosis)
- Solution: If the older leaves turn yellow while the center remains green, the plant is scavenging nitrogen. Apply a balanced liquid fertilizer at half-strength during the next watering cycle.
Fix-It: Salt Accumulation
If you see white crusting on the pot or soil surface, the CEC is saturated with minerals from tap water. Flush the pot with distilled water equal to three times the volume of the container to leach excess salts.
Maintenance:
Post-repotting care requires a "wait and see" approach. Do not water the plant for the first 5 to 7 days. This allows any micro-tears in the roots to callous over, preventing soil-borne pathogens from entering the plant's system.
Once established, use a soil moisture meter to verify that the substrate is dry to a depth of 3 inches before adding water. When you do water, apply it at the drip line rather than into the center of the rosette. Aim for a saturation that results in roughly 10% runoff from the drainage hole. This ensures the entire root zone is hydrated and flushes out metabolic wastes. In a standard indoor environment, this typically equates to 1.5 inches of water every 14 to 21 days, depending on humidity levels.
The Yield:
Harvesting aloe leaves for use should be done with a sharp, sterile blade. Select the outermost, lowest leaves first, as these are the most mature and closest to natural senescence. Cut as close to the main stem as possible.
To maintain "day-one" freshness, stand the harvested leaf upright in a container for 15 minutes to allow the yellow aloin sap to drain out. After draining, wrap the leaf in a damp paper towel and refrigerate. The gel will remain biologically active and firm for up to two weeks when stored at temperatures between 35 and 40 degrees Fahrenheit.
FAQ:
How do I know if my aloe needs a bigger pot?
Check the drainage hole for protruding roots or observe if the plant becomes "top-heavy" and tips over. If water runs straight through without soaking in, the plant is likely root-bound and requires a larger vessel.
Can I use regular potting soil for aloe vera?
Standard potting soil retains too much moisture for succulents. If you must use it, amend it with 50% coarse sand or perlite to increase aeration and ensure the drainage rate meets the requirements for root health.
What is the best pot material for drainage?
Unglazed terracotta is superior to plastic or ceramic. Its porous nature allows for "breathability," enabling moisture to evaporate through the sides of the pot, which prevents the soil from remaining anaerobic for extended periods.
Why are my aloe leaves drooping after repotting?
This is typically a sign of transplant shock or temporary loss of turgor pressure. Ensure the plant is in indirect light and avoid watering for one week. The leaves should firm up once the roots begin seeking moisture.