9 Critical Steps to Thin Carrot Seedlings
Damp earth releases a sharp, metallic scent as the morning sun hits the garden bed. Beneath the surface, the turgor pressure within a carrot seedling determines its ability to pierce the soil crust. When these seeds germinate in a crowded row, they compete for limited phosphorus and nitrogen, leading to stunted, twisted roots. Mastery of the steps to thin carrot seedlings ensures each plant has the volumetric space required for taproot expansion. You must intervene before the secondary leaves overlap and the root systems become inextricably tangled. Failure to thin results in a compressed rhizosphere where nutrient uptake is throttled by competition.
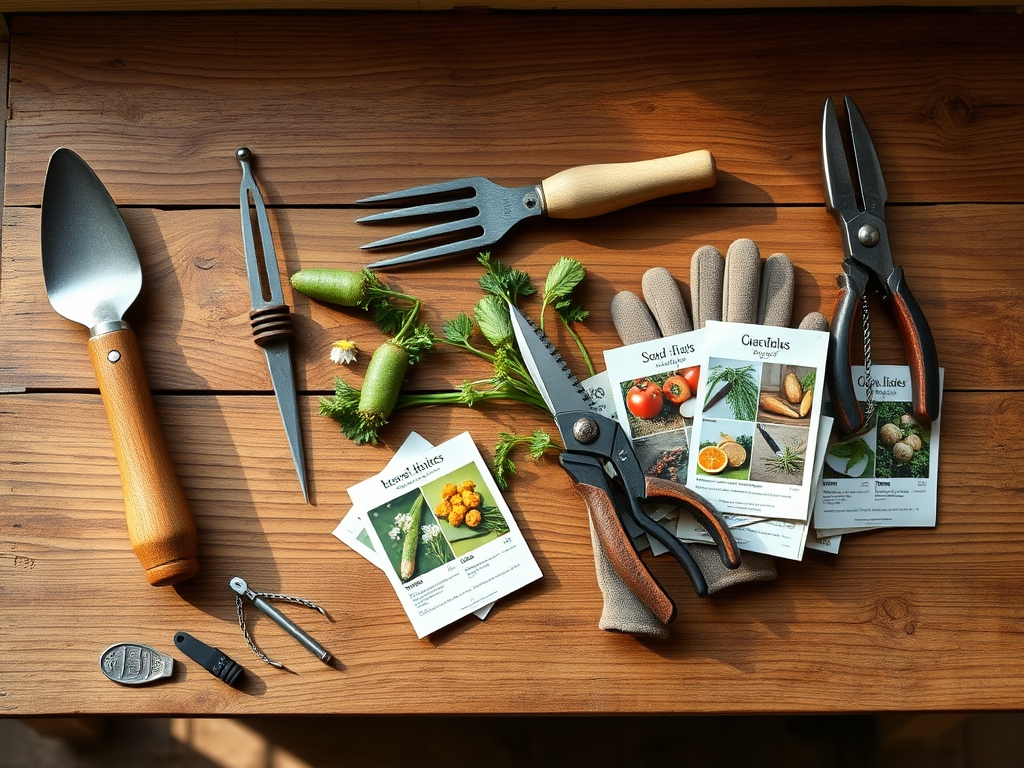
Materials:
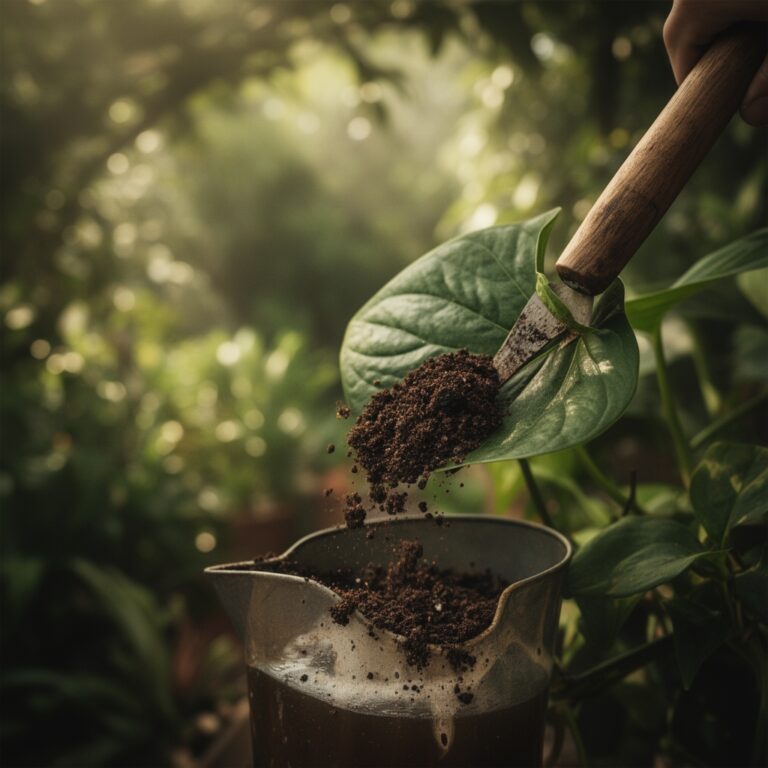
Carrots require a friable loam with a high sand content to allow for unobstructed downward growth. The ideal soil pH ranges from **6.0 to 6.8**. In soils with a high Cation Exchange Capacity (CEC), nutrients are held more effectively, but heavy clay will cause forking. Prepare the bed with a low-nitrogen fertilizer, specifically an NPK ratio of **5-10-10**. Excessive nitrogen (the first number) triggers lush foliage growth at the expense of the root, often causing the carrot to “hairy” or split. Ensure the substrate is cleared of stones larger than **0.25 inches** to prevent physical impedance of the meristematic tip.
Timing:
Successful thinning is dictated by the hardiness zone and the specific photoperiod of your region. In Zones 3 through 6, the first thinning occurs approximately three weeks after the last spring frost. In Zones 7 through 10, carrots are often a fall or winter crop, requiring attention when the soil temperature stabilizes between 55 and 75 degrees Fahrenheit. The biological clock of the Daucus carota is centered on the transition from the initial cotyledon stage to the development of true leaves. You must complete the primary thinning before the seedlings reach 2 inches in height. Delaying this process triggers a stress response where the plants compete for light, leading to "leggy" stems and weak vascular bundles.
Phases:

Sowing and Germination
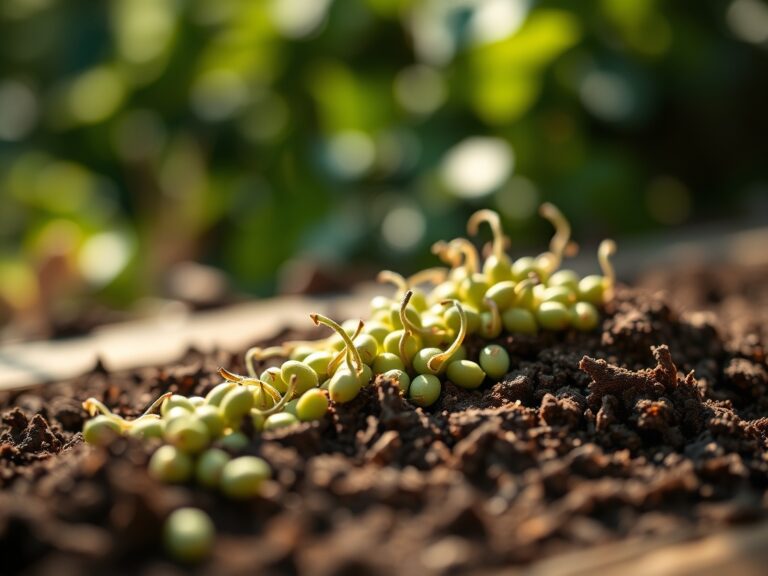
Sow seeds at a depth of 0.25 inches, spaced roughly 0.5 inches apart. Because carrot seeds are minute, over-sowing is common. Maintain consistent moisture to prevent the soil surface from crusting, which can trap the delicate hypocotyl.
Pro-Tip: Use a light dusting of vermiculite over the seeds. This improves moisture retention and prevents "damping off" by ensuring the soil surface remains aerated, supporting the mycorrhizal symbiosis necessary for phosphorus uptake.
Initial Thinning (The Two-Inch Mark)
When seedlings reach 2 inches in height, use sharp embroidery scissors to snip the weakest plants at the soil line. Do not pull them. Pulling disturbs the fragile root hairs of the remaining plants. Aim for a spacing of 1 to 2 inches between individuals.
Pro-Tip: Snapping the stem at the base prevents the release of volatile organic compounds that attract the carrot rust fly. This method also avoids disrupting the rhizosphere of the keeper plant, maintaining its established hydraulic lift.
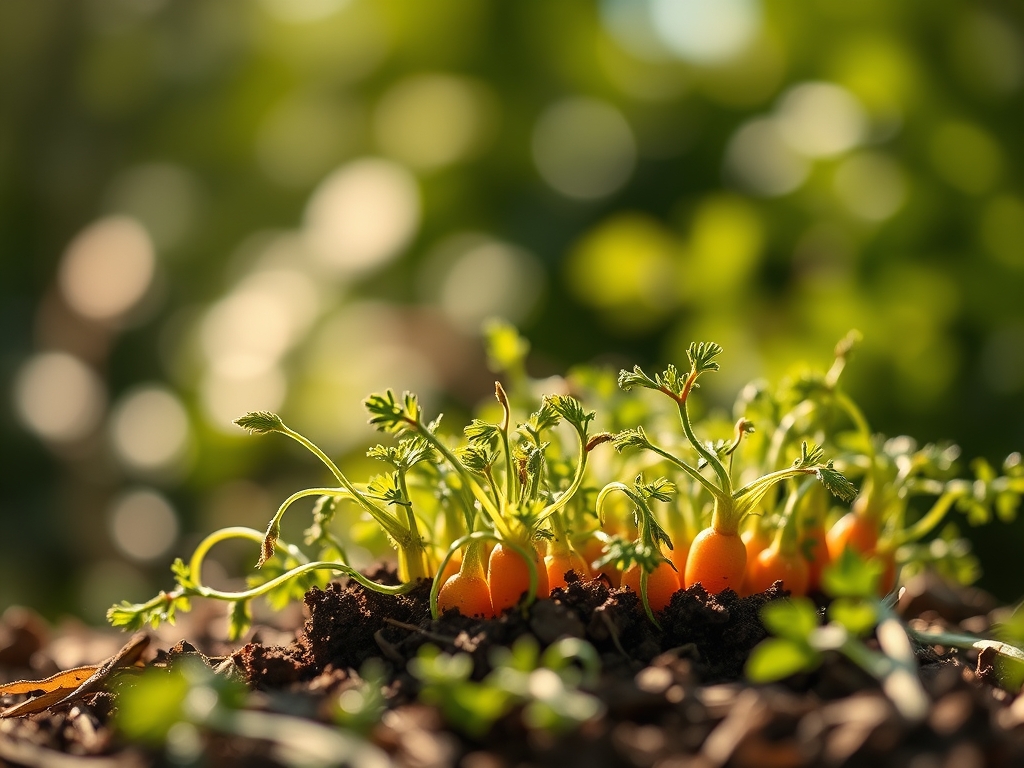
Final Establishment
Once the foliage reaches 4 inches, perform a second thinning. Increase the spacing to 3 or 4 inches depending on the variety (Nantes require less space than Chantenay). This final pass ensures the shoulder of the carrot has room to expand without compressing against its neighbor.
Pro-Tip: This phase manages auxin suppression. By removing adjacent competitors, the remaining plant receives more unobstructed sunlight, which signals the apical meristem to prioritize root storage over vertical leaf elongation.
The Clinic:
Physiological disorders in carrots are often mistaken for pests. Understanding the chemical and physical drivers of these symptoms is critical for a high-quality yield.
- Symptom: Forking or "fanging" of the root.
Solution: This is caused by physical obstruction or fresh manure. Ensure the soil is tilled to a depth of 12 inches and avoid high-nitrogen organic matter immediately before planting. - Symptom: Green shoulders on the root top.
Solution: This is chlorophyll development due to sunlight exposure. Mulch the crowns with 1 inch of screened compost to block UV rays. - Symptom: Horizontal cracking or splitting.
Solution: This results from erratic irrigation. Maintain a consistent soil moisture level of 70 percent field capacity to prevent rapid cellular expansion after a dry spell. - Nutrient Deficiency (Nitrogen Chlorosis): If leaves turn pale yellow, the plant lacks nitrogen. Apply a side-dressing of blood meal or a balanced liquid fertilizer at half-strength to restore photosynthetic efficiency.
Maintenance:
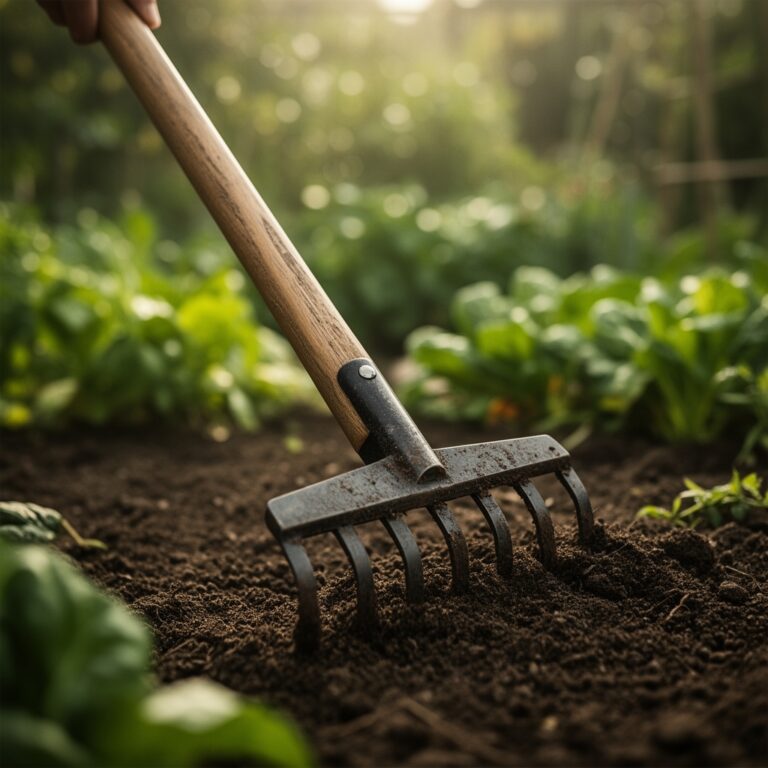
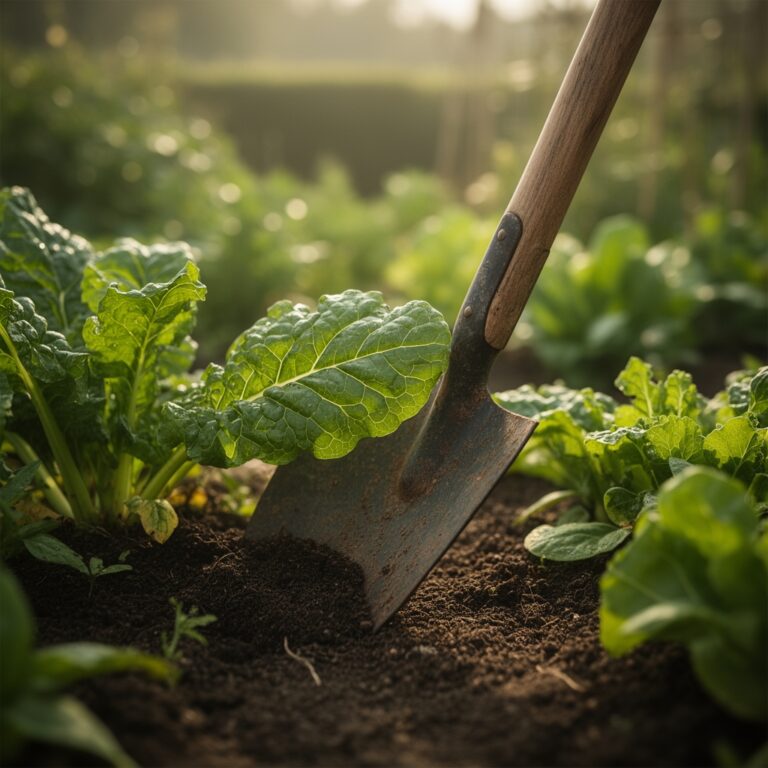
Precision irrigation is the cornerstone of carrot development. Use a soil moisture meter to ensure the root zone remains damp but not saturated. Carrots require approximately 1.5 inches of water per week delivered at the drip line. Overhead watering should be avoided to prevent leaf blight. Use a hori-hori knife to gently cultivate the top 0.5 inches of soil between rows; this breaks the capillary action of the soil surface and prevents moisture loss. If weeds appear, use bypass pruners to snip them at the base rather than pulling, which protects the carrot's lateral roots.
The Yield:
Harvesting begins when the "shoulder" of the carrot is visible at the soil surface and has reached the diameter specified for its variety (usually 0.75 to 1.25 inches). Use a garden fork to loosen the soil 4 inches away from the row before lifting the carrots by their greens. This prevents snapping the taproot. For "day-one" freshness, immediately remove the green tops. The foliage continues to draw moisture from the root post-harvest, leading to a loss of turgidity. Store the unwashed roots in a high-humidity environment at 33 to 35 degrees Fahrenheit to slow the rate of senescence and preserve the sugar content.
FAQ:
Why should I snip instead of pull carrot seedlings?
Pulling seedlings disturbs the delicate root systems of the remaining plants. Snipping at the soil line preserves the integrity of the rhizosphere and prevents the release of scents that attract pests like the carrot rust fly.
What is the ideal spacing for mature carrots?
Final spacing should be 3 to 4 inches between plants. This provides enough volumetric soil space for the taproot to expand and ensures adequate airflow to prevent fungal pathogens from developing in the dense canopy.
When is the best time of day to thin carrots?
Thin during the cool of the evening. This reduces transplant shock and water loss through transpiration. Watering the bed immediately after thinning helps settle the soil around the remaining roots and restores hydraulic pressure.
How do I know if my soil is friable enough?
Squeeze a handful of moist soil. It should form a ball that shatters easily when poked. If it stays in a hard lump, the clay content is too high; if it fails to clump, it is too sandy.**