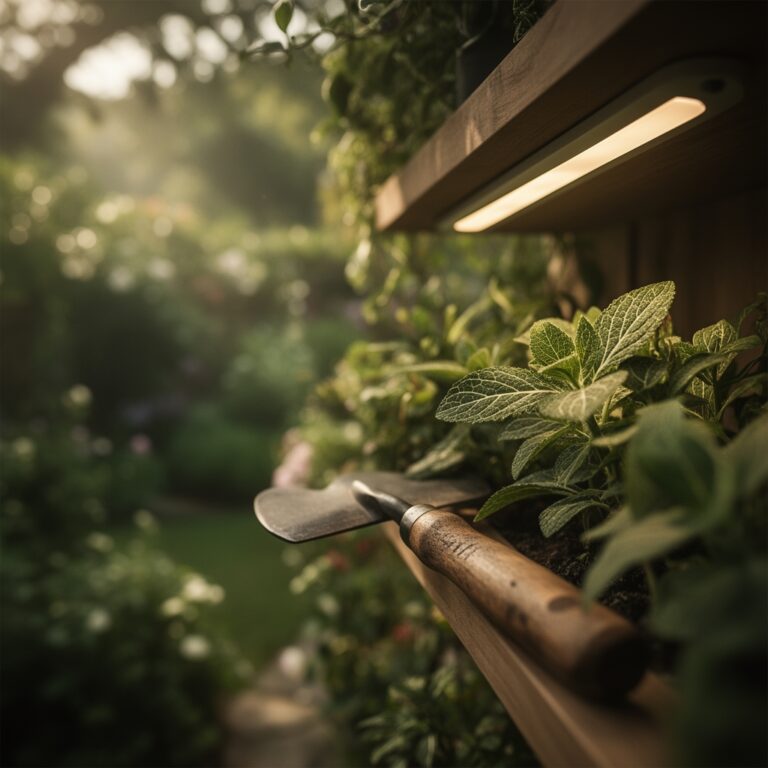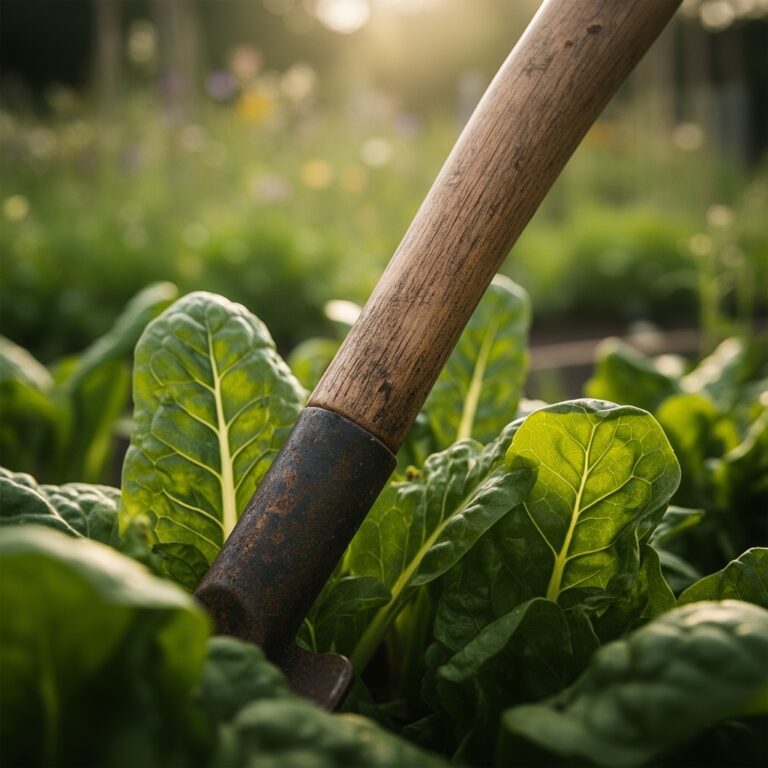
8 Steps to Prepare for a Decorative Garden Wall
Soil displacement begins the moment a wall foundation cuts through rooting zones. How to prepare a garden for a wall requires excavation planning, drainage engineering, and the strategic relocation of perennials before construction crews disturb microbial networks. A 6-inch concrete footing displaces approximately 0.75 cubic yards of topsoil per linear foot. Root pruning must occur 8-12 weeks before construction to allow wound callusing and auxin redistribution. The process transforms passive beds into load-bearing transitions where soil compaction, pH shifts, and altered water flow demand systematic correction.
Materials
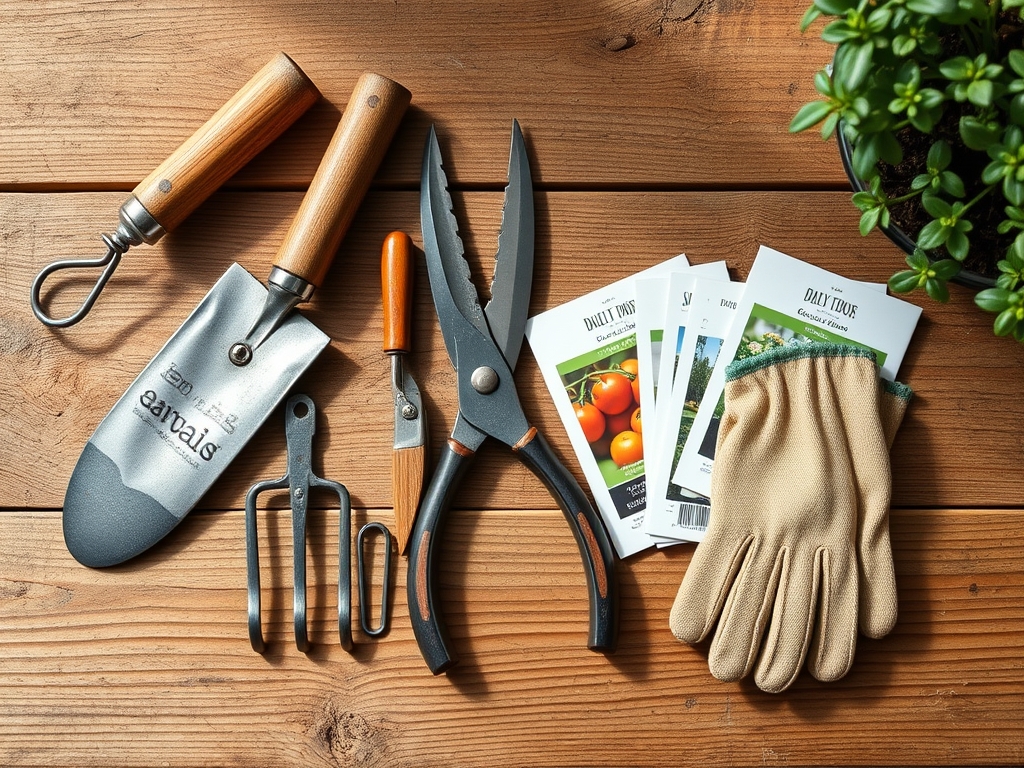
Secure a soil test kit measuring pH, nitrogen, phosphorus, potassium, and cation exchange capacity. Target pH 6.2-6.8 for broadleaf ornamentals adjacent to masonry, which leaches calcium carbonate and raises alkalinity over time.
Amendments for acidic correction: elemental sulfur (90% purity) at 1.2 pounds per 100 square feet lowers pH by 0.5 units in loam. Incorporate 4-4-4 organic meal (feather meal, bone meal, kelp) at 3 pounds per 100 square feet to buffer nutrient loss during excavation.
Structural materials: Class II road base (3/4-inch minus gravel) for drainage layers, geotextile fabric with 70-psi puncture resistance, and mycorrhizal inoculant containing Rhizophagus irregularis at 300 propagules per gram.
Transplant supplies: root hormone powder (0.1% indole-3-butyric acid), burlap for root balls exceeding 18 inches, and hardwood stakes (2-inch diameter, 6-foot length) for trees requiring stabilization post-move.
Water management: 4-inch perforated drain tile, 1.5-inch river rock for French drain aggregate, and a rain gauge for irrigation precision.
Timing
Zones 3-5: Prepare beds between late August and mid-September. Soil temperatures between 55-65°F promote root growth without triggering dormancy. Transplant woody perennials no later than October 1 to allow 6 weeks of root establishment before first frost.
Zones 6-7: Begin site work in early September. Transplant through October 15. Mulch root zones with 4 inches of shredded hardwood bark before November 1.
Zones 8-10: Schedule preparation from late October through November when evapotranspiration drops below 0.15 inches daily. Delay transplanting tender tropicals until soil temperatures stabilize below 70°F to reduce transplant shock.
Avoid preparation during active growth flushes. Spring transplanting in northern zones risks desiccation when leaf area exceeds root capacity. Southern gardeners should never move established plants between May and September due to heat stress and pathogen pressure.
Phases
Sowing the Foundation
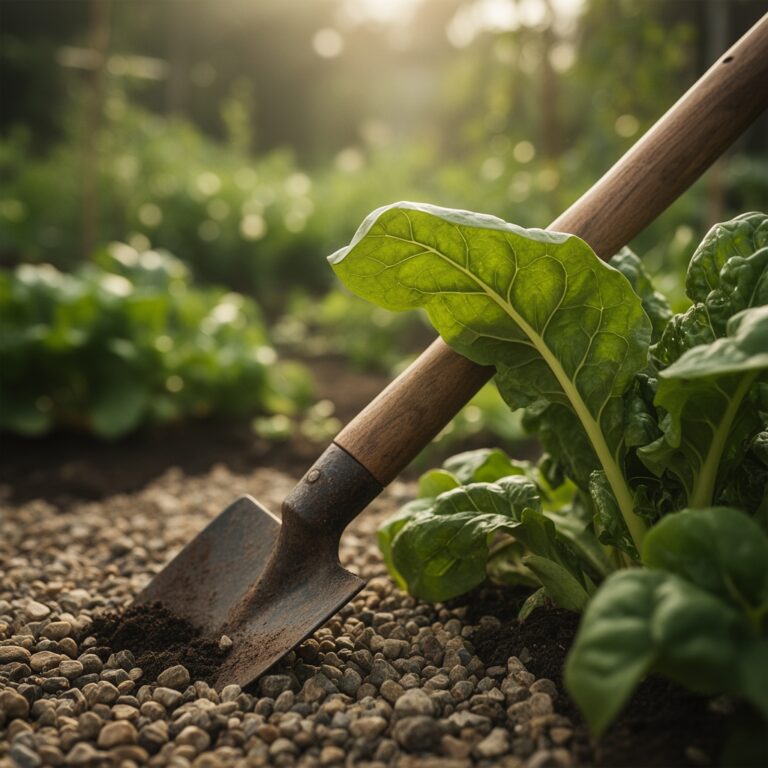
Mark wall footprint with landscape paint, extending 3 feet beyond planned structure for equipment access. Excavate to 18 inches depth. Remove existing vegetation and screen soil to eliminate root fragments larger than 0.5 inches. Test drainage by filling the trench with water. Acceptable percolation: 1-3 inches per hour. If water stands beyond 6 hours, install drain tile sloped at 2% grade toward a daylight outlet.
Layer 6 inches of Class II road base. Compact to 95% density using a plate compactor making three passes. Install geotextile fabric with 6-inch overlaps. This prevents fine soil migration into drainage voids.
Pro-Tip: Inoculate backfill soil with mycorrhizal fungi at 2 tablespoons per cubic foot. The symbiotic relationship increases phosphorus uptake by 40% in disturbed soils and accelerates establishment.
Transplanting Phase
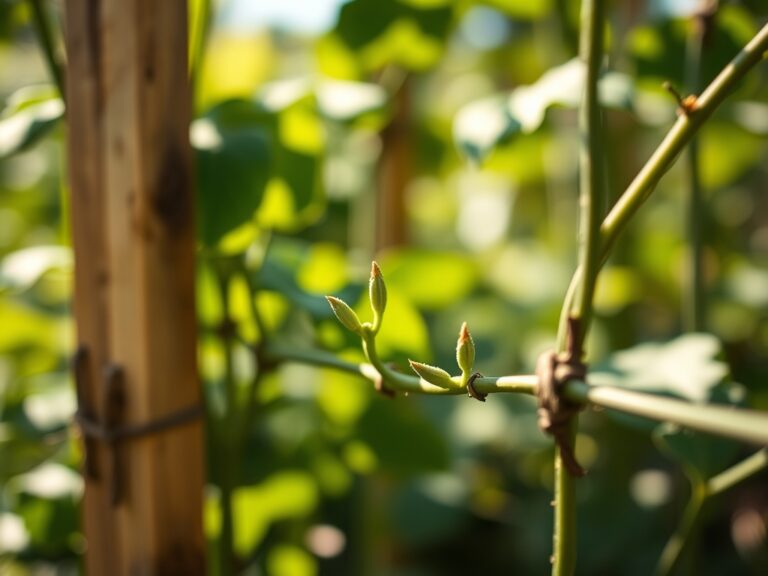
Root-prune plants slated for relocation 10 weeks before wall construction. Use a sharp spade to cut a circle 12 inches from the stem for perennials, 18 inches for shrubs. This severs lateral roots and stimulates feeder root proliferation within the future root ball.
Excavate transplants retaining maximum root mass. Dig 8 inches beyond the pruning cut and 12 inches deep for herbaceous perennials. Woody ornamentals require root balls with 10-12 inches of depth per inch of trunk caliper.
Transport with root balls wrapped in moistened burlap. Replant within 4 hours. Dig receiving holes twice the root ball width and equal depth. Backfill with native soil amended with 4-4-4 at half strength. Water with 2 gallons per square foot of root zone.
Pro-Tip: Prune top growth by 20-30% on deciduous transplants to balance reduced root capacity. Make cuts at 45-degree angles 0.25 inches above outward-facing buds.
Establishing Post-Construction
Rebuild soil structure in compacted zones using a broadfork to fracture plow pans without inverting horizons. Broadcast 1 inch of aged compost (C:N ratio 20:1) across affected areas.
Install permanent irrigation delivering 1 inch of water weekly during the first growing season. Drip emitters spaced 18 inches apart provide superior root zone saturation compared to overhead spray.
Mulch with 3 inches of shredded bark maintaining a 4-inch clearance from woody stems. This moderates soil temperature fluctuations and reduces moisture loss by 30%.
Pro-Tip: Apply foliar kelp spray (diluted 1:500) monthly for 3 months post-transplant. The cytokinins promote shoot development and stress tolerance.
Troubleshooting
Symptom: Leaf scorch with brown margins and interveinal chlorosis appearing 2-4 weeks post-transplant.
Solution: Transplant shock from root loss. Reduce leaf area by additional 15%. Increase irrigation frequency to every 3 days with 0.5 inches per application. Apply anti-transpirant spray coating leaf surfaces to reduce water loss by 40%.
Symptom: White powdery coating on foliage near newly installed walls with poor air circulation.
Solution: Powdery mildew thriving in stagnant microclimates. Space plants 18-24 inches from wall surfaces. Apply sulfur fungicide (90% wettable powder) at 3 tablespoons per gallon every 10 days. Improve air movement with strategic pruning opening canopy interiors.
Symptom: Wilting despite adequate soil moisture, roots appear brown and mushy.
Solution: Phytophthora root rot from poor drainage. Remove infected plants. Improve site drainage by raising beds 8-12 inches above grade. Amend with coarse perlite at 20% by volume. Treat remaining plants with fosetyl-Al fungicide at label rates.
Symptom: Yellowing lower leaves with stunted growth post-construction.
Solution: Nitrogen deficiency from depleted topsoil or compaction limiting root exploration. Apply blood meal (12-0-0) at 2 pounds per 100 square feet. Aerate compacted zones to 8-inch depth.
Symptom: Plant collapse near wall footings where heavy equipment operated.
Solution: Soil compaction exceeding 300 psi restricts oxygen diffusion. Excavate affected zones to 16 inches. Mix existing soil 50:50 with coarse sand and compost. Replant with compaction-tolerant species like Liriope muscari.
Maintenance
Water transplanted specimens with 1 inch per week measured at root zone depth for the first 12 months. Insert a soil probe to 6 inches. Irrigate when moisture content drops below 40% of field capacity.
Fertilize established plantings each spring with 4-4-4 organic at 2 pounds per 100 square feet. Broadcast evenly and water in with 0.5 inches to prevent volatilization.
Monitor soil pH annually near masonry. Lime leaching raises pH by 0.2-0.4 units per year. Counteract with elemental sulfur when pH exceeds 7.2 for acid-loving species.
Prune damaged wood at 45-degree angles during dormancy. Remove no more than 25% of canopy annually to maintain photosynthetic capacity.
Renew mulch layers annually maintaining 3-inch depth. Decomposition consumes 40% of organic mulches per year in temperate zones.
FAQ
How far should plants be from a new garden wall?
Position root crowns 18-24 inches from wall faces. This spacing prevents root intrusion into footings and allows air circulation reducing foliar disease by 35%.
Can I transplant during wall construction?
No. Complete all transplanting 8-12 weeks before equipment arrives. Construction vibration damages fine root hairs and soil structure causes transplant mortality rates above 60%.
What soil depth is needed after excavation?
Restore 12-16 inches of topsoil over drainage layers for perennials, 24 inches for shrubs. Each inch of quality topsoil increases root biomass by 8-12%.
How do I fix drainage problems after wall installation?
Install curtain drains parallel to walls, 2 feet from footings. Use 4-inch perforated pipe in 12-inch gravel trenches sloped 2% toward outlets. This intercepts subsurface flow.
Should I amend soil differently near stone versus concrete walls?
Yes. Concrete leaches more calcium carbonate. Use sulfur amendments at 1.5x standard rates. Check pH every 6 months for 2 years, adjusting when readings exceed 7.0 for non-alkaline plants.