8 Essential Steps to Grow Snow Peas
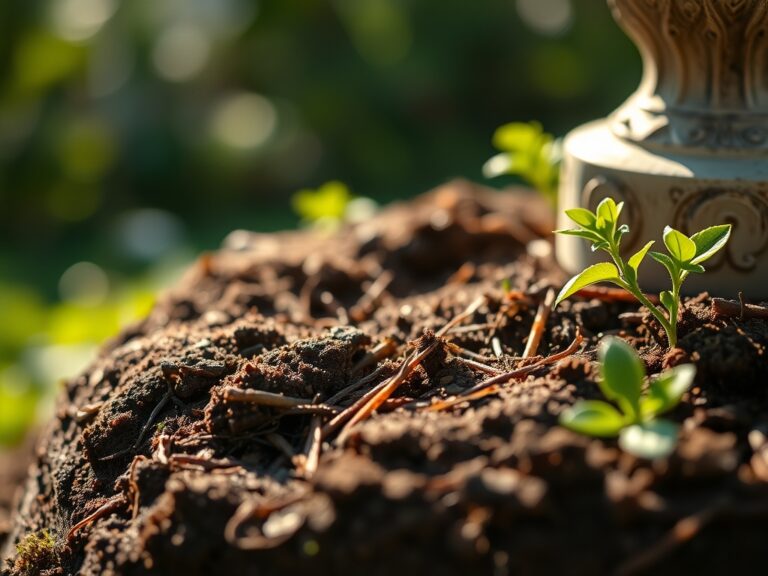
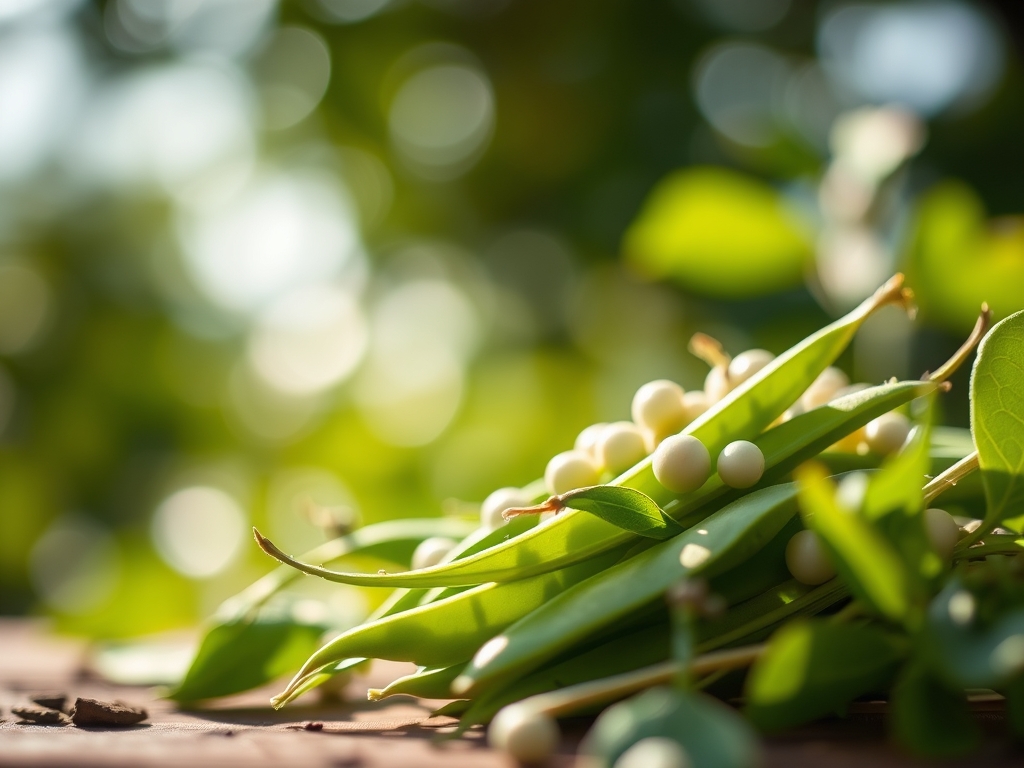
Crushing a handful of damp, friable earth reveals the metallic scent of geosmin; it is the primary signal that the rhizosphere is ready for cool-season legumes. Snow peas (Pisum sativum var. macrocarpon) rely on high turgor pressure to maintain their structural integrity and crisp texture. Mastering the steps to grow snow peas requires a shift from casual gardening to precise botanical management. Success is measured in the cellular expansion of the pod and the efficient nitrogen fixation occurring beneath the surface. You must monitor soil temperatures and photoperiod shifts with clinical accuracy. These plants are not decorative filler; they are high-performance nitrogen fixers that demand specific thermal windows and mineral balances to achieve maximum yield. By following a rigorous horticultural protocol, you can ensure the transition from a dormant seed to a prolific, climbing vine occurs without physiological stall or nutrient lockout.
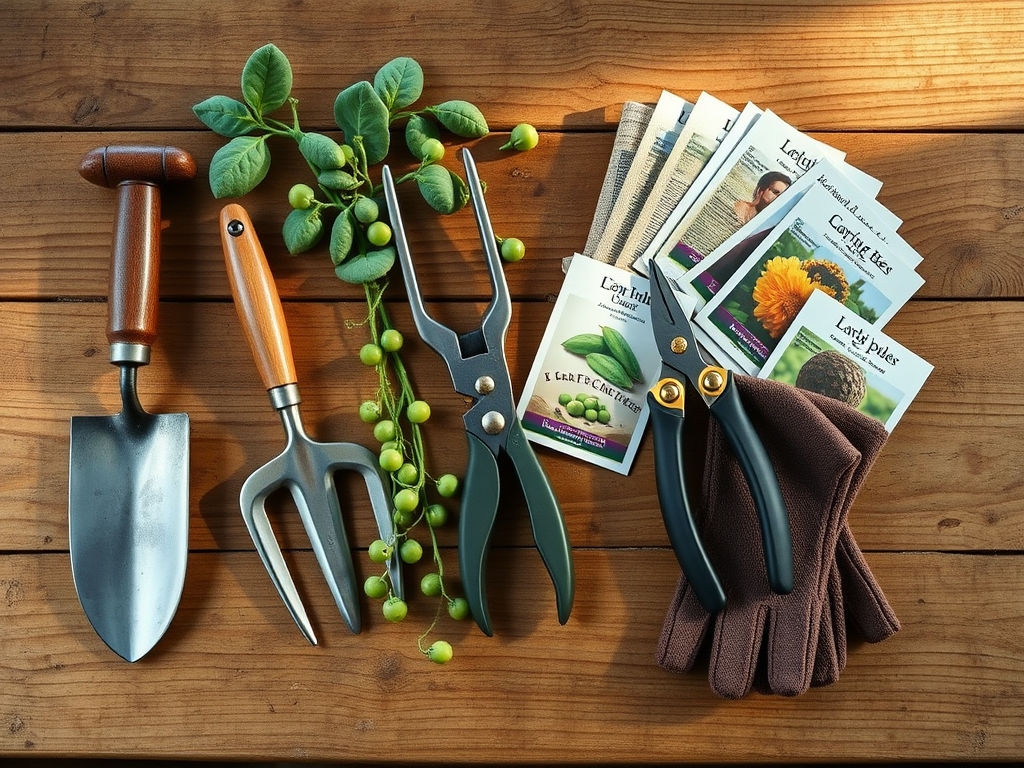
Materials:
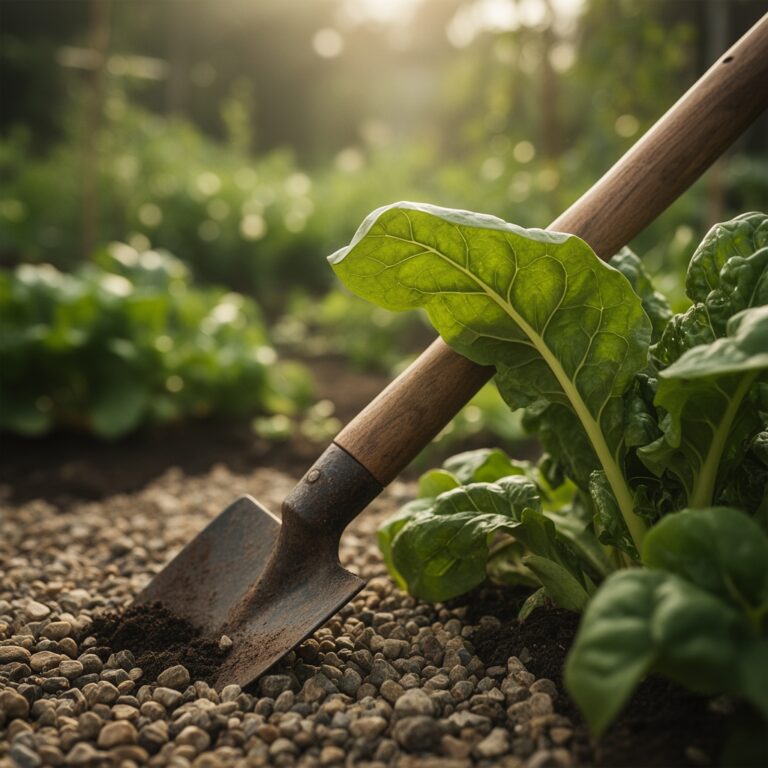
Snow peas thrive in a **pH range of 6.0 to 7.5**. Soil with a high Cation Exchange Capacity (CEC) ensures that essential nutrients like calcium and magnesium remain available to the root hairs. The substrate must be a **friable loam**; a mixture that allows for rapid drainage while retaining sufficient moisture for capillary action.
For fertilization, avoid high-nitrogen inputs which trigger excessive vegetative growth at the expense of pod production. Use a low-nitrogen NPK ratio such as 5-10-10. This provides the phosphorus and potassium necessary for robust root development and floral initiation. Additionally, ensure the presence of Rhizobium leguminosarum inoculant. This bacterium facilitates the symbiotic relationship required for atmospheric nitrogen fixation within the root nodules. If your soil is heavy clay, incorporate organic matter to break the surface tension and prevent anaerobic conditions that lead to root rot.
Timing:
Snow peas are obligate cool-season crops, performing best when ambient temperatures remain between 45 and 70 degrees Fahrenheit. In USDA Hardiness Zones 3 through 6, planting occurs as soon as the soil can be worked in the spring. In Zones 7 through 10, snow peas are often treated as a late autumn or winter crop to avoid the heat-induced senescence of late spring.
The biological clock of the snow pea is governed by the photoperiod. As day lengths increase, the plant shifts from the vegetative phase to the reproductive phase. If temperatures exceed 80 degrees Fahrenheit, the pollen becomes sterile and the plant will abort its blossoms. You have a narrow window of approximately 60 to 70 days from germination to peak harvest. Monitoring the local frost-date window is critical; while the foliage can survive a light frost, the reproductive organs are highly sensitive to ice crystallization.
Phases:

Sowing
Direct sow seeds at a depth of 1 to 1.5 inches. Space seeds 2 inches apart in rows separated by 18 to 24 inches. Ensure the soil temperature is at least 40 degrees Fahrenheit for reliable germination.
Pro-Tip: Pre-soaking seeds for 12 to 24 hours increases the rate of imbibition. This triggers the metabolic processes required for the radicle to break the seed coat, reducing the time the seed spends in the soil vulnerable to fungal pathogens.
Establishing
Once seedlings reach 3 inches in height, provide a vertical support structure. Snow peas utilize modified leaflets called tendrils to climb. These tendrils exhibit thigmotropism, a directional growth response to physical touch.
Pro-Tip: Secure the young vines to the trellis early to prevent "lodging," where the stem collapses under its own weight. This maintains apical dominance and ensures optimal airflow through the canopy, reducing the risk of powdery mildew.
Transplanting
While direct sowing is preferred, transplanting can be done if using biodegradable peat or paper pots to minimize transplant shock. The root system of the pea is extremely sensitive to mechanical disturbance.
Pro-Tip: When transplanting, maintain the same soil level as the nursery pot. Deep planting can lead to "damping off," a condition caused by soil-borne oomycetes that attack the stem at the soil line.
The Clinic:
Physiological disorders often mimic infectious diseases. Accurate diagnosis is the first step in remediation.
- Symptom: Yellowing of lower leaves (Chlorosis).
Solution: This is often a sign of Nitrogen deficiency. While peas fix nitrogen, they need a small "starter" dose before the nodules are fully functional. Apply a diluted fish emulsion. - Symptom: White, flour-like coating on leaves.
Solution: Powdery Mildew. This fungus thrives in high humidity with poor airflow. Increase spacing and apply a sulfur-based fungicide if the infection exceeds 10 percent of the leaf surface. - Symptom: Distorted, curled new growth.
Solution: Check for Aphids. These insects pierce the phloem to suck sap, causing cellular deformation. Use a high-pressure water spray to dislodge them. - Symptom: Stunted growth and purple tint on leaves.
Solution: Phosphorus deficiency. This often occurs in cold, wet soils where phosphorus becomes chemically bound and unavailable. Improve drainage and wait for soil temperatures to rise.
Maintenance:
Precision irrigation is mandatory. Snow peas require 1.5 inches of water per week, delivered directly at the drip line to keep the foliage dry. Use a soil moisture meter to ensure the root zone remains consistently moist but not saturated. Over-watering displaces oxygen in the soil pores, leading to root asphyxiation.
Use a hori-hori knife to remove competing weeds without disturbing the shallow root system of the peas. If pruning is necessary to remove diseased tissue, use sterilized bypass pruners to make clean cuts that heal quickly. Mulching with clean straw or shredded bark helps regulate soil temperature and prevents the "splashing" of soil-borne pathogens onto the lower leaves.
The Yield:
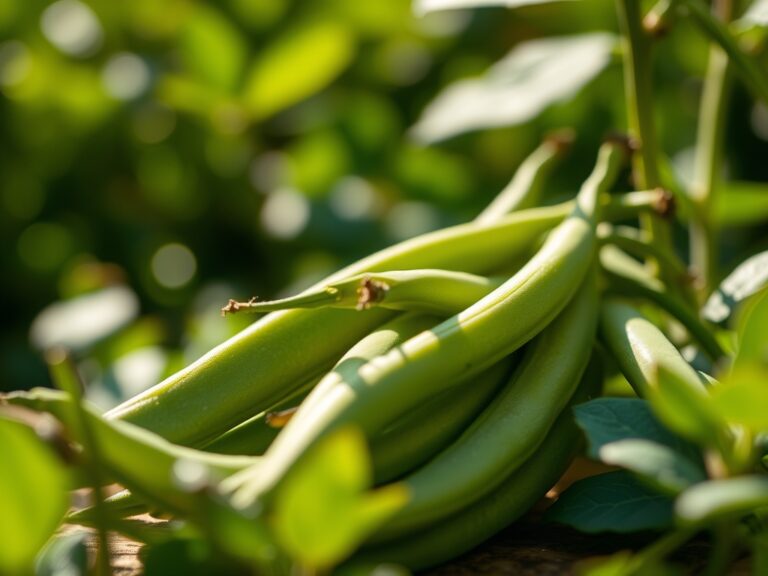
Harvesting is a matter of timing the pod's development before the seeds inside begin to swell. For snow peas, the goal is a flat pod with barely visible seeds. This occurs roughly 5 to 8 days after flowering. Use two hands to harvest; one to hold the vine and the other to snap the pedicel. This prevents tearing the delicate vascular tissue of the main stem.
Post-harvest handling is critical to preserve turgor and sugar content. Immediately plunge the harvested pods into an ice-water bath to remove "field heat." This slows the metabolic process that converts sugars into starches, ensuring the pods remain crisp and sweet. Store them at 32 to 35 degrees Fahrenheit at high humidity for maximum shelf life.
FAQ:
Why are my snow pea flowers falling off?
This is usually caused by heat stress. When temperatures exceed 80 degrees Fahrenheit, the plant enters a survival mode and sheds reproductive structures to conserve energy. Ensure adequate irrigation and provide afternoon shade during unexpected heat spikes.
Do I need to fertilize my snow peas?
Only sparingly. Excessive nitrogen promotes lush foliage but inhibits flower production. Use a low-nitrogen fertilizer (5-10-10) at planting. If the roots have healthy, pink nodules, the plant is successfully fixing its own nitrogen from the atmosphere.
How deep should I plant snow pea seeds?
Plant seeds 1 to 1.5 inches deep. Planting too shallow can lead to desiccation; planting too deep can exhaust the seed's energy reserves before the cotyledons reach the surface for photosynthesis.
Can I grow snow peas in containers?
Yes, provided the container is at least 8 inches deep and has excellent drainage. Use a high-quality potting mix with perlite to maintain aeration. Ensure a trellis is secured to the container to support the vine's thigmotropic climbing habit.
How do I know if my soil has the right bacteria?
Dig up one sacrificial plant and examine the roots. Healthy nitrogen-fixing nodules will be firm and show a pink or reddish interior when sliced open. This color indicates the presence of leghemoglobin, confirming active nitrogen fixation.