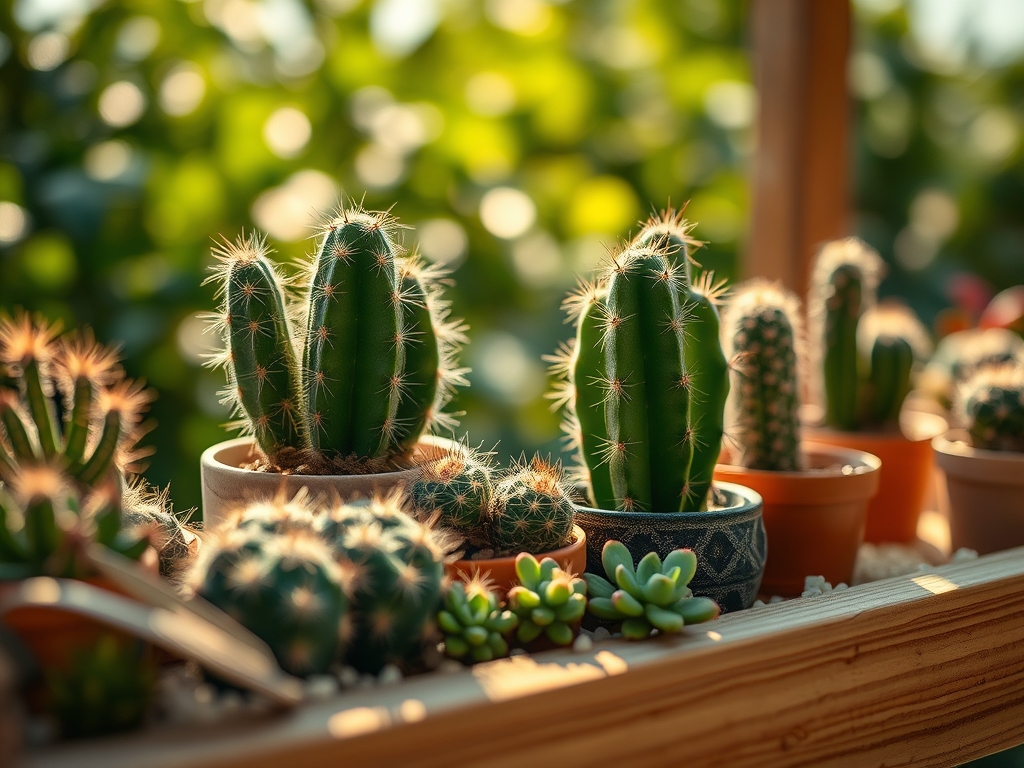
8 Arid Steps to Prepare a Cactus Collection Plant Shelf
Success in arid horticulture begins with the tactile sensation of turgor pressure. A healthy cactus feels like a pressurized vessel; its epidermis is taut and resistant to the touch because the internal vacuoles are fully hydrated. When you learn how to prepare a plant shelf for cacti, you are not merely arranging pots. You are engineering a microclimate that balances high irradiance with strict atmospheric moisture control. The smell of a proper arid setup is not the sweet rot of a forest floor. It is the sharp, mineral scent of dry pumice and calcined clay. This environment requires a systematic approach to structural integrity and light penetration. Most indoor shelves fail because they trap stagnant air around the base of the pots, leading to fungal pathogens. To avoid this, you must prioritize airflow and a substrate that facilitates rapid drainage. Every millimeter of growth in a slow-maturing species like Ariocarpus is a result of precise nutrient delivery and light cycles.
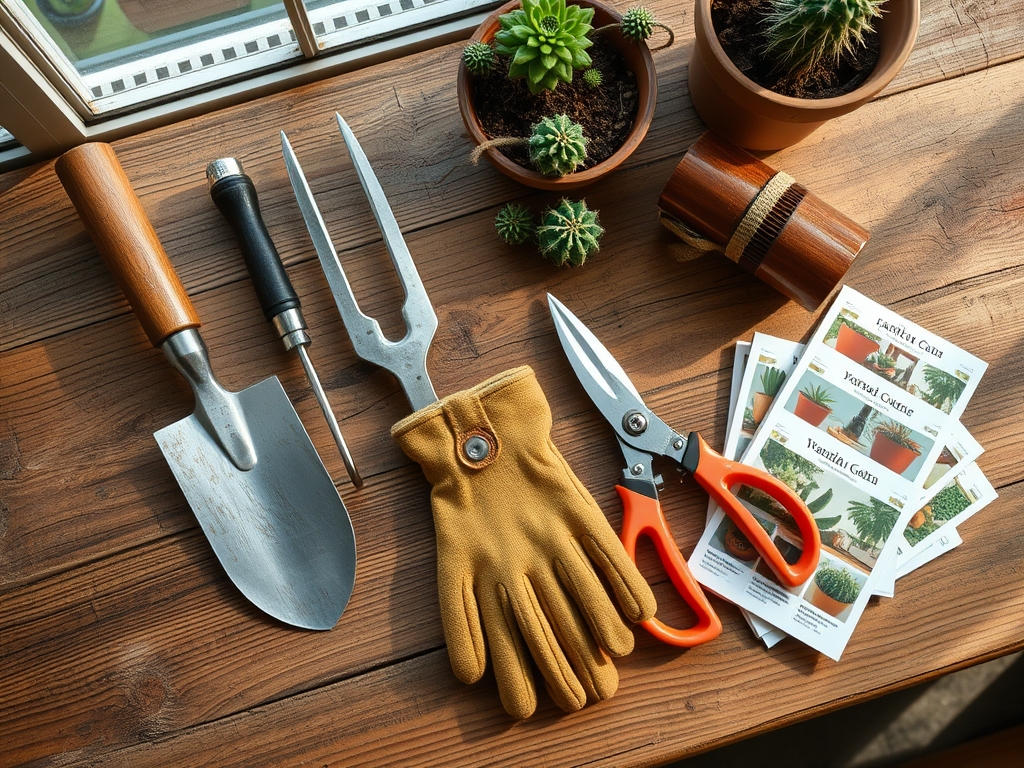
Materials
The foundation of a cactus shelf is the substrate. Forget standard potting soil. You require a friable medium with a high mineral content and low organic matter. The ideal soil pH for most desert cacti ranges between 5.5 and 6.5. This acidity ensures that micronutrients remain bioavailable to the root system.
For the base mix, use a 1:1:1 ratio of pumice, perlite, and decomposed granite. If you use a liquid fertilizer, look for an NPK ratio of 5-10-15 or 1-2-2. Cacti require low nitrogen to prevent weak, etiolated growth. High potassium (K) levels are essential for strengthening cell walls and improving drought resistance. The physical texture should be gritty. When squeezed in the hand, the damp mix must fall apart immediately. This structural porosity ensures a high Cation Exchange Capacity (CEC) within the mineral components while preventing the "perched water table" effect that causes root rot. Ensure your shelf can support at least 25 pounds per square foot, as mineral-heavy pots are significantly heavier than standard peat-based setups.
Timing
Timing your shelf preparation depends on the physiological state of your collection. In Hardiness Zones 8 through 10, the transition from winter dormancy to the vegetative growth phase typically occurs when ambient temperatures consistently stay above 55 degrees Fahrenheit.
The biological clock of a cactus is governed by the photoperiod. As day length increases in the spring, the plant moves from a state of metabolic rest to active transpiration. You must have your shelf prepared and your lighting systems calibrated at least two weeks before the last frost date. This window allows you to monitor the shelf microclimate without the risk of cold damage. For those in northern zones, this preparation usually happens in late March. If you are using supplemental LED lighting, aim for a 12 to 14 hour light cycle to simulate the intense solar radiation of the Chihuahuan or Sonoran deserts.
Phases
Sowing and Propagation
If starting from seed on your shelf, use a sterilized, fine-grit medium. Maintain a consistent temperature of 75 to 85 degrees Fahrenheit using a waterproof heat mat. Seeds require high humidity during the first three months, but the shelf must have a fan to ensure the air above the humidity domes does not stagnate.
Pro-Tip: Utilize the principle of photomorphogenesis. Cacti seedlings need specific blue light wavelengths to prevent stretching. By controlling the light spectrum early, you ensure the plant develops a compact, globose form rather than a weak, elongated stem.
Transplanting and Root Management
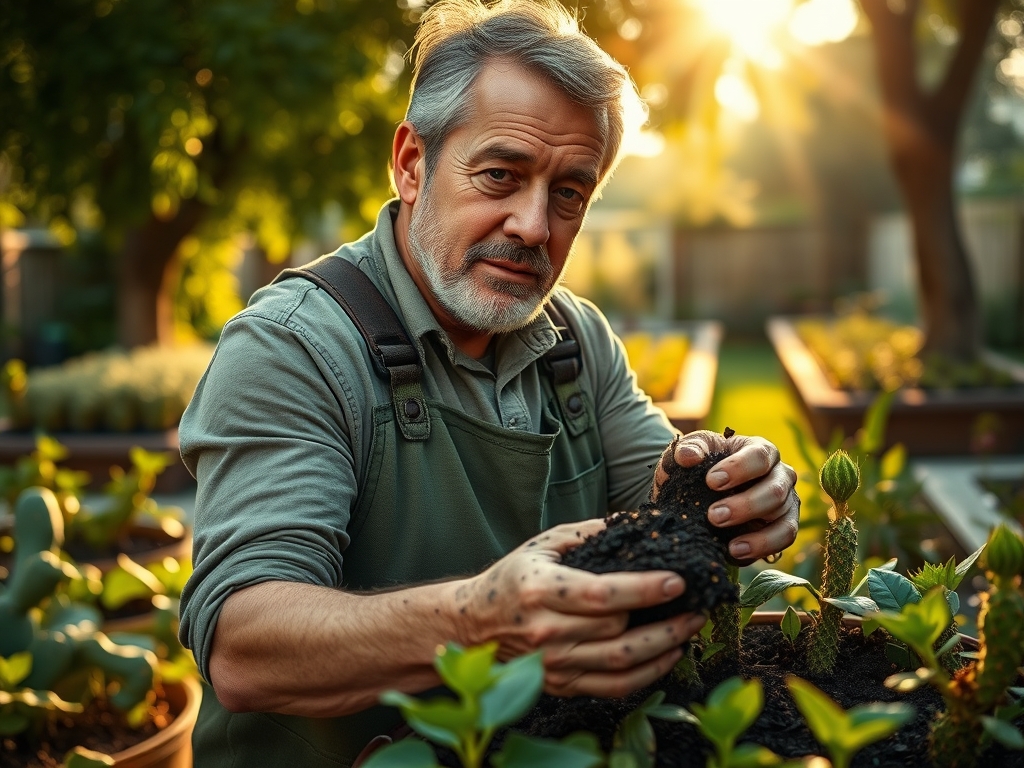
When moving plants to the new shelf, inspect the rhizosphere. Use a hori-hori knife to gently loosen any root-bound specimens. Trim dead or desiccated roots with bypass pruners that have been sterilized with 70 percent isopropyl alcohol. Allow the root ends to callous for three to five days before placing them in the new substrate.
Pro-Tip: This waiting period prevents pathogens from entering open wounds. It also triggers auxin suppression in the damaged roots, which subsequently stimulates the growth of new, lateral root hairs once the plant is introduced to moisture.
Establishing the Collection
Once the pots are placed, do not water immediately. Wait seven days to allow the root system to settle into the new mineral voids. Position the largest specimens at the center of the light spread, where PAR (Photosynthetically Active Radiation) levels are highest.
Pro-Tip: Observe the plants for phototropism. If a cactus leans toward the light source, it is a biological signal that the light intensity is insufficient. Rotate the pots 90 degrees every two weeks to maintain symmetrical growth.
The Clinic
Physiological disorders in cacti are often mistaken for pests. Use this diagnostic guide to troubleshoot your shelf.
- Symptom: Soft, yellowing base (Basal Rot).
- Solution: This is usually caused by excessive moisture in the rhizosphere. Remove the plant from the pot, cut away the necrotic tissue until you reach green flesh, and apply sulfur powder.
- Symptom: White, corky patches (Edema).
- Solution: This occurs when the plant takes up water faster than it can transpire it. Increase airflow on the shelf and reduce watering frequency.
- Symptom: Pale, thin growth (Etiolation).
- Solution: The plant is light-starved. Increase the intensity of your grow lights or move the shelf closer to a south-facing window.
- Fix-It: Nitrogen Chlorosis.
- If the entire plant turns a pale lime green, it may have a nitrogen deficiency. Apply a diluted 5-10-15 fertilizer at half strength to restore chlorophyll production without causing a growth spurt that splits the epidermis.
Maintenance
Maintenance on a cactus shelf is an exercise in restraint. Use a soil moisture meter to verify that the substrate is bone dry at least two inches below the surface before adding water. For most indoor collections, a deep soak once every 14 to 21 days is sufficient during the growing season.
When watering, aim for the soil, not the plant body. Use a long-necked watering can to reach the base of the pots without disturbing the top dressing. If you notice dust accumulation on the spines or epidermis, use a soft-bristled brush or a compressed air canister to clean them. Dust blocks stomata and reduces photosynthetic efficiency. During the winter months, reduce watering to once every six weeks and lower the shelf temperature to 50 degrees Fahrenheit if possible to induce a proper dormancy. This period of senescence is critical for the development of flower buds in the following spring.
The Yield
While most cacti are grown for aesthetic or botanical interest, some species like Opuntia or Hylocereus produce edible fruit. For these, harvest when the fruit color is fully saturated and the skin gives slightly to pressure. Use your bypass pruners to snip the fruit at the base; do not pull it, as this can tear the areole of the parent plant. To maintain day-one freshness, store harvested fruit in a cool, dry place away from direct sunlight. For seed harvesting, wait until the seed pod has completely dried on the plant. Open the pod over a fine mesh sieve and wash away the pulp. Dry the seeds on a paper towel for 48 hours before storing them in glass vials labeled with the date and species.
FAQ
How often should I water cacti on a shelf?
Water only when the substrate is completely dry. Use a soil moisture meter to check the bottom third of the pot. Typically, this occurs every two to three weeks during summer and every six weeks during winter dormancy.
What is the best light for an indoor cactus shelf?
Use full-spectrum LED grow lights with a high PAR output. Cacti require 10,000 to 20,000 lux for at least 12 hours daily. Position lights 6 to 12 inches above the plants to prevent etiolation without causing thermal burn.
Can I use regular potting soil for my cactus shelf?
No. Standard soil retains too much moisture and lacks the necessary mineral structure. Use a mix of pumice, perlite, and granite with a pH of 5.5 to 6.5 to ensure proper drainage and nutrient uptake.
Why is my cactus turning brown and hard at the bottom?
This is likely corking, a natural aging process where the base of the plant becomes woody to support its weight. If the tissue is firm, it is normal. If it is soft or mushy, it indicates root rot.