7 Steps to Prepare a Garden Water Fountain Site
Learning how to prepare a site for a garden fountain transforms chaotic backyard corners into functional water features that anchor landscape design. The process demands attention to drainage engineering, structural load distribution, and soil compaction ratios before any decorative element arrives. Site preparation failures account for 60% of fountain tilting and liner breaches within the first two seasons.
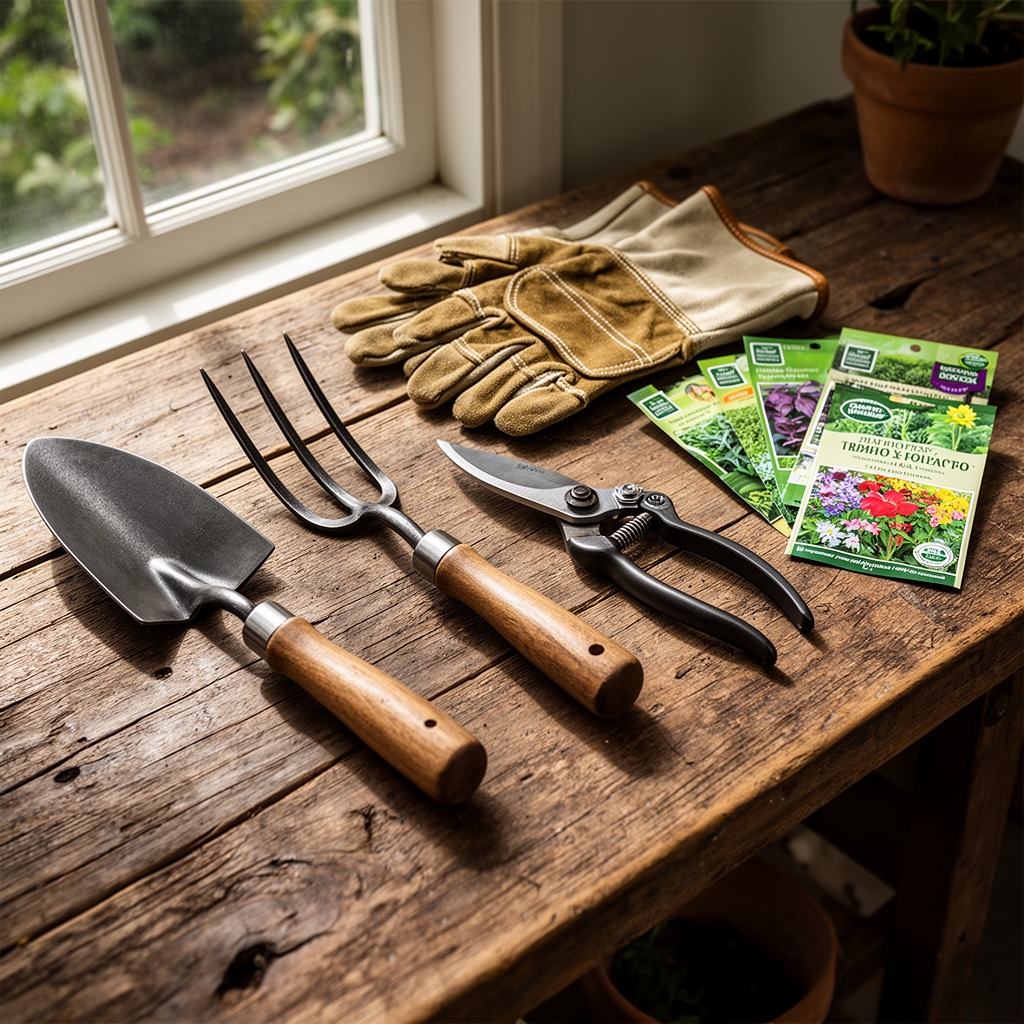
Materials
Structural foundation work requires type II Portland cement mixed at 4:2:1 ratio (aggregate:sand:cement) for base pads supporting fountains exceeding 200 pounds. Compacted crushed limestone, graded 3/4-inch minus, creates drainage layers with 40% void space. Geotextile landscape fabric rated at 3.5 oz/sq yd prevents soil migration while maintaining water percolation rates of 125 gallons per square foot per minute.
Soil amendments adjacent to hardscape include coarse perlite and composted pine bark fines blended at 1:1:2 ratios with native subsoil. Target pH ranges from 6.2 to 6.8 for ornamental plantings surrounding the feature. Apply dolomitic limestone at 5 pounds per 100 square feet if testing reveals pH below 5.8. Slow-release fertilizer formulations such as 10-10-10 or 14-14-14 integrate during backfill operations at manufacturer's specified rates, typically 2 pounds per cubic yard.
Electrical conduit rated for direct burial (UF-B cable, 12-gauge minimum) and Schedule 40 PVC piping in 3/4-inch diameter handle pump connections. GFCI-protected outlets positioned 12 to 18 inches above grade prevent moisture intrusion. Flexible pond liner (45-mil EPDM rubber) accommodates settling without tearing. Purchase liner dimensions by adding twice the maximum depth plus two feet to both length and width measurements.
Timing
Execute site preparation during dormant seasons, typically October through March in USDA Hardiness Zones 6 through 8. Soil excavation proceeds most efficiently when moisture content sits between 15% and 20%, firm enough to hold vertical cuts yet pliable for compaction. Avoid frozen ground conditions or saturated spring periods when soil structure collapses under mechanical pressure.
Zones 9 through 11 permit year-round installation with attention to summer heat stress on newly planted perimeter vegetation. Northern zones 3 through 5 require completion by September 15th, allowing 45 days for soil settlement before hard freeze events. Concrete curing demands ambient temperatures above 50°F for seven consecutive days.
Phases

Excavation Phase
Mark the fountain footprint with spray paint, adding 8 inches beyond all edges. Excavate to 6 inches below the fountain base height plus 4 inches for the gravel layer and 2 inches for the sand bed. Maintain vertical sidewalls within 5 degrees of plumb. Remove roots exceeding 1/2 inch diameter within the excavation zone. Test subgrade compaction with a hand tamper; the surface should not yield more than 1/4 inch under 40 pounds of force.
Pro-Tip: Install a permanent drainage line pitched at 1/4 inch per foot, running 12 feet from the fountain center to a gravel sump. This prevents hydraulic pressure buildup during seasonal water table fluctuations.
Base Installation Phase
Spread crushed limestone in 2-inch lifts, compacting each layer to 95% standard Proctor density using a mechanical plate compactor. Achieve target density by making four passes per lift in perpendicular directions. Top the stone with coarse mason sand, screeding to uniform 2-inch depth with a straight edge. Dampen sand lightly; excessive moisture reduces load-bearing capacity.
Position the concrete base pad or precast fountain bottom on the prepared bed. Check level in eight radial directions using a 4-foot spirit level. Tolerances must not exceed 1/8 inch over 4 feet. Shim with non-compressible synthetic shims, never wood or organic materials subject to decay.
Pro-Tip: Embed copper mesh strips rated at 20 gauge in a radial pattern beneath concrete pads. The copper creates a mild electrical field deterring root intrusion from aggressive species like willow or poplar planted within 15 feet.
Finishing Phase
Backfill perimeter zones with amended soil mixture, tamping in 4-inch lifts to prevent settlement voids. Slope final grade away from fountain edges at 2% minimum (1/4 inch per foot). Install edging materials, setting brick or stone in mortar beds for permanent placement. Connect pump systems and test circulation for 48 continuous hours, monitoring for leaks at all joint connections.
Pro-Tip: Apply mycorrhizal fungi inoculant (Rhizophagus irregularis species) to root zones of companion plantings at 1 teaspoon per gallon of soil volume. Enhanced cation exchange capacity improves nutrient uptake in compacted urban soils common around water features.
Troubleshooting
Symptom: Fountain tilts 2 to 5 degrees within first year.
Solution: Excavate one side to original depth, inject polyurethane foam specifically formulated for void filling (expansion ratio 3:1). Foam cures in 15 minutes, providing 60 psi compressive strength.
Symptom: Water loss exceeds 2 inches per week during non-evaporative conditions.
Solution: Drain system and apply liquid rubber sealant to liner seams and penetrations. Product coverage averages 25 square feet per quart at recommended 20-mil wet film thickness.
Symptom: Algae blooms develop within 14 days, coloring water green.
Solution: Reduce photoperiod by installing shade cloth providing 40% light reduction. Add barley straw at 1 ounce per 10 gallons; decomposition releases allelopathic compounds suppressing algal cell division over 90-day periods.
Symptom: Pump cavitation noise indicates air entrainment.
Solution: Verify intake screen sits 4 inches minimum below static water level. Clean debris from impeller housing monthly during operating season.
Maintenance
Maintain water levels within 1 inch of optimal fill line marked during installation. Top off weekly during 85°F-plus conditions when evaporation reaches 1/4 inch daily. Drain and clean reservoir quarterly, removing sediment accumulation with a wet vacuum.
Apply fountain-safe enzymatic cleaner at 2 ounces per 50 gallons monthly to digest organic biofilm. Inspect pump intake screens biweekly, removing leaf litter and debris. Winterize systems in freeze-prone zones by draining all plumbing, removing pumps for indoor storage, and covering basins with plywood topped with weighted tarps.
Test GFCI outlets monthly by pressing test buttons; reset functionality confirms proper ground-fault protection. Tighten hose clamps on tubing connections every six months as thermal cycling degrades initial torque settings.
FAQ
How deep should fountain excavation extend?
Total depth equals fountain base height plus 6 inches for drainage layers. A 24-inch-tall fountain requires 30-inch excavation depth.
Can existing lawn support a fountain without site preparation?
No. Organic topsoil compresses 15% to 30% under sustained loads, causing misalignment. Proper excavation and base installation are non-negotiable.
What prevents mosquito breeding in fountain water?
Continuous circulation disrupts larval respiratory function. Pumps must operate 24 hours daily or introduce Bacillus thuringiensis israelensis (BTI) granules monthly at labeled rates.
How far from trees should fountains be placed?
Minimum distance equals the mature canopy radius. Root systems extend 1.5 times canopy width, threatening underground plumbing and causing heaving through radial pressure.
When can ornamental plants be added around the fountain?
Wait 30 days post-installation, allowing complete soil settlement. Plant root balls with crowns 1 inch above finished grade to prevent crown rot from splash zones.