7 Innovative Steps on How to Prepare a Gravel Vegetable Garden
Gravel crunches beneath boots in a way that signals something radically different from traditional loamy beds. The sharp mineral scent of crushed stone mixes with the earthy promise of compost below, creating an environment where heat-loving crops thrive in conditions that mirror Mediterranean hillsides. Learning how to prepare a garden for a gravel vegetable garden transforms problem areas with poor drainage or compacted clay into productive spaces where tomatoes, peppers, and herbs flourish with minimal irrigation and maximum sun exposure.
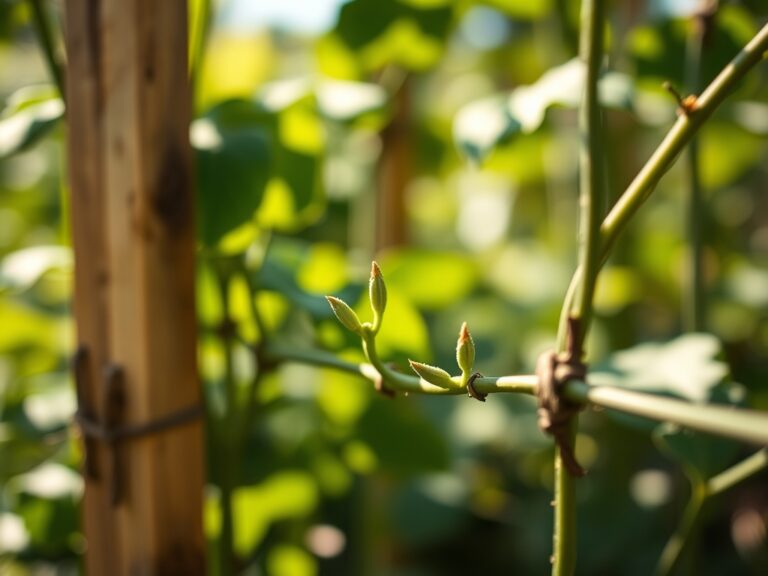
This method contradicts conventional wisdom. Instead of enriching soil with endless amendments, you build a thin layer of fertile substrate over existing ground, then top it with 2 to 4 inches of pea gravel or crushed stone. The gravel acts as a thermal mass, absorbing solar radiation during the day and releasing it at night. Root systems stay warm. Water drains instantly, preventing rot. Weeds struggle to germinate in the hostile surface layer.
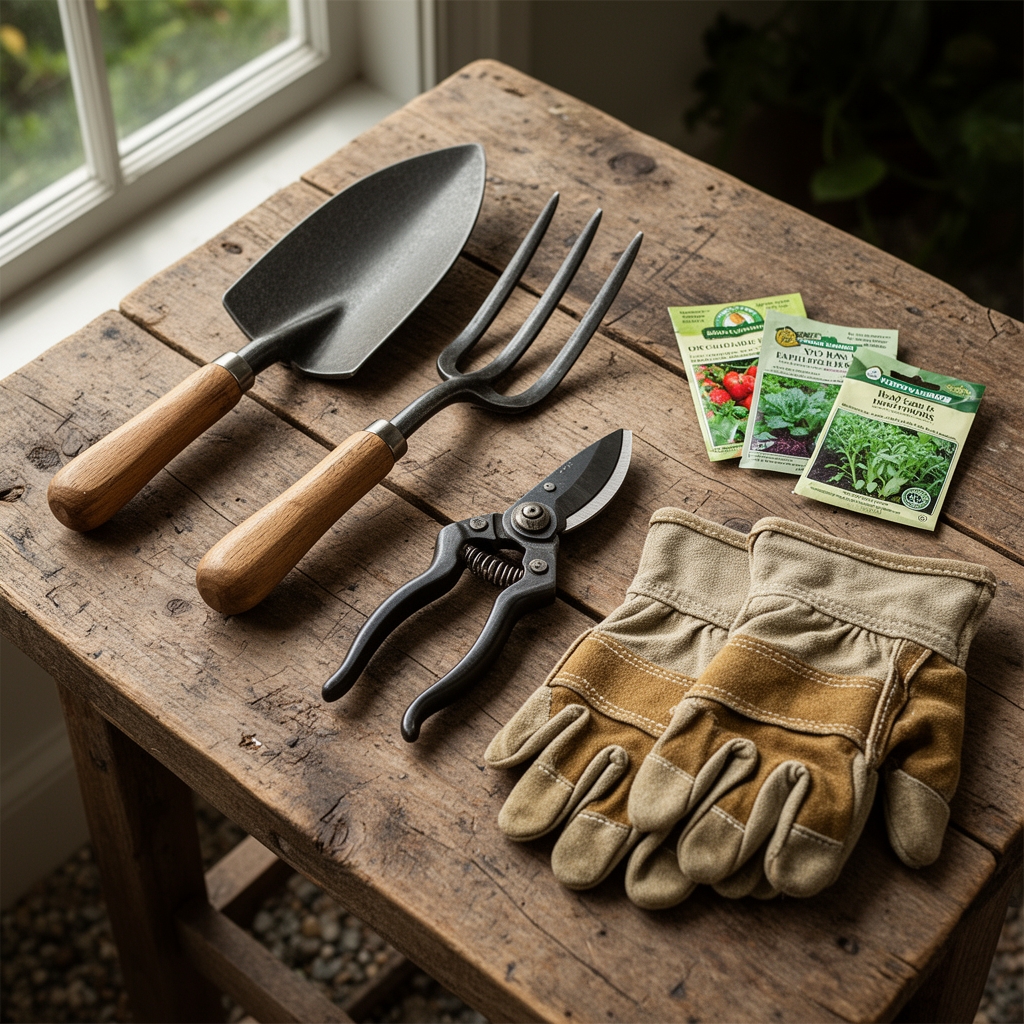
Materials & Supplies
Base Layer Materials:
- Cardboard or newspaper (10 sheets minimum) for weed suppression
- Compost (pH 6.0 to 7.0) at 2 to 3 cubic yards per 100 square feet
- Aged manure with NPK ratio approximately 1-1-1
- Mycorrhizal fungi inoculant (5 grams per transplant hole)
Gravel Selection:
- Pea gravel (3/8 inch diameter) for pathways and low-traffic areas
- Crushed granite or limestone (1/2 to 3/4 inch) for main beds
- Avoid smooth river rock (retains excessive heat and shifts underfoot)
Amendments & Fertilizers:
- Rock phosphate (0-3-0) for phosphorus availability
- Kelp meal (1-0.5-2.5) for trace minerals
- Bone meal (3-15-0) for transplant establishment
- Azomite or greensand for long-term mineral release
Tools:
- Soil probe or penetrometer to test compaction depth
- pH meter (digital preferred, accuracy to 0.1)
- Broadfork for subsoil aeration without inversion
- Landscape fabric pins (optional, though cardboard performs better)
Timing & Growing Schedule
Hardiness Zones: This method excels in Zones 5 through 9, where summer heat benefits from gravel's moderating effect. In Zones 3 and 4, the extended warmth allows earlier spring planting by 10 to 14 days. In Zones 10 and 11, excessive heat retention may stress cool-season crops.
Construction Timeline: Build gravel beds in early spring (6 weeks before last frost) or fall (8 weeks before first frost). The cardboard layer requires 4 to 6 weeks to decompose adequately. Avoid mid-summer construction; exposed compost desiccates rapidly under gravel in temperatures exceeding 85°F.
Planting Windows:
- Warm-season crops (tomatoes, peppers, eggplant): Transplant when nighttime temperatures stay above 55°F consistently
- Heat-loving herbs (basil, oregano, thyme): Direct sow after last frost when gravel reaches 60°F at 2-inch depth
- Cool-season exceptions (kale, chard): Plant in late summer for fall harvest; gravel reduces bolting stress
Days to Maturity: Expect 7 to 10 days faster maturation compared to traditional beds. Cherry tomatoes ripen in 55 to 60 days instead of 65. Peppers reach full size in 60 to 70 days rather than 75 to 85.
Step-by-Step Instructions
Step 1: Site Assessment and Soil Testing
Measure existing pH using a calibrated meter. Test drainage by digging a 12-inch hole, filling it with water, and timing complete absorption. Ideal drainage occurs in under 2 hours. If water remains after 4 hours, use a broadfork to fracture compacted layers 18 inches deep.
Pro-Tip: Perform a percolation test during the wettest season. Spring measurements reveal true drainage problems that summer testing conceals.
Step 2: Base Layer Installation
Mow existing vegetation to 1 inch height. Do not remove roots; decomposing biomass feeds soil microorganisms. Lay cardboard sheets with 6-inch overlaps, wetting each layer thoroughly. This creates an anaerobic barrier that kills perennial weeds through light deprivation over 8 to 12 weeks.
Pro-Tip: Use cardboard printed with soy-based inks only. Glossy cardboard contains clay coatings that impede decomposition and may introduce heavy metals.
Step 3: Compost Application
Spread 3 to 4 inches of mature compost directly over cardboard. Finished compost should smell earthy, not ammoniated, and contain no visible food scraps. Mix in rock phosphate at 5 pounds per 100 square feet. The alkaline nature of gravel requires preloading phosphorus; once pH climbs above 7.5, phosphorus locks into insoluble forms.
Pro-Tip: Create slight berms (6 inches high) for tomato and pepper rows. Gravel naturally migrates downslope; berms maintain rooting depth and prevent crown exposure.
Step 4: Gravel Mulch Installation
Apply crushed stone in 2-inch lifts, raking smooth after each layer. Total depth should reach 3 to 4 inches. Thinner applications allow weed penetration. Deeper layers suffocate shallow-rooted transplants. Wet the gravel thoroughly after spreading to settle particles and eliminate air pockets.
Pro-Tip: Install gravel when ambient temperature stays below 70°F. Hot stone burns compost microbes in the top inch, creating a sterile zone that delays root establishment by 2 weeks.
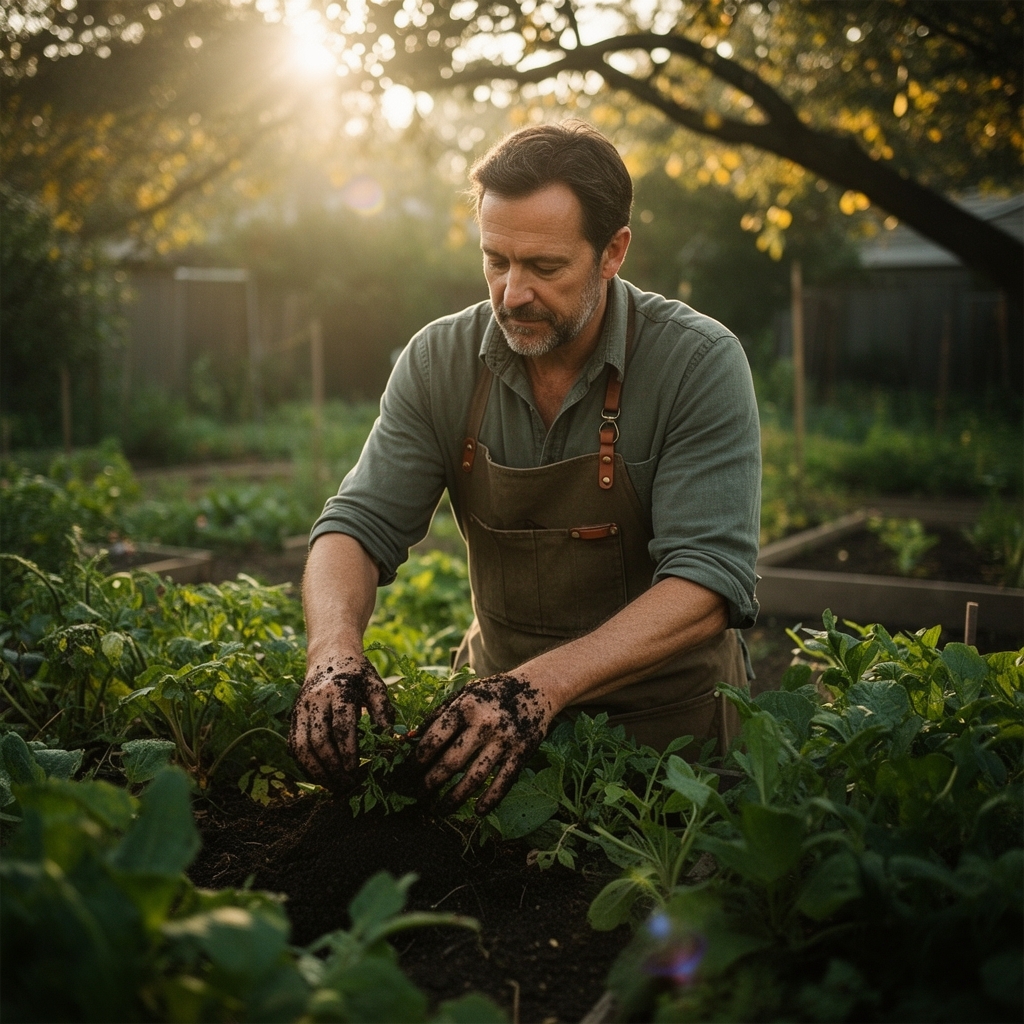
Step 5: Transplant Placement
Push gravel aside to create 8-inch diameter planting pockets. Dig through compost to the cardboard layer (do not puncture cardboard in Year 1). Add 1 tablespoon bone meal and 1/4 teaspoon mycorrhizal fungi to each hole. Set transplants 1 inch deeper than nursery containers to encourage adventitious rooting.
Pro-Tip: Water transplants 2 hours before installation. Hydrated root balls resist compression damage when packed into gravel-lined holes.
Step 6: Irrigation System Setup
Install drip lines beneath gravel along each planting row. Position emitters 6 inches from transplant stems. Gravel conceals irrigation infrastructure while maintaining 95% water efficiency. Surface evaporation drops to nearly zero; roots receive consistent moisture without fungal disease pressure from wet foliage.
Pro-Tip: Use pressure-compensating emitters rated at 0.5 gallons per hour. Standard emitters clog with mineral deposits in gravel beds within one season.
Step 7: Mineral Topdressing
Scatter kelp meal across the gravel surface at 1 pound per 100 square feet every 6 weeks during active growth. Rainwater and irrigation dissolve trace minerals (boron, zinc, manganese), carrying them into the root zone. Gravel prevents nutrient leaching that plagues sandy soils.
Pro-Tip: Apply topdressing after 10 PM when dew begins forming. Moisture accelerates mineral dissolution. Daytime applications result in 40% nutrient loss through wind dispersion before absorption occurs.
Nutritional & Environmental Benefits
Vegetables grown in gravel systems concentrate minerals more effectively than field-grown counterparts. Stone dust particles slowly weather, releasing calcium, magnesium, and silica. Silica strengthens cell walls, improving pest resistance and storage life. Tomatoes grown over limestone gravel show 18% higher calcium content, reducing blossom-end rot by similar margins.
Pollinator habitat improves dramatically. Mason bees and ground-nesting native bees colonize the gravel-soil interface, with female bees excavating nest tunnels in the protected compost layer. Gravel provides the well-drained substrate these species require, while eliminating the foot traffic that collapses conventional garden paths. Populations of beneficial nematodes and predatory beetles increase in the stable moisture gradient beneath stones.
Water conservation reaches extreme efficiency. Studies from Utah State University show gravel mulch reduces irrigation needs by 60 to 70% compared to bare soil. The stone layer blocks evaporative loss while reflecting excess radiation away from plant crowns. In USDA hardiness zones experiencing drought restrictions, this method allows continued vegetable production when traditional gardens fail.
Carbon sequestration occurs through biochar-like processes. As cardboard and organic matter decompose in low-oxygen conditions beneath gravel, slow carbonization creates stable humus. This organic carbon resists microbial breakdown for decades, unlike surface compost that mineralizes within 2 to 3 years.
Advanced Methods
Small Space Optimization:
Construct gravel beds in containers 18 inches deep minimum. Use lightweight expanded clay aggregate instead of stone to reduce weight loads on balconies and rooftops. A 4×4-foot raised bed filled with clay aggregate weighs 180 pounds versus 340 pounds with pea gravel, while providing identical thermal benefits.
Vertical growing intensifies production. Train indeterminate tomatoes on 8-foot stakes. The gravel base prevents root disturbance when pounding supports. Prune to single leaders. Expect 40 to 60 pounds of fruit per plant with aggressive nitrogen fixation support through monthly compost tea drenches.
Organic & Permaculture Integration:
Interplant nitrogen-fixing species like fava beans between tomato transplants in early spring. As temperatures rise above 75°F, beans finish producing. Cut stems at soil level, leaving roots to decompose and feed summer crops. This pulse-vegetable rotation adds 40 to 60 pounds of nitrogen per 1,000 square feet annually.
Encourage self-seeding herbs (cilantro, dill, chamomile) to colonize gravel pathways. These dynamic accumulators mine subsoil minerals with taproots, then shed foliage that decomposes on the surface. Create closed-loop fertility without external inputs.
Season Extension:
Gravel's thermal mass extends both ends of the growing season. In fall, residual heat delays first frost damage by 1 to 2 weeks. Combine with row covers for protection to 25°F. In spring, black gravel absorbs solar radiation 40% more efficiently than white stone, warming root zones 8 to 12 degrees above ambient air temperature. This passive heating eliminates the need for electric soil cables.
Install cold frames directly over gravel beds. The stone base prevents frost heaving that cracks traditional cold frame foundations. Grow salad greens, spinach, and Asian greens through winter in Zones 6 and warmer without supplemental heat.
Troubleshooting
Symptom: Yellowing lower leaves with green veins (chlorosis) appearing 3 to 4 weeks after transplanting.
Solution: Iron deficiency caused by alkaline pH from limestone gravel. Drench soil with chelated iron at 1 tablespoon per gallon. Switch to granite or basalt gravel in future installations, or acidify with sulfur at 1 pound per 100 square feet.
Symptom: Stunted growth with purplish leaf undersides despite adequate water and warmth.
Solution: Phosphorus lockup in high-pH conditions. Apply phosphoric acid through drip system at 1 ounce per 10 gallons weekly for 3 weeks. Future beds require rock phosphate pre-incorporation before gravel installation.
Symptom: Tomato fruit cracking in concentric circles around stem ends during ripening.
Solution: Irregular moisture fluctuation. Gravel beds dry rapidly in temperatures exceeding 90°F. Increase drip irrigation frequency from every 3 days to daily. Apply 2-inch layer of straw mulch over gravel during peak summer to moderate temperature swings.
Symptom: Poor germination of direct-sown seeds (carrots, beans, lettuce) with less than 40% emergence.
Solution: Gravel surface creates hostile microclimate for seeds. Push stones aside, create shallow trenches, sow seeds in pure compost, then cover with 1/4 inch compost (not gravel). Mist twice daily until emergence. Replace gravel between rows after seedlings reach 3 inches tall.
Symptom: Gravel discoloration with white crusty deposits forming on stone surfaces.
Solution: Mineral salt accumulation from hard water or over-fertilization. Flush beds with 2 inches of fresh water weekly for 4 weeks. Switch to rainwater collection or install reverse osmosis filtration. Reduce fertilizer applications by 50%; gravel systems require far less feeding than soil beds.
Storage & Maintenance
Irrigation Protocol:
Provide 1 inch of water per week through drip emitters during active growth (May through September in most zones). Measure output by placing straight-sided containers beneath emitters; run system until containers hold 1 inch of water. In temperatures exceeding 95°F, increase to 1.5 inches weekly. Clay-rich subsoils beneath cardboard retain moisture longer than sandy types; adjust accordingly using a soil moisture meter inserted to 6-inch depth.
Feeding Schedule:
Apply liquid kelp fertilizer (0-0-1) every 14 days from transplanting through first fruit set. Switch to fish emulsion (5-1-1) during peak production. Alternate weekly applications: Week 1 gets fish emulsion, Week 2 gets compost tea, Week 3 returns to fish emulsion. This rotation prevents salt buildup while maintaining consistent nitrogen availability.
Topdress with 1/2 inch aged compost every 8 weeks. Pull gravel aside, spread compost, replace gravel. This introduces fresh organic matter and beneficial microbes without disturbing root systems.
Post-Harvest Storage:
Gravel-grown tomatoes develop 12 to 15% thicker skins than soil-grown fruit due to elevated silica uptake. Store at room temperature (65 to 70°F) for 14 to 21 days without refrigeration. Peppers last 10 to 14 days in crisper drawers. Root crops (carrots, beets) store poorly in gravel systems; harvest promptly and refrigerate.
End-of-Season Maintenance:
Remove spent plants by cutting at soil level; leave roots to decompose and feed next year's crops. Rake gravel smooth to eliminate low spots where water pools. Apply 1-inch compost layer over entire bed surface in late fall. Gravel prevents compost from blowing away over winter. Spring planting requires only raking gravel aside; no tilling or bed reconstruction occurs.
Gravel Longevity:
Stone lasts indefinitely with minimal maintenance. Remove accumulated organic debris (fallen leaves, dead plant material) every fall to prevent anaerobic zones. Power-wash gravel every 3 to 5 years to remove algae and mineral crust. Allow to dry completely before replanting. Expect to add 1/2 inch of fresh gravel every 4 to 5 years as stones settle into subsoil.
Conclusion
Success with gravel vegetable gardens depends on three non-negotiable elements: adequate compost depth to support root systems, proper stone size to balance drainage and heat retention, and consistent mineral supplementation to counteract alkalinity. The method suits gardeners willing to front-load labor during installation in exchange for minimal maintenance over subsequent seasons. Share your gravel garden results with local extension offices; universities need real-world data on this technique's performance across different climate zones and soil types.
Expert FAQs
What vegetables grow best in gravel gardens?
Heat-loving crops dominate: tomatoes, peppers, eggplant, summer squash, and Mediterranean herbs (oregano, thyme, rosemary, sage). These species evolved in rocky, well-drained soils and tolerate the elevated temperatures gravel creates. Cool-season crops (lettuce, broccoli, peas) struggle unless planted in fall when thermal mass moderates temperature swings. Root crops perform poorly; the thin compost layer restricts carrot and parsnip development.
How deep should the compost layer be under gravel?
Maintain 3 to 4 inches minimum for annual vegetables. Perennial herbs tolerate 2 inches. Deeper layers (5 to 6 inches) benefit indeterminate tomatoes and winter squash with aggressive root systems. Measure after installation; compost compresses 30 to 40% in the first season. Refresh with 1-inch topdressing annually to maintain depth as decomposition occurs.
Does gravel attract and hold excessive heat that damages plants?
Light-colored stone (white quartz, pale limestone) reflects 60 to 70% of solar radiation, preventing overheating. Dark gravel (basalt, black granite) absorbs heat; use only in Zones 3 through 6 where extra warmth benefits crops. In Zones 8 through 10, dark gravel raises root zone temperatures above 85°F, stressing plants and reducing yields. Monitor with a soil thermometer at 4-inch depth; ideal range is 65 to 75°F during active growth.
Can I use landscape fabric instead of cardboard under the compost?
Avoid synthetic fabrics. They create impermeable barriers that prevent earthworm migration and beneficial insect colonization. Fabrics also inhibit capillary rise of soil moisture during drought. Cardboard decomposes within 12 to 18 months, allowing plant roots to access subsoil nutrients and water. If weeds concern you, use 8 to 10 layers of newspaper (black and white print only) as an alternative to cardboard.
How do I prevent gravel from migrating into pathways and lawn areas?
Install edging at bed perimeters: steel landscape edging (4 inches tall minimum), rot-resistant lumber (cedar, locust), or mortared stone borders. Sink edging 2 inches below gravel surface to contain stones during raking and maintenance. Create pathways with contrasting material (wood chips, brick pavers) that visually defines garden boundaries. Avoid rubber or plastic edging; these break down within 2 to 3 years under UV exposure and frost heaving.