6 Symmetry Steps on How to Prepare a Formal Vegetable Garden
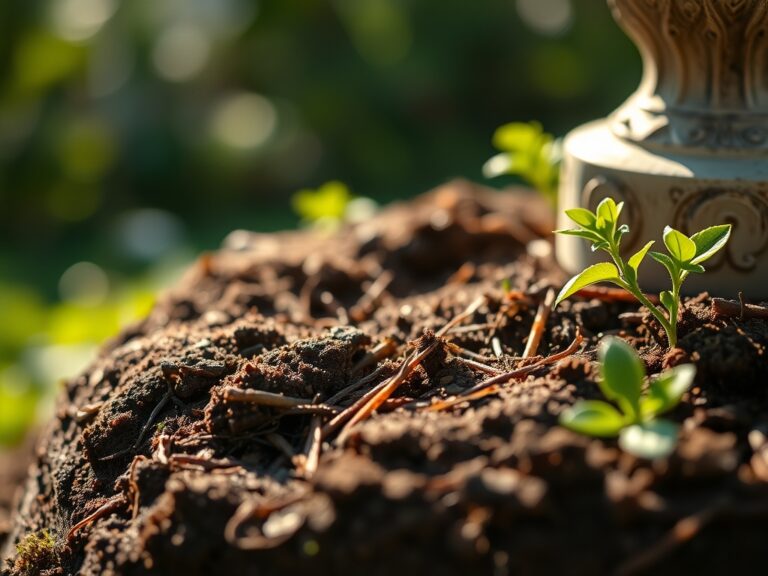
The first handful of soil tells you everything. Cool, crumbling loam that holds its shape when squeezed releases a mineral scent, earthy and slightly sweet. This texture signals the foundation for understanding how to prepare a garden for a formal vegetable garden. Unlike casual kitchen plots, formal vegetable gardens demand geometric precision, balanced soil chemistry, and a commitment to sequential timing that mirrors French potager traditions.
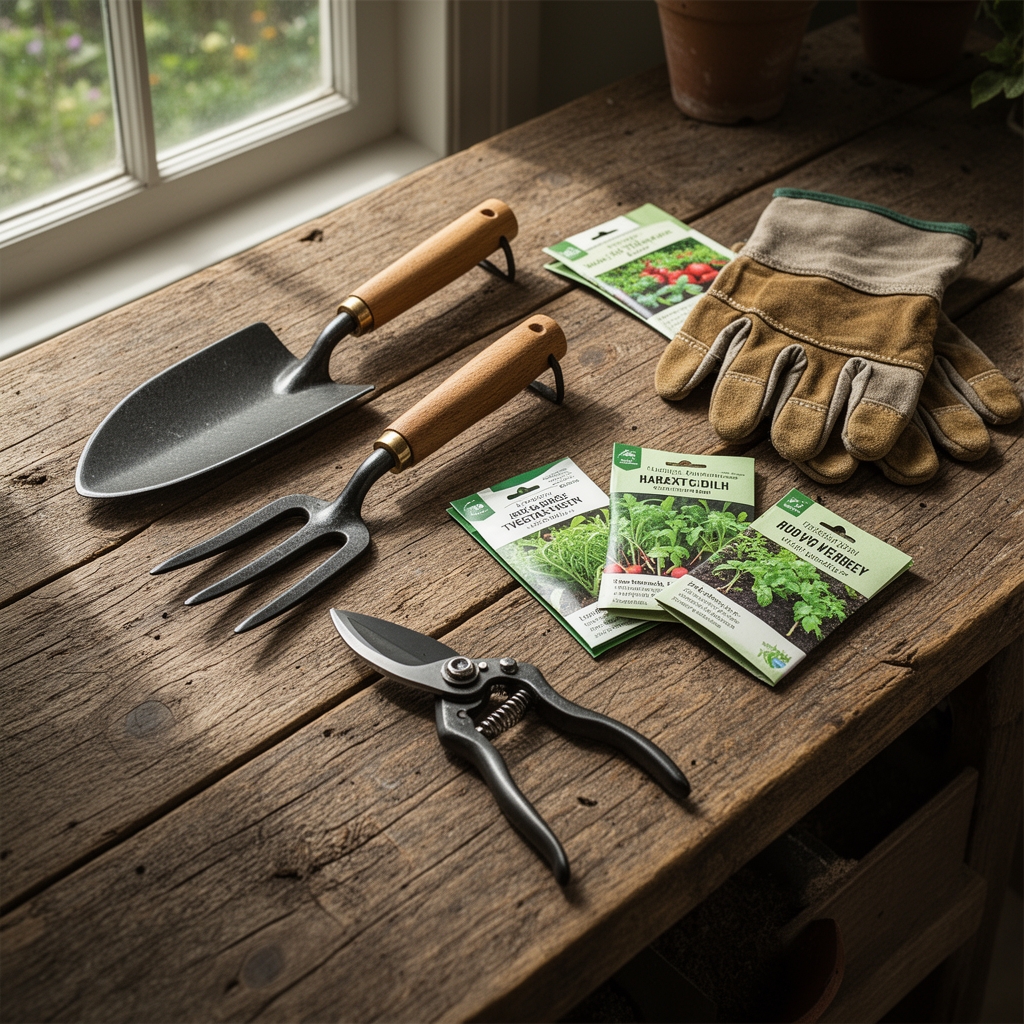
Materials & Supplies
Soil Amendments:
- Compost (aged 12-18 months, pH 6.5-7.0)
- Mycorrhizal fungi inoculant (minimum 50 propagules per gram)
- Bone meal (3-15-0 NPK for phosphorus-heavy root development)
- Kelp meal (1-0.5-2 NPK with trace minerals)
- Sulfur or lime (soil pH adjustment to target 6.2-6.8)
Physical Infrastructure:
- String line and stakes (for geometric bed layout)
- Broadfork or spading fork (18-inch tine depth minimum)
- Soil test kit (measures NPK, pH, calcium, magnesium)
- Landscape fabric or cardboard (weed suppression layer)
- Edging materials (brick, steel, or untreated cedar)
Planting Materials:
- Certified disease-free seed stock
- Transplant containers (2-inch and 4-inch cell sizes)
- Row covers (0.55 oz per square yard for frost protection)
- Drip irrigation tubing with 12-inch emitter spacing
Timing / Growing Schedule
Calculate your last spring frost date using USDA Hardiness Zone data. For Zones 5-7, soil workability typically arrives 10-14 days after this date when ground temperatures reach 50°F at 4-inch depth. Cool-season crops (lettuce, peas, spinach) tolerate soil temps of 40-50°F and transplant 4-6 weeks before last frost. Warm-season varieties (tomatoes, peppers, squash) require 60°F minimum soil temperature.
Days to Maturity calculations begin from transplant date, not seed sowing. A 70-day tomato transplanted May 15 matures by late July. Succession planting intervals of 14-21 days ensure continuous harvest. Record your first and last frost dates for three consecutive seasons to establish microclimatic patterns specific to your property.
Start seeds indoors under full-spectrum lighting 8-12 weeks before transplanting. Brassicas need 6-8 weeks, tomatoes require 8-10 weeks, and lettuce performs best with just 4-5 weeks of indoor growth.
Step-by-Step Instructions

Step 1: Site Assessment and Geometry Mapping
Measure your plot dimensions to the quarter-inch. Formal gardens rely on 3-foot or 4-foot bed widths (allowing arm's reach from both sides) with 18-24 inch pathways. Mark corners with stakes and create perfectly square angles using the 3-4-5 triangle method (3 feet on one side, 4 feet on the perpendicular, 5 feet on the hypotenuse).
Pro-Tip: Run your string lines 2 inches above soil level. This elevation prevents sagging and gives visual reference for bed height after amendments.
Step 2: Soil Testing and Amendment Calculation
Extract soil samples from 5 random locations at 6-inch depth. Mix thoroughly and submit 1 cup to your county extension office. Results reveal pH, phosphorus, potassium, calcium, magnesium, and organic matter percentage. A reading below 3% organic matter requires 2-3 inches of compost incorporation.
Pro-Tip: Test in fall, amend immediately, then retest in spring. Lime applications need 4-6 months to alter pH. Sulfur works faster at 2-3 months but requires microbial activity above 55°F.
Step 3: Deep Soil Preparation
Remove existing vegetation with cardboard layering (6-month decomposition) or manual removal. Insert broadfork tines vertically at 8-inch intervals and rock backward to fracture compaction layers without inverting soil horizons. This preserves soil microbiology structure. Spread amendments evenly and incorporate to 8-inch depth using a spading fork.
Pro-Tip: Never rototill in spring. Powered tilling destroys fungal networks and creates hardpan at blade depth. Hand tools preserve soil architecture.
Step 4: Bed Formation and Edge Installation
Rake amended soil into raised beds with flat tops and slightly sloped sides. Final bed height should measure 6-8 inches above pathway level for improved drainage. Install permanent edging flush with pathway surface to prevent grass encroachment and maintain geometric lines.
Pro-Tip: Tamp pathways firmly and cover with 2 inches of pea gravel or hardwood chips. Compacted paths reduce maintenance and emphasize formal bed structure.
Step 5: Irrigation System Installation
Lay drip lines down bed centers before planting. Position emitters directly at future transplant locations using 12-inch spacing for most vegetables, 18-inch for larger plants like cabbage. Connect to a timer and pressure regulator (15-25 PSI optimal). Test system at full pressure before covering lines with mulch.
Pro-Tip: Install a separate zone for shallow-rooted crops (lettuce, spinach) requiring frequent light watering versus deep-rooted types (tomatoes, peppers) needing infrequent deep soaks.
Step 6: Transplanting and Mulch Application
Water beds 24 hours before transplanting. Dig holes twice the root ball width, position transplants at identical soil line depth, and firm soil gently. Apply 2-3 inches of straw mulch around plants (leaving 2-inch collar clear at stem base) to suppress weeds and regulate soil temperature.
Pro-Tip: Transplant on overcast days or after 4 PM. Reduced transpiration stress improves establishment rates by 30-40% compared to midday planting.
Nutritional & Environmental Benefits
Homegrown vegetables contain 20-40% higher vitamin C levels than supermarket equivalents stored for 7-10 days. Leafy greens harvested minutes before consumption retain maximum folate and carotenoid content. Formal gardens concentrate production in managed beds, leaving surrounding areas as pollinator habitat.
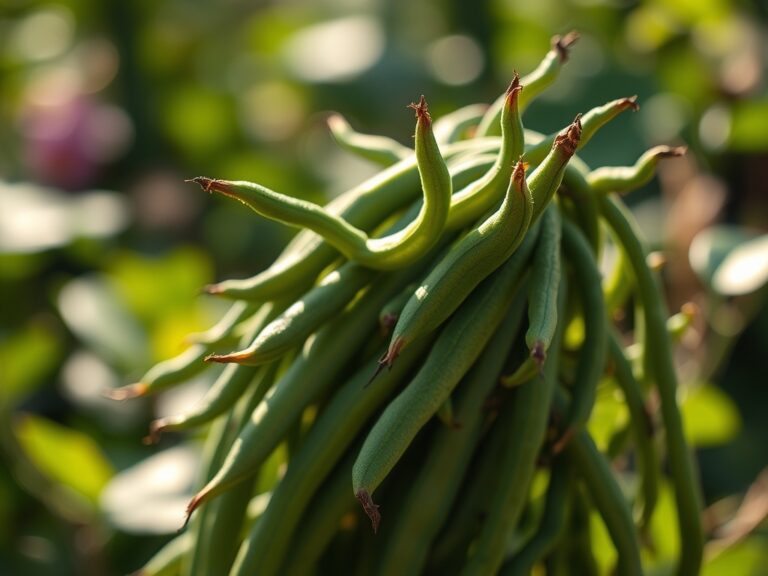
Nitrogen fixation occurs when you interplant legumes (peas, beans) with heavy feeders (brassicas, tomatoes). Rhizobium bacteria colonizing legume roots convert atmospheric nitrogen into plant-available nitrates at rates of 100-150 pounds per acre annually. This biological process reduces synthetic fertilizer dependency.
Mason bees (Osmia species) prefer nesting sites within 300 feet of diverse flower sources. Include calendula, borage, and nasturtiums in formal bed borders to support native pollinator populations. These solitary bees pollinate 120 times more efficiently than honeybees for early-season crops.
Advanced Methods
Small Space Intensification:
Vertical trellising doubles growing area in 4×8 foot beds. Train indeterminate tomatoes, pole beans, and cucumbers on 6-foot cattle panel arches. Underneath, plant shade-tolerant lettuce and spinach. This layering produces 3-4 times the yield per square foot compared to flat layouts.
Organic Systems:
Eliminate synthetic inputs through compost tea applications (diluted 1:10 ratio) applied biweekly as foliar spray and soil drench. Activate compost tea with 2 tablespoons unsulfured molasses per gallon to feed beneficial bacteria populations. Introduce nematode-suppressing cover crops (Sunn hemp, marigolds) in rotation.
Season Extension:
Low tunnels constructed from 10-foot sections of 1/2-inch PVC pipe and 6-mil greenhouse plastic extend harvests 6-8 weeks in both directions. Cover crops planted August 1 in Zone 6 mature under tunnels through December. Spring tunnel installation 4 weeks before last frost permits transplanting 3 weeks earlier than unprotected beds.
Troubleshooting
Symptom: Seedlings stretch tall and thin (legginess) with pale coloration.
Solution: Increase light intensity to 6000-8000 lumens and reduce temperature by 5-10°F. Provide 14-16 hour photoperiod.
Symptom: Blossom end rot appears as dark, sunken spots on tomato and pepper fruits.
Solution: Calcium deficiency caused by inconsistent watering. Maintain even soil moisture with deep watering twice weekly rather than daily shallow irrigation.
Symptom: Cupped, distorted leaves with yellowing between veins.
Solution: Herbicide drift damage from synthetic auxins (2,4-D, dicamba). No cure exists. Remove affected plants and replant after 90-day waiting period.
Symptom: Powdery white coating on squash and cucumber leaves.
Solution: Fungal infection from poor air circulation. Prune lower leaves, space plants 36 inches apart, and apply sulfur-based fungicide at first symptom appearance.
Symptom: Plants wilt midday despite adequate soil moisture.
Solution: Root-knot nematode damage. Soil solarization (clear plastic covering for 4-6 weeks in peak summer) reduces populations by 80-90%. Rotate to resistant varieties next season.
Storage & Maintenance
Apply 1 inch per week total moisture (rainfall plus irrigation) measured with rain gauge. Deep watering twice weekly develops extensive root systems versus shallow daily applications. Insert finger to 3-inch depth. If soil feels dry at this level, irrigate until moisture reaches 8-inch depth.
Feed heavy feeders (tomatoes, peppers, squash) every 14 days with fish emulsion diluted per label (typically 2-3 tablespoons per gallon). Light feeders (root vegetables, legumes) require feeding only at transplant and midseason. Apply granular slow-release organic fertilizer (5-5-5 NPK) at 2 pounds per 100 square feet every 6 weeks.
Post-harvest storage varies by crop type. Root vegetables store 4-6 months at 32-40°F with 90-95% humidity. Tomatoes require room temperature (55-70°F) until fully ripe. Leafy greens last 10-14 days when washed, dried thoroughly, and stored in perforated bags with paper towel moisture absorption.
Conclusion
Preparing a formal vegetable garden requires measurable soil chemistry, geometric precision, and biological timing rather than casual improvisation. These six symmetry steps transform raw ground into productive, aesthetically disciplined growing systems that yield 8-12 months annually with proper season extension. Success emerges from treating garden preparation as permanent infrastructure development rather than temporary annual disruption.
Share your soil test results and geometric garden layouts in local gardening groups or county extension master gardener programs to build regional knowledge networks.
Expert FAQs
Q: How deep should I prepare soil for root vegetables versus leafy greens?
A: Root crops (carrots, parsnips, beets) require 12-16 inches of loose, rock-free soil. Leafy greens perform adequately with 8-10 inches of prepared depth since their fibrous roots stay shallow.
Q: Can I prepare garden beds in fall for spring planting?
A: Fall preparation proves superior. Amendments break down over winter, weed seeds germinate and die during freeze cycles, and spring soil dries faster in pre-formed beds allowing earlier planting by 2-3 weeks.
Q: What bed orientation maximizes sun exposure in formal layouts?
A: North-south bed orientation provides equal light distribution to both sides. East-west orientation works when tall crops (corn, staked tomatoes) occupy the north end preventing shade on shorter southern crops.
Q: How do I maintain formal garden aesthetics while succession planting?
A: Plant replacement crops in biodegradable pots 2-3 weeks before harvesting predecessors. Transplant pot-grown seedlings immediately into empty spaces maintaining continuous geometric coverage without visual gaps.
Q: What spacing prevents overcrowding in intensive formal beds?
A: Use equidistant spacing (offset grid pattern) rather than rows. Space plants at 60-70% of recommended row spacing. Example: 24-inch row spacing becomes 16-inch equidistant spacing, increasing yield 40% while maintaining airflow.