6 Steps to Prepare a Secure Garden Statue Base
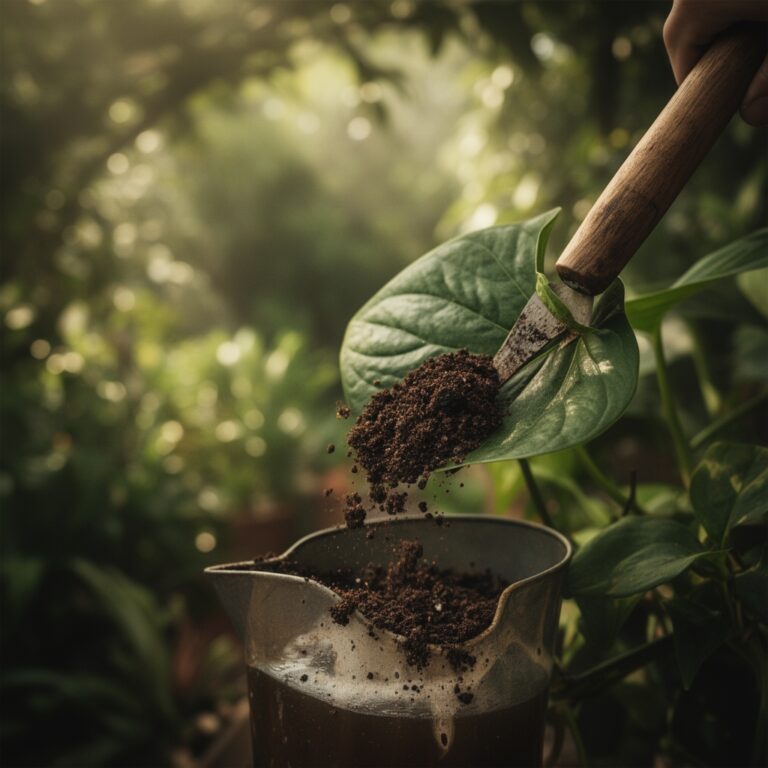
The smell of damp, anaerobic earth rising from a freshly turned furrow signals the start of any serious structural project. When you press your thumb against a healthy leaf, the turgor pressure should resist your touch; it is this same internal pressure and stability that your landscape must provide for a heavy installation. Learning how to prepare a site for a garden statue requires more than aesthetic placement. It demands an understanding of soil compaction, drainage physics, and the structural integrity of the rhizosphere. A statue weighing over 100 pounds will eventually sink into untreated silt or clay, leading to tilt or structural failure. You must treat the ground as a foundation, not a decoration. By stabilizing the substrate and managing the Cation Exchange Capacity (CEC) of the surrounding soil, you ensure that the installation does not interfere with the local hydrology or the health of nearby root systems.
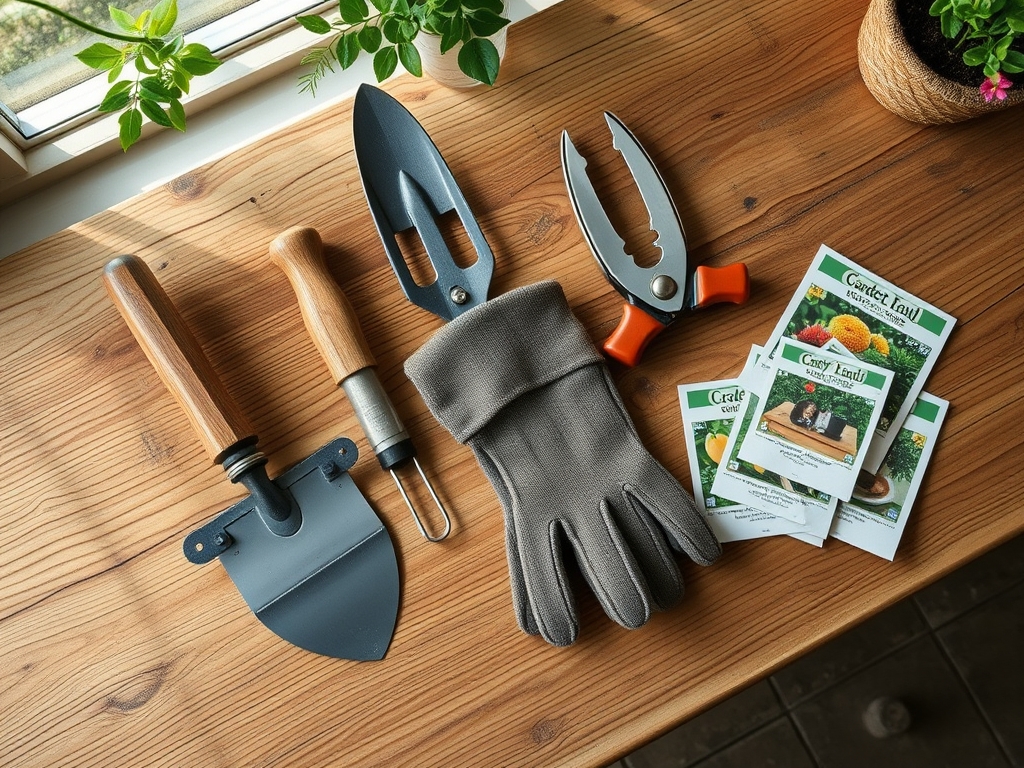
Materials:
The ideal substrate for a heavy garden installation is a **friable loam** with a high mineral content to prevent compression. If your soil is heavy clay, the **bulk density** is too high for natural drainage. You will need a base layer of **3/4-inch crushed limestone** or angular gravel to facilitate water movement away from the pedestal.
To maintain the health of surrounding perennials, monitor the soil pH. Most garden statues are cast in concrete or carved from limestone, which can leach carbonates into the soil, raising the pH above 7.5. If your soil becomes too alkaline, it inhibits the uptake of iron and manganese. Keep the surrounding soil at a pH of 6.0 to 6.8. Use a fertilizer with an NPK ratio of 10-10-10 for general maintenance of the site, but switch to a 5-10-15 ratio if you are planting flowering species around the base to encourage root development rather than excessive foliar growth.
Timing:
In USDA Hardiness Zones 4 through 7, the window for site preparation is dictated by the frost line. You must excavate and pour any concrete footings after the final spring frost but before the heat of the summer induces high evapotranspiration rates in the surrounding flora. The "Biological Clock" of your garden transitions from vegetative growth to reproductive stages as the photoperiod shifts.
Perform your site excavation when the soil moisture is between 25% and 50%. If the soil is too wet, you risk destroying the soil structure through compaction; if it is too dry, the dust inhibits the gas exchange necessary for beneficial soil microbes. Aim for a soil temperature of at least 55 degrees Fahrenheit to ensure that any displaced soil organisms can quickly recolonize the disturbed area.
Phases:
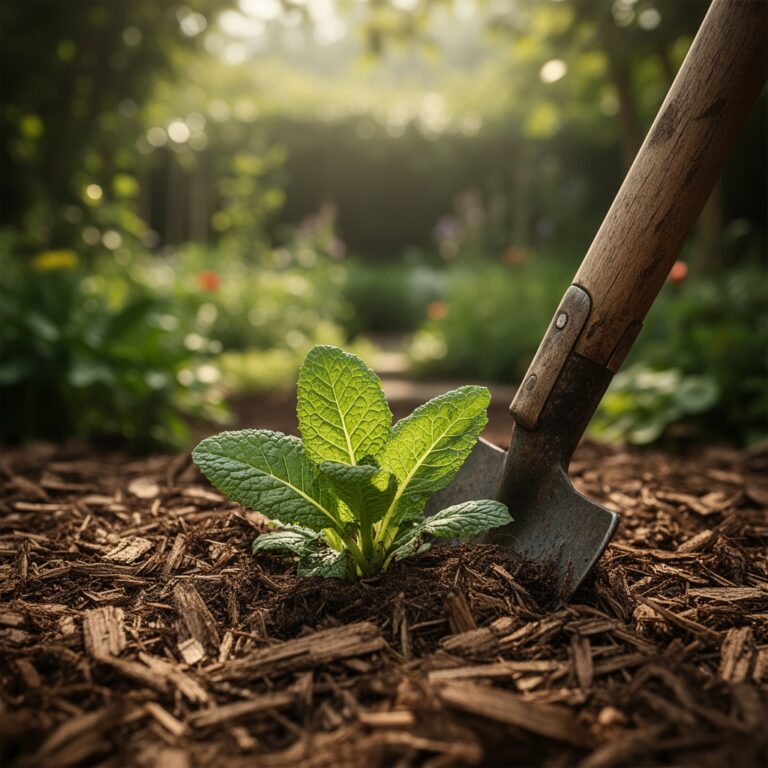
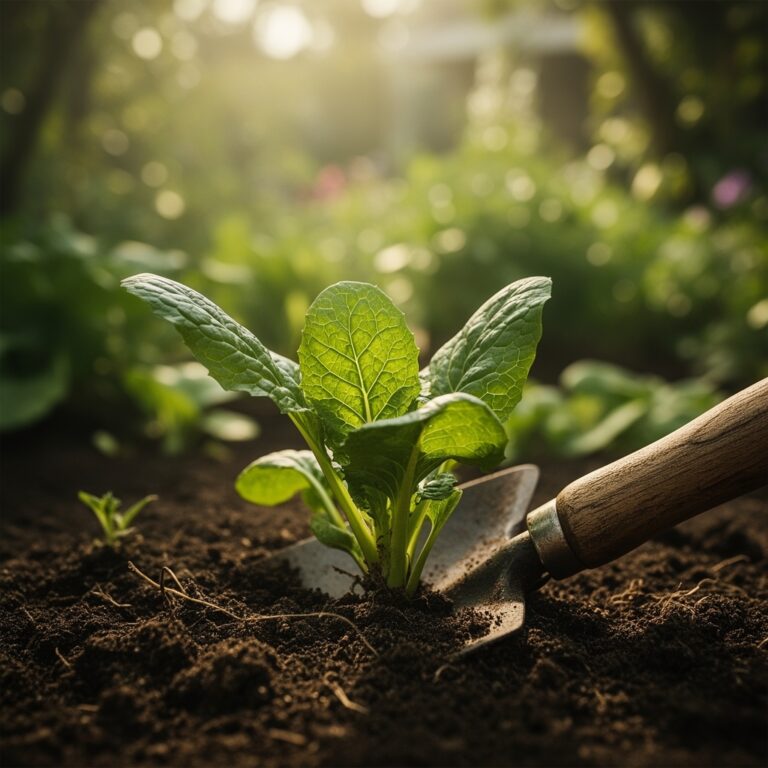
Sowing the Foundation
Excavate a hole 6 inches deeper than the height of your intended base. Fill the bottom 4 inches with compacted crushed stone. This layer acts as a capillary break, preventing moisture from wicking up into the statue and causing freeze-thaw spalling.
Pro-Tip: Proper drainage prevents the accumulation of salts in the rhizosphere. This is critical because high salt concentrations create osmotic stress, where the soil actually pulls water out of the plant roots through reverse osmosis.
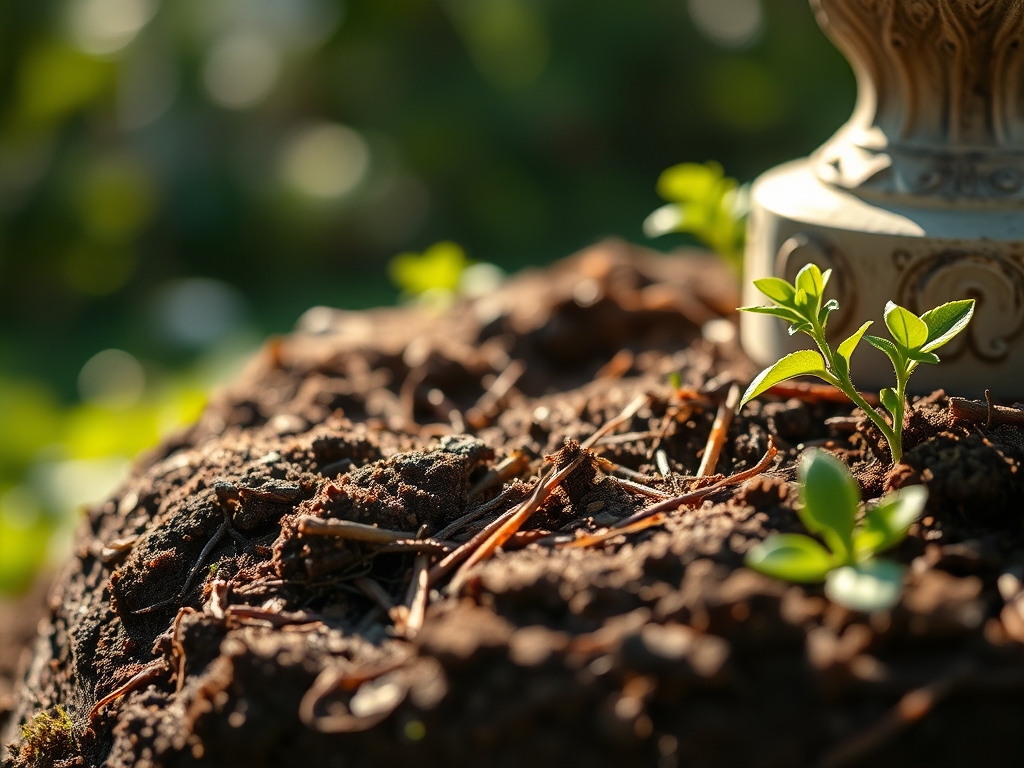
Transplanting and Leveling
Place your leveling pad or concrete slab onto the gravel. Use a spirit level to ensure the surface is perfectly horizontal. If the site is sloped, you must install a small retaining wall or "boulder "collar" to prevent soil erosion from burying the base of the statue over time.
Pro-Tip: When backfilling around the base, do not over-compact the soil. High soil density limits the diffusion of oxygen to the roots of nearby plants, leading to anaerobic conditions that favor root-rot pathogens like Phytophthora.
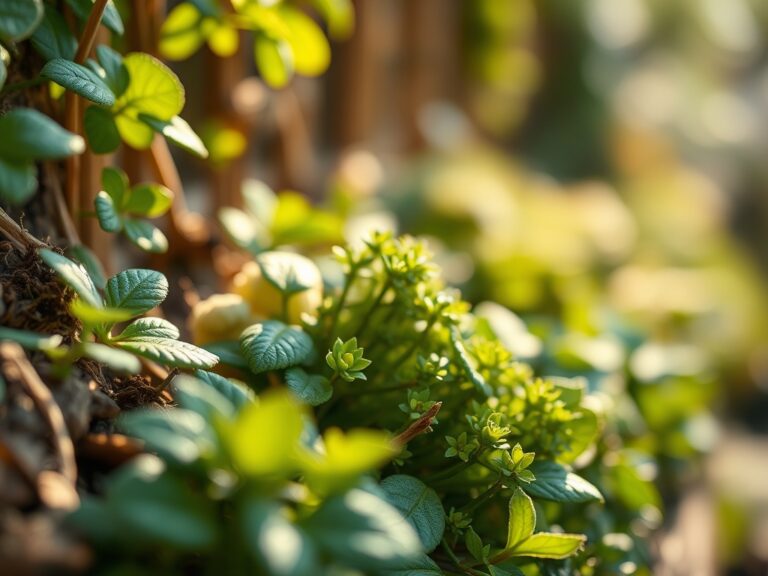
Establishing the Perimeter
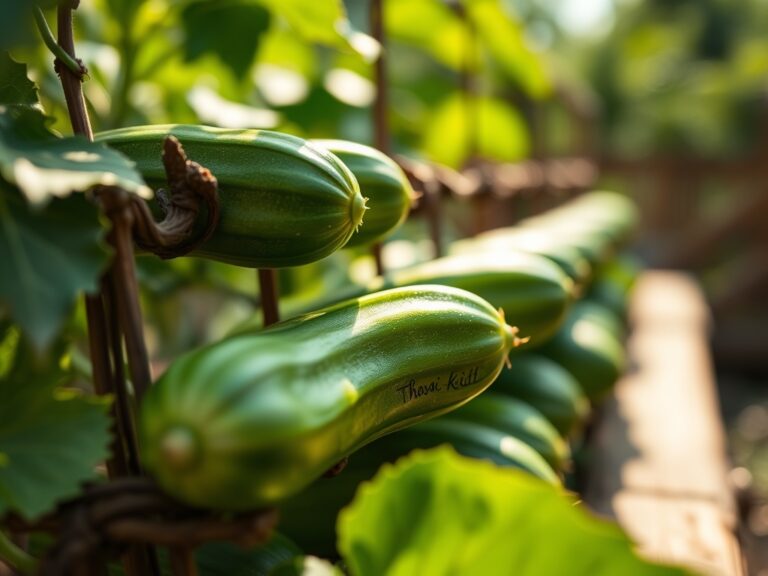
Once the statue is set, plant low-growing groundcovers like Thymus serpyllum around the edges. These plants help stabilize the soil and manage moisture levels through transpiration. Ensure the plants are spaced at least 8 inches from the statue to allow for airflow.
Pro-Tip: Utilize mycorrhizal symbiosis by inoculating the backfill soil with fungal spores. These fungi extend the reach of plant roots, improving the uptake of phosphorus and increasing the plant's resistance to the stress caused by the construction.
The Clinic:
Symptom: Interveinal Chlorosis
If plants near your statue show yellow leaves with green veins, the soil pH has likely become too alkaline due to concrete leaching.
Fix-It: Apply elemental sulfur or chelated iron to lower the pH and restore nutrient availability.
Symptom: Stunted Growth and Wilting
This indicates soil compaction from foot traffic during the installation process. The roots cannot penetrate the dense soil to find water.
Fix-It: Use a broadfork or aerator to break up the soil around the statue without overturning the layers.
Symptom: Leaf Scorch
If the statue is made of reflective material or light-colored stone, it may reflect intense UV radiation onto nearby foliage.
Fix-It: Increase irrigation to 2 inches of water per week to help the plants manage the increased heat load through cooling transpiration.
Maintenance:
A secure garden site requires consistent monitoring. Use a soil moisture meter to check the hydration levels at a depth of 6 inches twice a week. During the peak of summer, provide 1.5 inches of water per week at the drip line of surrounding plants.
Use a hori-hori knife to remove deep-rooted weeds that may attempt to grow under the statue's base and destabilize the leveling. Every autumn, check the statue for "heaving." This occurs when water gets under the base, freezes, and expands. If the statue has shifted, you must re-level the gravel substrate before the next growing season. Clean the statue with a soft brush and distilled water to prevent chemical runoff from affecting the cation exchange in the soil.
The Yield:
When harvesting flowers or herbs planted around your statue, timing is essential for "day-one" freshness. Harvest in the early morning when turgor pressure is at its peak. Use sharp bypass pruners to make clean, 45-degree cuts. Immediately plunge the stems into 40-degree Fahrenheit water to slow the rate of senescence. This rapid cooling stops the metabolic breakdown of the plant tissue and preserves the essential oils and pigments. For woody stems, scrape the bottom inch of the bark to increase the surface area for water uptake.
FAQ:
How deep should the gravel base be for a garden statue?
For statues under 200 pounds, a 4-inch layer of compacted crushed stone is sufficient. For larger pieces, excavate to the local frost line, typically 12 to 24 inches, to prevent shifting during freeze-thaw cycles.
Does a concrete statue harm nearby plants?
Concrete can leach lime, raising soil pH over 7.0. This causes nutrient lockout. Monitor the site with a pH meter and use acid-loving fertilizers or elemental sulfur if the soil becomes too alkaline for your specific plant species.
What is the best soil type for a statue site?
A friable loam with a high sand content is best. It provides structural support while allowing for rapid drainage. Avoid heavy clay, which retains too much water and can cause the statue to tilt as the soil expands.
How do I prevent weeds from growing under the statue?
Install a heavy-duty geotextile fabric between the soil and the gravel base. This prevents weed seeds from germinating while allowing water to pass through, maintaining the natural hydrological cycle of the garden bed.