6 Steps to Install a Solar Garden Path Light
When twilight arrives and shadows stretch across your cultivated beds, the steps for installing a garden light become critical infrastructure work, not mere decoration. Solar path lights anchor navigation, define borders between growing zones, and extend your productive hours into dusk. Each fixture transforms photons into stored energy, then releases that energy as directional lumens when your garden's photoperiod ends. Proper installation ensures years of autonomous operation without voltage drops or root disturbance.
Materials
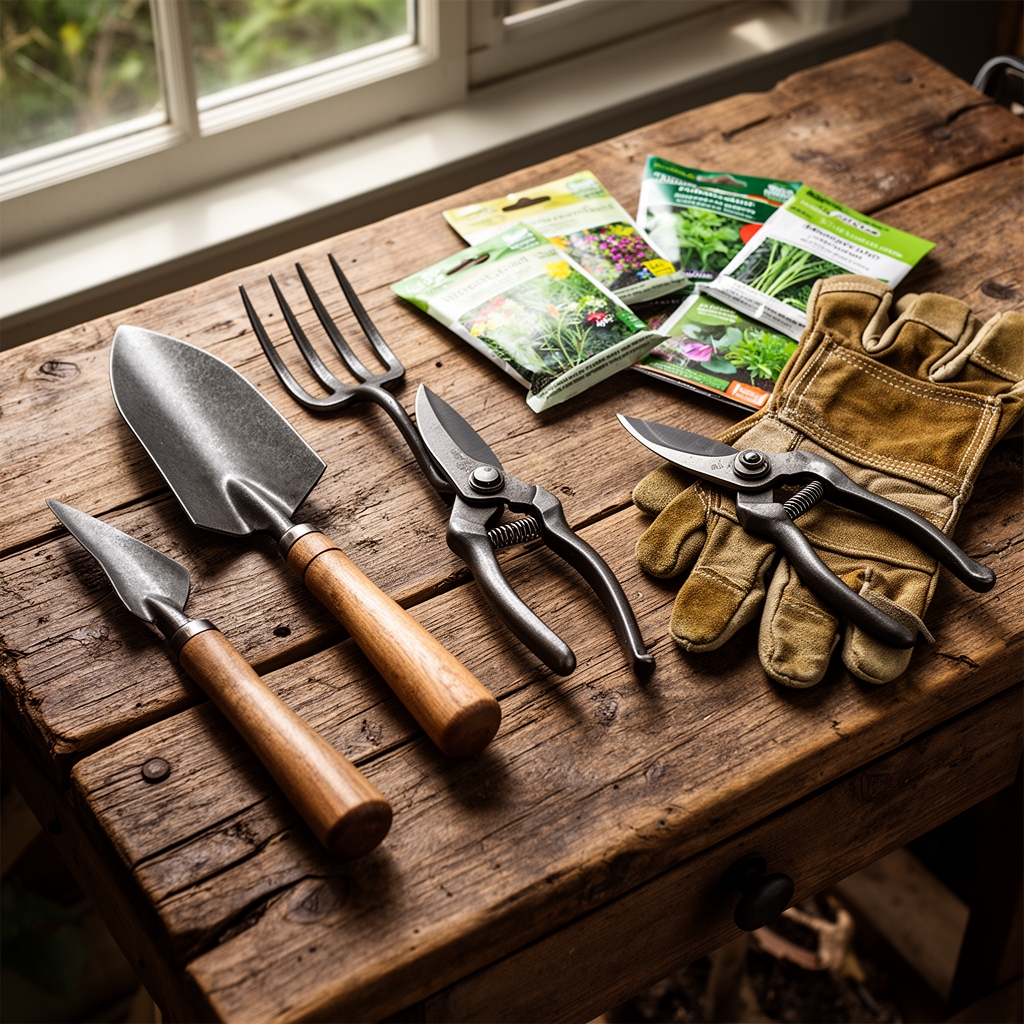
Gather the following before beginning:
Solar path light units: Select models with monocrystalline panels (17-22% efficiency) and nickel-metal hydride batteries rated for 500+ charge cycles. Verify the lumen output reaches 10-15 for accent work or 30+ for functional illumination.
Soil amendment (pH 6.0-7.0): For compacted clay soils, blend 2 parts native soil with 1 part coarse sand and 1 part composted pine bark (aged 18 months minimum). This mixture improves drainage around the stake and prevents anaerobic pockets.
Organic root-zone fertilizer (4-4-4 formulation): A balanced NPK ratio supports adjacent plantings without excess nitrogen that promotes leggy growth. Apply at 2 tablespoons per square foot if installing near ornamentals.
Hand auger or dibber: A 2-inch diameter tool penetrates hardpan layers without shearing feeder roots.
Mycorrhizal inoculant: Glomus intraradices species colonize root hairs of nearby perennials, improving phosphorus uptake by 40-60% in alkaline soils.
Gravel or crushed granite (pea-sized): Encircle the stake base with a 3-inch depth to prevent frost heave and maintain vertical alignment.
Timing
Install solar lights during shoulder seasons when soil temperatures range between 50-65°F. This window falls in USDA Hardiness Zones 6-9 from mid-March to early May or late September through October. Soil at these temperatures is workable yet firm enough to grip the stake without excessive compaction.
Avoid installation during active freeze-thaw cycles. Ice lenses form in saturated soils, lifting fixtures by 0.5-2 inches per winter. Wait until the last spring frost date has passed by 14 days to ensure ground stability. In Zone 5 and colder, delay until soil probes register consistent 45°F at 6-inch depth.
Phases

Sowing (Site Selection)
Map full-sun exposure patterns across 12 months. Solar panels require 6-8 hours of direct radiation daily to achieve full battery charge. Avoid north-facing slopes or areas beneath deciduous canopies that cast summer shade. Test soil drainage by digging a 12-inch pilot hole and filling with water. If standing water remains after 4 hours, amend with coarse aggregate or relocate.
Mark each fixture location with a bamboo stake. Space units 8-10 feet apart along pathways to prevent light overlap, which creates harsh shadows and reduces perceived contrast. Use a builder's level to verify grade consistency within 2 degrees.
Pro-Tip: Apply a thin layer of diatomaceous earth (food-grade) around the marked zone. This deters cutworms and root weevils during the establishment window without impacting beneficial nematodes.
Transplanting (Installation)
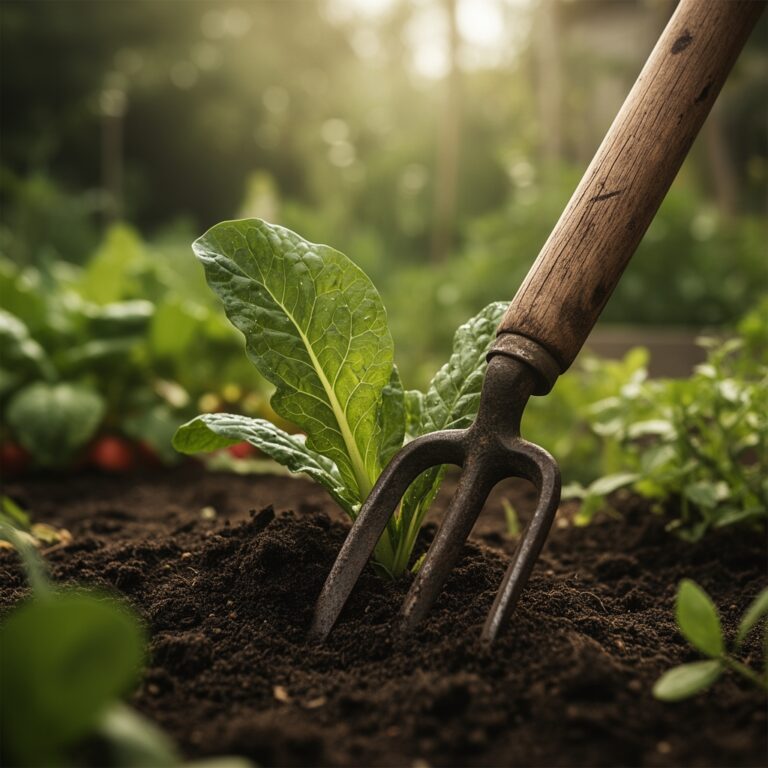
Remove the solar light from packaging and inspect the gasket seal around the battery compartment. Apply a bead of silicone grease if rubber shows brittleness. Insert the hand auger at each marked point and twist to 8-inch depth, removing soil in lifts to maintain hole integrity.
Drop 1 tablespoon of mycorrhizal inoculant into the base of each hole. This establishes fungal networks that support adjacent plant health. Position the light stake vertically and backfill with amended soil, tamping every 2 inches to eliminate air pockets. The solar panel should face true south (adjust 15 degrees west in coastal zones to capture afternoon intensity).
Pro-Tip: Wrap the lower 3 inches of plastic stakes with copper mesh (20-gauge). Copper ions leach slowly and deter slug aggregation without affecting earthworm populations.
Establishing (First 30 Days)
Allow batteries to complete three full charge-discharge cycles before evaluating performance. Initial illumination may last only 2-3 hours as nickel-metal hydride cells condition. Clean photovoltaic surfaces weekly with distilled water and a microfiber cloth. Mineral deposits reduce efficiency by 8-12% per season.
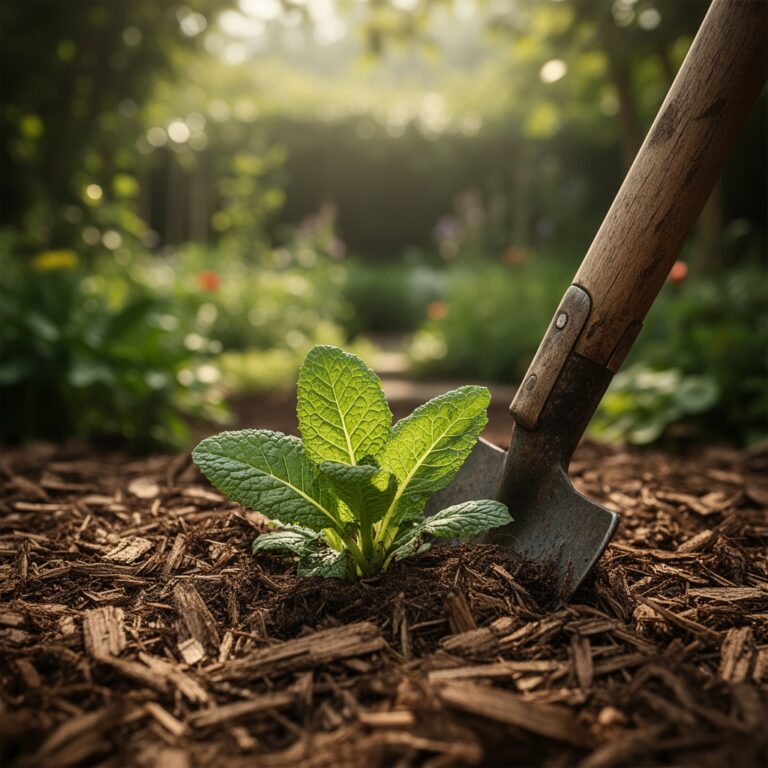
Monitor the fixture for vertical shift after heavy rain events. Re-tamp soil if the stake leans beyond 5 degrees. Mulch adjacent zones with shredded hardwood (2-3 inch layer) to regulate soil temperature and moisture, keeping the mulch 4 inches clear of the light base.
Pro-Tip: Insert a 6-inch galvanized nail beside each stake at a 45-degree angle. This breaks up subsurface hardpan and improves water infiltration, preventing hydrophobic conditions that cause fixture tipping.
Troubleshooting
Symptom: Light fails to illuminate after dusk.
Solution: Test battery voltage with a multimeter (should read 1.2V minimum). Replace if below 1.0V. Confirm the photoresistor sensor is not obstructed by soil splash or spider webs.
Symptom: Dim output or 1-hour runtime.
Solution: Inspect for partial shading from new plant growth. Prune back foliage to restore 6-hour sun exposure. Clean panel surface to remove pollen and dust films.
Symptom: Fixture leans after winter.
Solution: Excavate to 10 inches and install a gravel collar (4-inch diameter) around the stake. Backfill with 60% native soil and 40% perlite to improve drainage and reduce frost heave.
Symptom: Corrosion on battery terminals.
Solution: Remove batteries and scrub terminals with a wire brush dipped in white vinegar. Rinse with distilled water, dry thoroughly, and coat with dielectric grease before reinstalling.
Maintenance
Check solar panels every 21 days. Remove accumulated organic debris. If algae forms on the panel surface, apply a 5% solution of horticultural vinegar and wipe clean after 60 seconds.
Replace batteries every 18-24 months or when runtime drops below 4 hours. Use only manufacturer-specified chemistry (NiMH or NiCd) to prevent voltage mismatch.
Apply 1 inch of water per week to adjacent planting zones, maintaining consistent soil moisture. Erratic irrigation causes soil expansion and contraction, shifting light alignment.
Reapply gravel mulch annually in early spring to counteract soil settling. Add 0.5 inches to maintain the original 3-inch depth.
FAQ
How deep should I install the stake?
Drive the stake to 6-8 inches in loam soils, 10 inches in sandy substrates. Deeper insertion risks cracking the housing in rocky ground.
Can I install lights under tree canopies?
Only under high-canopy species (15+ feet) with sparse leaf cover. Dense shade reduces charge efficiency below functional thresholds.
What soil pH is ideal?
pH 6.0-7.0 prevents mineral buildup on the stake and supports adjacent plant health. Test annually with a calibrated probe.
Do I need to turn lights off in winter?
No. Batteries self-regulate charge cycles. However, remove units in Zone 4 and colder to prevent housing cracks from extreme freeze events.
How do I prevent lawn mowers from striking fixtures?
Install 6 inches from turf edges. Mark with a colored flag during the first growing season until spatial memory develops.