6 Steps to Install a Decorative Garden Screen
Crushed basalt and the sharp, metallic scent of wet aluminum oxide fill the air as you prepare the site. Successful installation begins with the soil; the rhizosphere must be stable enough to support vertical structures while remaining porous enough for drainage. Understanding the steps for installing a garden screen requires more than aesthetic placement. It demands an analysis of soil mechanics and structural integrity. A screen acts as a windbreak and a light filter, altering the microclimate of the surrounding flora. If the footings fail, the lateral force of a high-velocity wind can uproot the structure and the delicate perennials nearby. You are not just placing a barrier; you are managing the fluid dynamics of air and the structural load of the earth. Precision is the only metric that matters when the goal is a permanent, functional addition to the landscape.
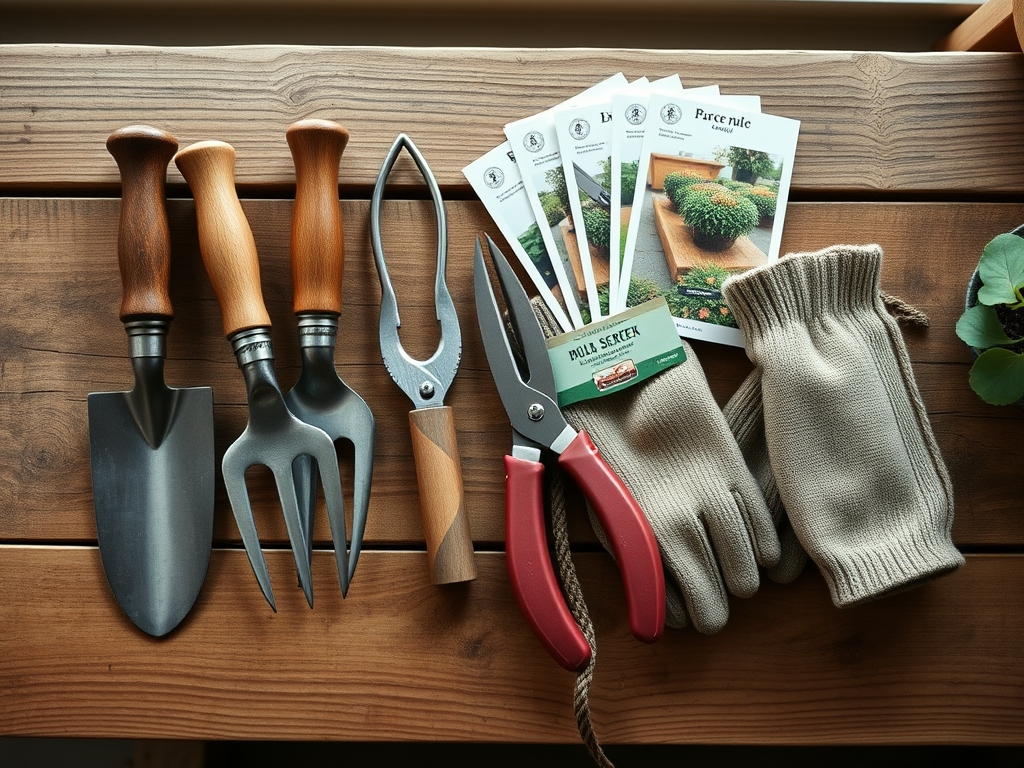
Materials:
The foundation of any garden structure is the substrate. For high-stability footings, you must assess the Cation Exchange Capacity (CEC) of the surrounding soil to prevent metal corrosion or wood rot. High-clay soils with a **CEC above 25** retain moisture longer, necessitating galvanized or treated materials. The ideal substrate for surrounding plantings is a **friable loam** with a **pH between 6.0 and 7.0**. This acidity range ensures that essential micronutrients remain bioavailable to the plants climbing or bordering the screen.
When preparing the backfill for nearby botanical elements, utilize a 10-10-10 NPK ratio to provide a balanced start. Nitrogen (10%) supports the vegetative growth of climbers; Phosphorus (10%) aids in rapid root establishment; and Potassium (10%) regulates turgor pressure and cellular health. Avoid heavy peat mixes that compress under the weight of the screen footings. Instead, use a mix of 60% mineral soil, 20% composted organic matter, and 20% perlite to ensure oxygen reaches the root zone.
Timing:
Installation must align with the local frost-date windows to ensure soil stability. In Hardiness Zones 4 through 7, the optimal window is late spring after the ground has thawed and the moisture content has stabilized. Attempting to set posts in saturated, early-spring soil leads to "heaving" during the next freeze-thaw cycle. In Zones 8 through 11, late autumn is preferable to avoid the extreme heat that can cause rapid contraction in wooden screen components.
The "Biological Clock" of the garden also dictates timing. You must install the screen before the transition from the vegetative stage to the reproductive stage of your climbing plants. If you install a screen once a plant has entered its flowering photoperiod, you risk damaging the delicate vascular tissue during the training process. Aim for a period of dormancy or early spring emergence to allow the plant to adapt its growth habit to the new vertical surface.
Phases:

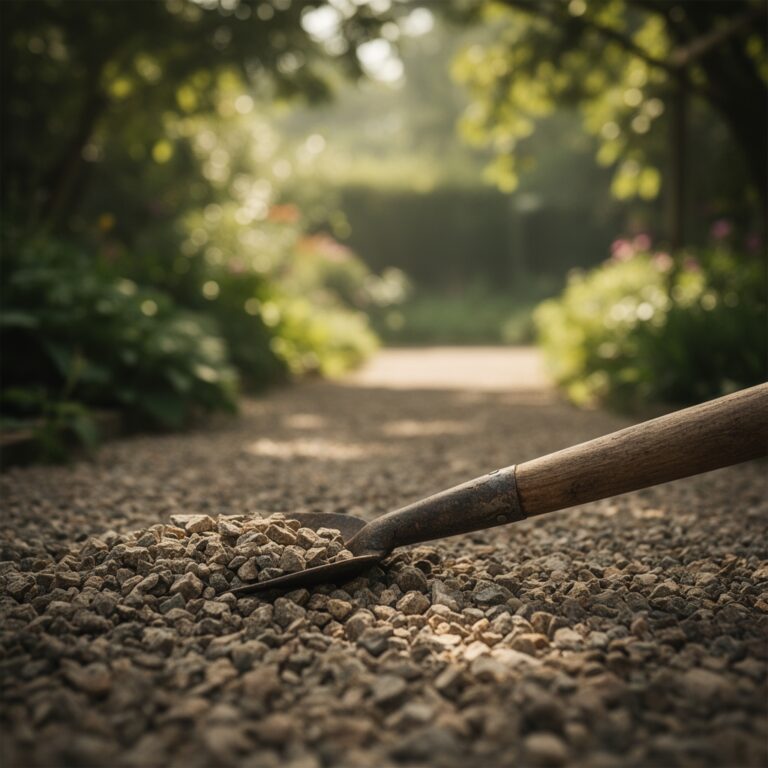
Sowing and Site Prep
Clear the installation area of all competitive weeds. Dig post holes to a depth of at least one-third the height of the screen to counteract lateral wind force. For a six-foot screen, a 24-inch deep hole is the minimum requirement. Ensure the base of the hole contains 3 inches of compacted gravel for drainage.
Pro-Tip: Proper drainage at the base prevents anaerobic conditions. This avoids the buildup of pathogenic fungi that could migrate from the post to the plant's rhizosphere through mycorrhizal networks.
Transplanting and Anchoring
Set the posts and level them using a plumb line. Once the screen is secured, introduce your climbing species at the base. Space them 12 to 18 inches apart to allow for lateral expansion. When backfilling, do not bury the root flare of the plants; keep the crown level with the soil surface to prevent stem rot.
Pro-Tip: Use soft ties to guide the primary stems. This exploits phototropism, directing the plant's growth toward the light while the screen provides the necessary physical support.
Establishing and Training
During the first 21 days, the plant focuses on root establishment. Monitor the soil moisture daily. Once the plant begins to produce new tendrils, weave them gently through the screen apertures. This manual intervention overrides apical dominance, encouraging the plant to branch out horizontally rather than just growing straight up.
Pro-Tip: By bending the stems horizontally, you suppress auxin flow to the tip and stimulate lateral buds. This results in a denser, fuller screen coverage.
The Clinic:
Physiological disorders often manifest shortly after installation due to site disturbance.
- Symptom: Interveinal chlorosis (yellowing leaves with green veins).
- Solution: This indicates a Manganese or Iron deficiency, often caused by a pH above 7.5. Apply a chelated iron drench to the root zone.
- Symptom: Leaf scorch or marginal necrosis.
- Solution: This is often a sign of "transplant shock" or salt buildup. Flush the soil with 2 inches of water to leach excess salts.
- Symptom: Wilting despite moist soil.
- Solution: This suggests root rot or poor oxygenation. Check for "puddling" at the base of the screen and improve drainage by incorporating coarse grit.
Fix-It for Nitrogen Chlorosis: If the entire leaf turns pale yellow, the plant is scavenging Nitrogen from older growth. Apply a quick-release high-nitrogen fertilizer (20-10-10) at half strength to restore chlorophyll production.
Maintenance:
A garden screen is a permanent fixture that requires precise maintenance. Provide 1.5 inches of water per week delivered at the drip line, not the foliage, to prevent fungal spores from proliferating. Use a soil moisture meter to verify that the moisture has penetrated 6 inches deep.
Pruning is essential for structural health. Use bypass pruners for clean cuts on living tissue; anvil pruners will crush the vascular bundles. Every spring, use a hori-hori knife to check for root circling near the footings. If roots are girdling the posts, prune them back to prevent structural displacement. Inspect the screen hardware for oxidation and tighten all fasteners to account for the seasonal expansion and contraction of the materials.
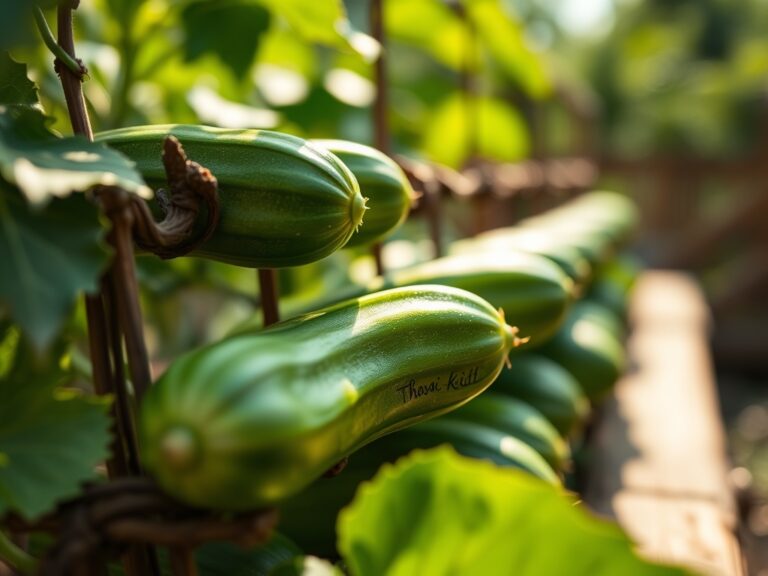
The Yield:
If your screen supports flowering climbers like Clematis or edible vines like Hops, harvest timing is critical. For flowers, harvest when the buds are in the "marshmallow" stage (soft but not fully open) to ensure maximum vase life. For Hops, wait until the bracts feel papery and the lupulin glands are a bright gold color.
Handle all harvested material with minimal friction to preserve the trichomes and essential oils. For "day-one" freshness, immediately submerge the cut stems in 40-degree Fahrenheit water to maintain turgor pressure and slow the rate of senescence.
FAQ:
How deep should I set the posts for a garden screen?
Set posts at a depth equal to one-third of the total height. For a 6-foot screen, dig 24 inches deep. Add 3 inches of gravel at the bottom to ensure drainage and prevent structural rot.
What is the best soil for plants near a screen?
Use a friable loam with a pH of 6.0 to 7.0. The soil should have a Cation Exchange Capacity (CEC) that allows for nutrient retention without waterlogging, typically achieved with a 60-20-20 mineral-compost-perlite ratio.
Can I install a garden screen in the winter?
Avoid installation during active frost or when the ground is frozen. Frozen soil prevents proper compaction, leading to "heaving" and structural failure. Aim for late spring or early autumn depending on your local Hardiness Zone.
How do I stop my screen from leaning over time?
Ensure the footings are set in compacted gravel or concrete. Check the vertical alignment with a level annually. Prune heavy vines to reduce the "sail effect" during high winds, which puts excessive lateral pressure on the posts.