6 Root-Health Benefits of Specialized African Violet Soil
The smell of damp peat and the gritty texture of perlite under your fingernails signal a successful repotting session. When you press your thumb against the leaf of a Saintpaulia, the immediate resistance and crisp snap indicate high turgor pressure. This cellular rigidity is the direct result of a stable rhizosphere. Using a specialized violet soil ensures that the delicate, fibrous root system does not succumb to anaerobic conditions. Standard potting mixes often collapse under the weight of consistent moisture; however, a professional violet substrate maintains a porous structure that facilitates gas exchange. Most amateur growers fail because they overlook the specific gravity and aeration requirements of these gesneriads. A healthy violet requires a substrate that balances capillary action with rapid drainage. When the root hairs can access both dissolved oxygen and moisture without being smothered by heavy clay or dense compost, the plant exhibits deep green foliage and consistent flowering cycles. Achieving this balance is the difference between a plant that merely survives and one that dominates its microclimate.
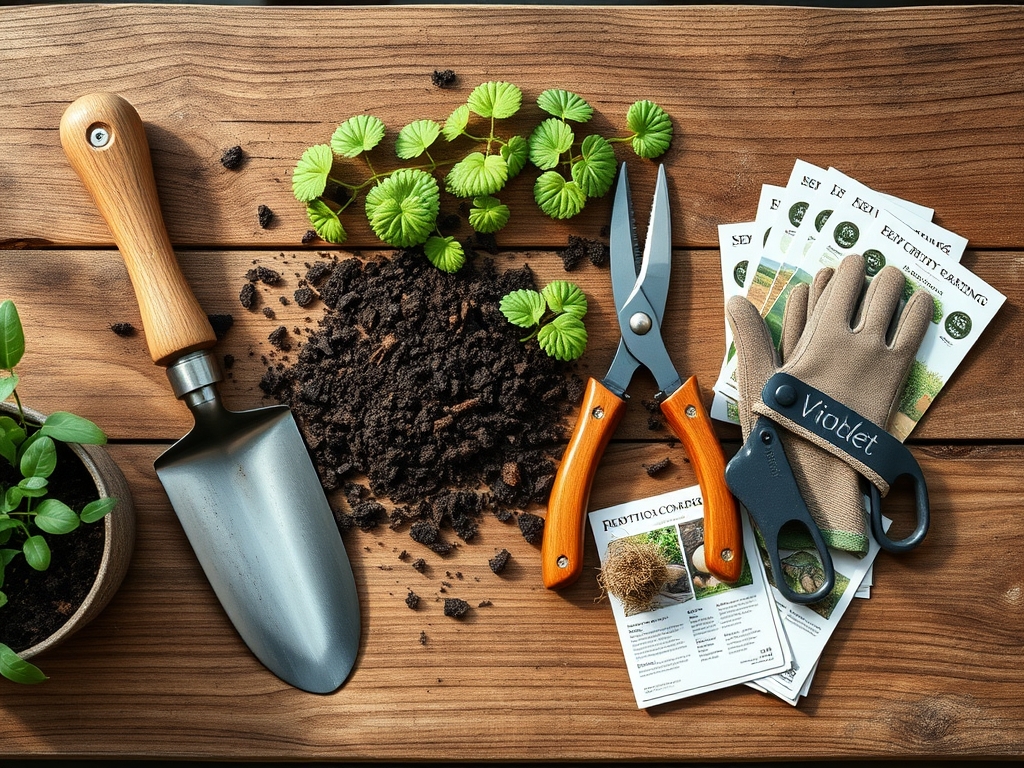
Materials:
The chemical composition of the substrate determines the availability of nutrients through the Cation Exchange Capacity (CEC). For African Violets, the ideal soil pH must be maintained between **5.8 and 6.2**. If the pH drifts above 7.0, micronutrients like iron and manganese become chemically locked, leading to interveinal chlorosis. The physical texture should be a friable loam, consisting of **50 percent peat moss, 25 percent perlite, and 25 percent vermiculite**.
Nutrient ratios must remain conservative to prevent salt accumulation. A specialized violet soil often incorporates a starter charge with an NPK ratio of 12-36-14. High phosphorus (the middle number) is essential for root development and ATP production within the plant cells. Avoid mixes with high bark content, as the decomposition process consumes nitrogen, robbing the plant of the fuel needed for vegetative growth. The substrate must feel light; a dry gallon should weigh less than two pounds.
Timing:
African Violets are typically grown indoors, but their biological clock is still influenced by external light cycles and ambient temperatures. In Hardiness Zones 9 through 11, outdoor humidity can assist growth, but for the majority of growers in Zones 3 through 8, indoor climate control is mandatory. Maintain a consistent ambient temperature between 65 and 75 degrees Fahrenheit.
The transition from the vegetative stage to the reproductive stage is triggered by a consistent photoperiod of 12 to 14 hours of light. During the spring equinox, as natural light intensity increases, the plant enters a high metabolic state. This is the optimal window for repotting. Avoid transplanting during the heat of mid-summer or the deep chill of winter, as the plant's recovery rate slows during temperature extremes. If the soil temperature drops below 60 degrees Fahrenheit, root activity ceases, and the risk of Pythium root rot increases exponentially.
Phases:
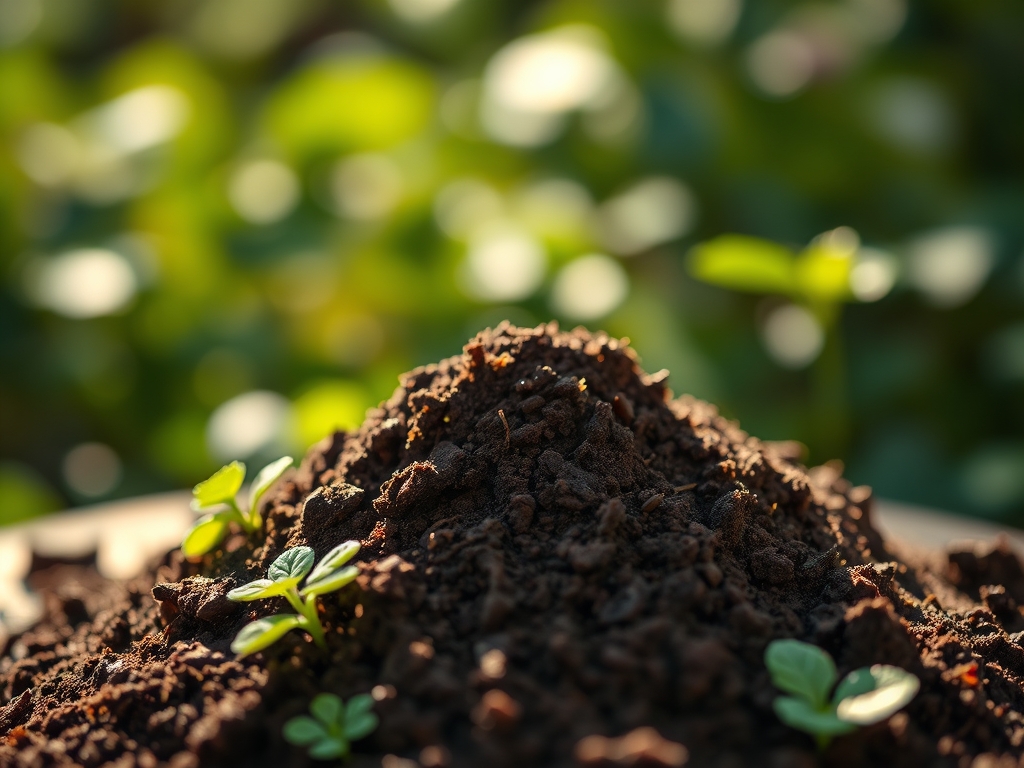
Sowing and Propagation
Starting violets from leaf cuttings requires a sterile, soilless medium. Insert a leaf petiole at a 45-degree angle into a mix of pure perlite and vermiculite. Maintain a humidity level of 70 percent using a clear dome.
Pro-Tip: Angle the cut to increase the surface area of the exposed cambium layer. This stimulates auxin accumulation at the base, which is the primary hormone responsible for initiating adventitious root growth.
Transplanting
When "mousetear" leaves appear at the base of the cutting, move the plantlets into a specialized violet soil. Gently tease the roots apart to prevent circling. Ensure the crown sits exactly at the soil line; burying the crown leads to rot, while sitting too high causes desiccation.
Pro-Tip: Use a mix pre-moistened with warm water. Cold water can cause cell lysis in the root hairs, leading to immediate transplant shock and stunted growth.
Establishing
During the first 21 days post-transplant, focus on root establishment rather than top growth. Keep the plant in slightly lower light to reduce transpiration stress.
Pro-Tip: Avoid heavy fertilizers during this phase. Excessive nitrogen can cause osmotic stress, where the salt concentration in the soil pulls water out of the roots, effectively dehydrating the plant despite the presence of water.
The Clinic:
Monitoring the physiological state of the plant allows for early intervention.
Symptom: Lower leaves turning yellow and soft (Chlorosis).
Solution: This typically indicates nitrogen deficiency or overwatering. Check the soil moisture. If the soil is saturated, the roots are suffocating. Using a specialized violet soil with higher perlite content will fix this by increasing oxygen porosity.
Symptom: Tight, brittle center leaves with gray fuzz.
Solution: This is often a sign of high soluble salts or low humidity. Flush the pot with distilled water to leach excess minerals. Aim for a Total Dissolved Solids (TDS) reading below 150 ppm in the runoff.
Symptom: Lack of blooms despite healthy foliage.
Solution: Increase phosphorus levels. Switch to a fertilizer with a 15-30-15 ratio. Ensure the plant is receiving at least 1000 foot-candles of light.
Fix-It: Magnesium Deficiency.
If older leaves show bronzing between the veins, add one-eighth teaspoon of Epsom salts per gallon of water. Magnesium is the central atom in the chlorophyll molecule; without it, photosynthesis fails.
Maintenance:
Precision is the hallmark of a master gardener. Use a soil moisture meter to ensure the substrate stays within the "moist but not soggy" range, typically a reading of 4 to 6 on a standard scale. For top-watering, apply roughly 0.5 cups of water for a 4-inch pot, ensuring no water touches the foliage to prevent fungal spotting.
Use a hori-hori knife to gently loosen the root ball every six months to check for compaction. If the soil has pulled away from the edges of the pot, it has become hydrophobic; use a wetting agent or soak the pot in a tray for 20 minutes. Use bypass pruners to remove spent blooms and senescing leaves at the base of the neck. This prevents the plant from wasting energy on seed production and redirects sugars to the root system.
The Yield:
While African Violets are grown for aesthetics rather than consumption, the "harvest" involves the removal of flowers for display or the collection of seeds. Harvest flowers when they are 90 percent open. Use a sharp blade to cut the peduncle as close to the main stem as possible. To maintain "day-one" freshness for show plants, increase the humidity to 60 percent and drop the temperature to 65 degrees Fahrenheit at night. This slows down the respiration rate and preserves the anthocyanin pigments in the petals.
FAQ:
How often should I change specialized violet soil?
Replace the substrate every 6 to 12 months. Over time, peat moss decomposes and acidifies, while fertilizer salts accumulate. Fresh soil restores the pH balance and ensures the root system has adequate oxygen for cellular respiration.
Can I use regular potting soil for African Violets?
Regular soil is too dense and retains excessive moisture. It lacks the porosity required for African Violet roots. Using a specialized violet soil prevents root rot and provides the specific 5.8 to 6.2 pH range these plants demand.
Why are the tips of my violet leaves turning brown?
This is usually caused by salt burn from tap water or over-fertilization. Specialized soils help buffer these minerals, but you should use filtered water. Ensure the soil remains consistently moist to prevent mineral concentration in the leaf tips.
What is the best NPK ratio for African Violet soil?
Look for a starter charge around 12-36-14. High phosphorus promotes robust root systems and bloom initiation. The nitrogen should be in a nitrate form rather than urea, as violets struggle to process urea in indoor environments.